How to Measure Wheel Diameter
To measure your wheel diameter accurately, it’s essential to follow the correct steps. This will ensure you get the right size for your tires and enhance your vehicle’s performance.
Start by removing the tire to access the rim directly.
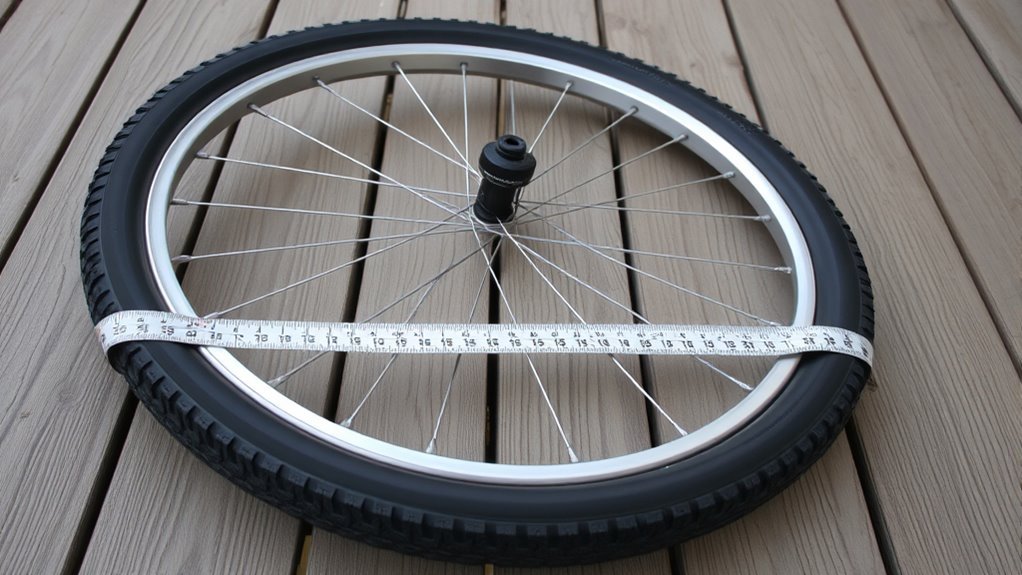
Use a tape measure to span across the inner rim, measuring from bead seat to bead seat—that’s the edge where the tire’s beads sit.
Make sure the tape is level for an accurate reading to match the tire size properly.
Avoid measuring across the face or outer edges, as that’ll give incorrect results.
Keep following along to uncover helpful tips and common pitfalls when measuring.
Key Takeaways
- Measure wheel diameter across the inner rim from bead seat to bead seat, not the outer edge, for accurate tire compatibility.
- First, remove the tire and clean the wheel surface. This ensures you get a precise measurement using a tape measure or digital calipers.
- Position the wheel on a flat surface and measure straight across the bead seats. It’s important to avoid the rim lip or wheel face during this step.
- Once you’ve got your measurement, verify the diameter against the tire sidewall label. This is crucial to confirm compatibility before purchasing or mounting new tires.
- Lastly, steer clear of common mistakes, like measuring over the wheel face. Always prioritize safety by ensuring correct tire and wheel fitment.
Understanding Wheel Diameter
Wheel diameter refers to the measurement across the inner rim of a wheel, from bead seat to bead seat. This measurement is vital for fitting the right tire.
When you measure wheel diameter, focus on the inner rim, not the outer edge or lip, which can be misleading. For example, a wheel labeled 14 inches might actually measure 15 inches across its face.
However, the official wheel diameter remains the distance between the bead seats. This precise measurement is essential because only tires matching that diameter will fit properly.
The official wheel diameter is the bead seat distance, ensuring tires fit correctly and safely.
Ensuring safe tire fitment is crucial for ideal vehicle performance. Remember, standard wheel diameters range widely, so always measure accurately to avoid compatibility issues and maintain proper tire fitment.
Tools Needed for Measurement
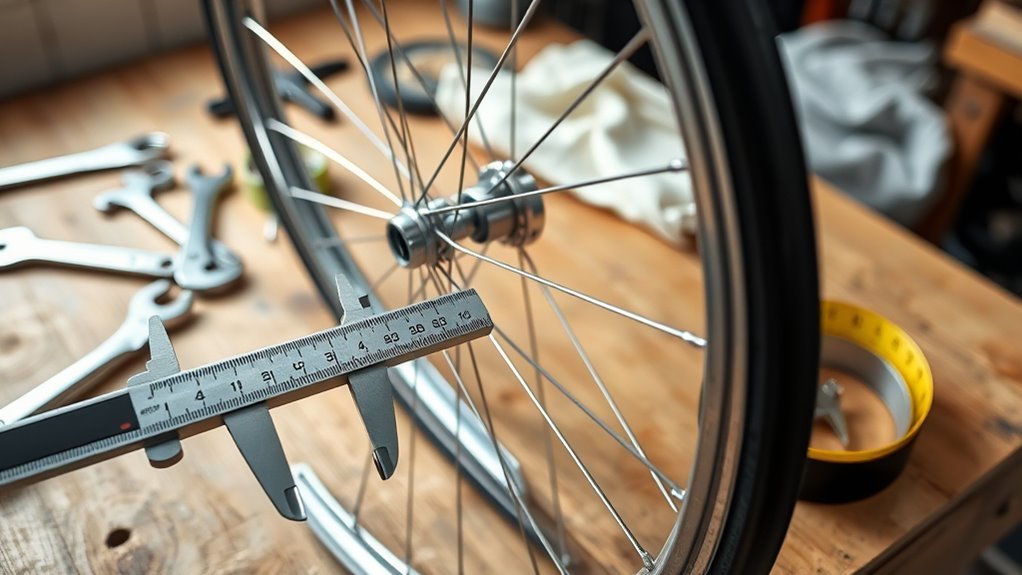
Getting an accurate measurement starts with having the right tools on hand.
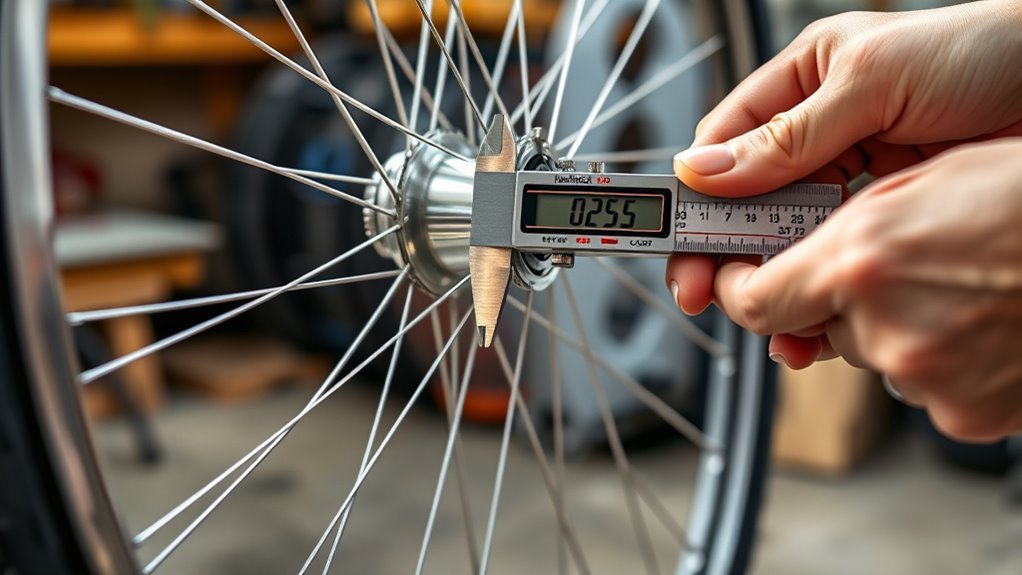
To measure wheel diameter properly, you’ll need a tape measure or digital calipers. These tools help you determine the inner diameter precisely by measuring from bead seat to bead seat.
Make sure the tape measure is taut and straight, and hold it level with the wheel to avoid errors caused by angle misalignment.
While diameter is your main focus, knowing the width can also be useful for compatibility checks.
Remember, wheel size usually refers to the inner diameter, not the outer face.
After measuring, cross-reference your results with the manufacturer’s specs or the tire’s sidewall label to confirm your measurements are accurate and reliable.
Preparing the Wheel for Accurate Measurement
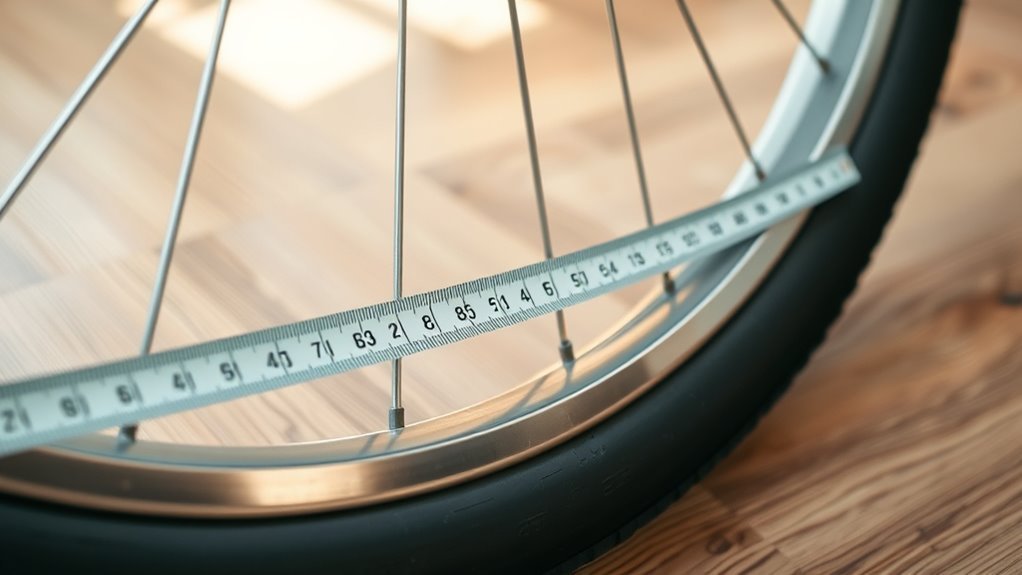
Before you start measuring, make sure the wheel is clean and free of dirt that could affect accuracy.
Position the wheel on a flat, stable surface to keep it from tilting during measurement.
For the most precise reading, remove the tires so you can measure the bare wheel diameter correctly.
Clean Surface Thoroughly
To guarantee accurate measurements, start by thoroughly cleaning the surface of your wheel. A clean surface ensures you avoid dirt, grease, or debris that can cause inaccurate readings.
Use a microfiber cloth or soft brush to gently wipe the entire wheel, focusing especially on the bead seat—the inner rim edge where the tire mounts. This is the correct point to measure diameter, which is typically measured in inches.
While cleaning, inspect the bead seat and surrounding areas for any damage or deformities, as these can lead to miscalculations.
Proper cleaning not only improves the accuracy of your measurement but also helps you spot potential issues that might affect your wheel’s performance or safety.
Taking these steps sets the foundation for precise and reliable wheel diameter measurement.
Stabilize Wheel Position
Although cleaning is essential, stabilizing the wheel position guarantees your measurements stay accurate and consistent.
To stabilize wheel position when measuring wheel diameter, start by placing the vehicle on a flat surface with wheels straight.
Use wheel chocks or blocks on the opposite wheels to prevent any rolling or shifting during measurements.
If you’re measuring a bike wheel, set it on a stable stand or flip it upside down to keep it fixed.
Avoid any load or pressure from suspension components on the wheel, as this can distort the diameter reading.
For larger or heavier wheels, having a helper hold the wheel steady can make a big difference.
Taking these steps guarantees your wheel diameter measurements are reliable and precise every time.
Remove Tires First
Remove the tire completely from the wheel to verify your diameter measurement is accurate and not skewed by the tire’s thickness.
You want to remove tires first because the tire’s bulge can lead to misleading measurements if left on.
Once the tire is off, place the wheel flat on a stable surface to verify precise measuring.
Use a tape measure or calipers to record the inner diameter, measuring from bead seat to bead seat, which reflects the true wheel diameter.
Avoid measuring across the outer face, as it doesn’t represent the actual size.
Remember these steps for accurate measurements:
- Remove tires first to eliminate distortion.
- Stabilize the wheel flat on a surface.
- Measure bead seat to bead seat for true wheel diameter.
Step-by-Step Guide to Measuring Diameter
Measuring your wheel’s diameter accurately involves focusing on the inner rim, specifically from bead seat to bead seat, rather than the wheel’s outer face.
To start measuring wheel diameter, remove the tire to access the rim.
Use a tape measure and place it across the inner edges of the rim, from one bead seat to the opposite one.
Make sure the tape is level to get an accurate measurement.
This measurement reflects the Wheel Size and indicates the tire size that fits your wheel.
Remember, a 14-inch wheel often measures about 15 inches across the face, so measuring wheel diameter correctly is essential.
Finally, check the diameter against the tire sidewall label to confirm you’re measuring wheel size properly before buying new tires or wheels.
Common Mistakes to Avoid
Don’t measure across the face of the wheel—you’ll end up with a bigger number than the actual diameter.
Avoid confusing the rim lip with the bead seat, since only the bead seat measurement determines the correct tire size.
Make sure your tape measure lines up properly to get an accurate reading every time.
Measuring Across Face
One of the biggest mistakes you can make is measuring the wheel diameter across the face instead of from bead seat to bead seat.
This causes inaccurate wheel diameter readings since the correct measurement is the inner diameter or rim diameter, taken at the bead seats.
Many think a 14-inch wheel measures about 15 inches across the face, which leads to tire fit issues.
To avoid this, remember:
- Measure from bead seat to bead seat, not across the visible face.
- Align your tape measure with the inner rim edges at the same level as the wheel.
- Don’t include the rim lips—they’re not part of the standard wheel diameter.
Rim Lip Confusion
Although it might seem easier to measure across the outer rim lip, doing so will give you an inflated wheel size that doesn’t match the actual diameter.
Many confuse the outer rim lip with the bead seat, leading to inaccurate wheel diameter readings.
The actual diameter is measured from bead seat to bead seat, not the outer lip.
This mistake is common with a typical wheel like a 14-inch rim, which can measure about 15 inches across the outer lip.
| Measurement Point | Typical Reading Difference |
|---|---|
| Bead Seat Diameter | Actual wheel diameter |
| Outer Rim Lip | ~1 inch larger |
| Face Measurement | Inflated size estimate |
| Proper Measurement | Bead seat to bead seat |
Always measure the bead seat to get the correct wheel diameter.
Applying Measurement Results for Tire Compatibility
Accurate wheel diameter measurements play an essential role in guaranteeing your tires fit properly and perform safely.
To achieve proper tire compatibility, you need to match the wheel diameter with the tire’s bead diameter. This guarantees safe mounting and ideal performance for your wheel setup.
When selecting tires, always check the sidewall label for the recommended wheel diameter range and confirm it matches your wheel measurement.
Use precise tools like a tape measure to find the wheel’s inner diameter, avoiding handling issues and safety risks.
- Match wheel diameter with tire bead diameter for safe mounting.
- Verify tire sidewall label for compatible wheel diameter range.
- Use accurate tools to measure wheel diameter for proper tire fit.
Frequently Asked Questions
How Do I Find My Wheel Diameter?
You find your wheel diameter by measuring the inner rim from bead seat to bead seat with a tape measure.
Don’t include the outer rim lips.
Always check the tire’s sidewall label to confirm your measurement.
What Is the Diameter of a 26 Inch Wheel?
Coincidentally, a 26-inch wheel’s diameter is about 26 inches across the bead seats inside the rim.
You’ll find this measurement fits tires roughly 1.5 to 2.5 inches wide.
This makes it perfect for mountain or BMX bikes.
What Is the Circumference of a 22 Inch Wheel?
The circumference of a 22-inch wheel is about 69.08 inches or 1,754.56 millimeters.
You calculate it by multiplying the diameter by pi (3.14), which gives you the total distance around the wheel.
It’s pretty straightforward, right? Just remember that the diameter is the key measurement you need!
Where Is Wheel Diameter Measured?
You measure wheel diameter across the inner bead seat, where the tire snugly fits the rim.
Picture lining up your tape measure edge-to-edge inside the rim, ensuring it’s straight and level for a precise reading.
Conclusion
Measuring your wheel diameter might seem a bit tricky at first, but with the right tools and careful steps, you’ll get it just right.
Remember, a little patience goes a long way in avoiding common slip-ups that could lead to less-than-perfect results.
By understanding and applying these measurements thoughtfully, you’re setting yourself up for a smooth ride and tire compatibility that fits like a glove.
This makes your journey safer and more enjoyable.
In conclusion, measuring wheel diameter is essential for ensuring the proper fit of tires and enhancing your driving experience.
By following the right techniques and being meticulous, you can achieve accurate measurements.
This not only promotes safety but also boosts the overall performance of your vehicle.
So, take your time and enjoy the process—happy measuring!