How Long Does It Take to Replace a Car Radiator?
Replacing your car radiator is an essential maintenance task that can significantly impact your vehicle’s performance.
Typically, this process takes between two and five hours, depending on your vehicle’s complexity and your mechanic’s experience.
Skilled technicians can sometimes finish in about an hour, while less experienced ones may take longer.
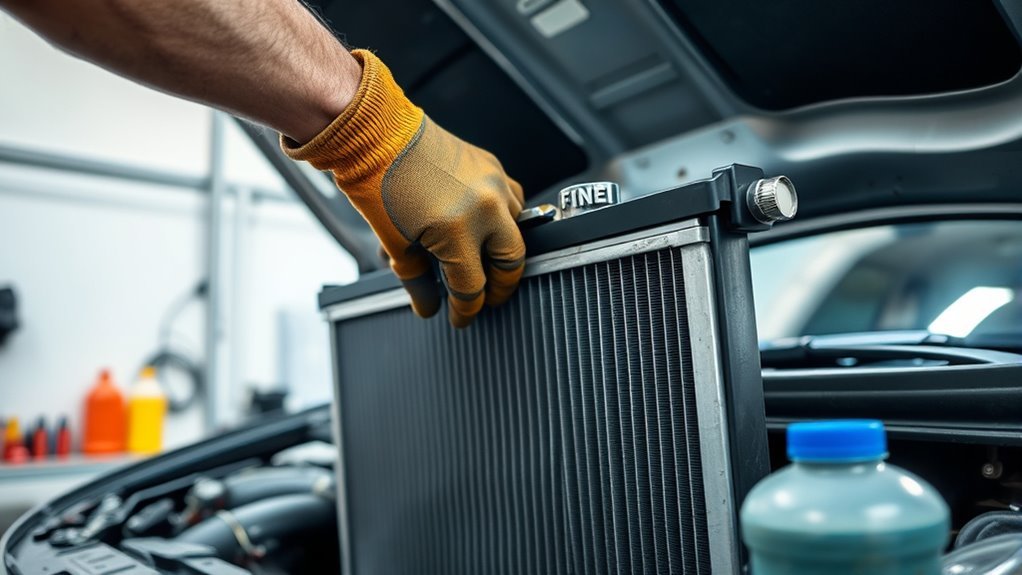
The job includes several steps: draining the coolant, removing the old radiator, installing the new one, and properly bleeding the cooling system to prevent airlocks.
Understanding what affects the process and how to manage costs can be beneficial for car owners.
If you’re curious about the specifics involved in radiator replacement, keep exploring these details!
Key Takeaways
– Radiator replacement generally takes between 2 to 5 hours, depending on vehicle complexity and technician skill level.
Experienced mechanics can complete the job in about 1 to 2 hours, while novices may take 3 or more hours.
Properly bleeding the cooling system after replacement adds time but is essential to prevent engine overheating.
Complex vehicle designs and worn components can extend the replacement duration beyond the typical timeframe.
Scheduling, cooling time before work, and thorough coolant system bleeding affect the total time required for replacement.
Average Time Required for Radiator Replacement
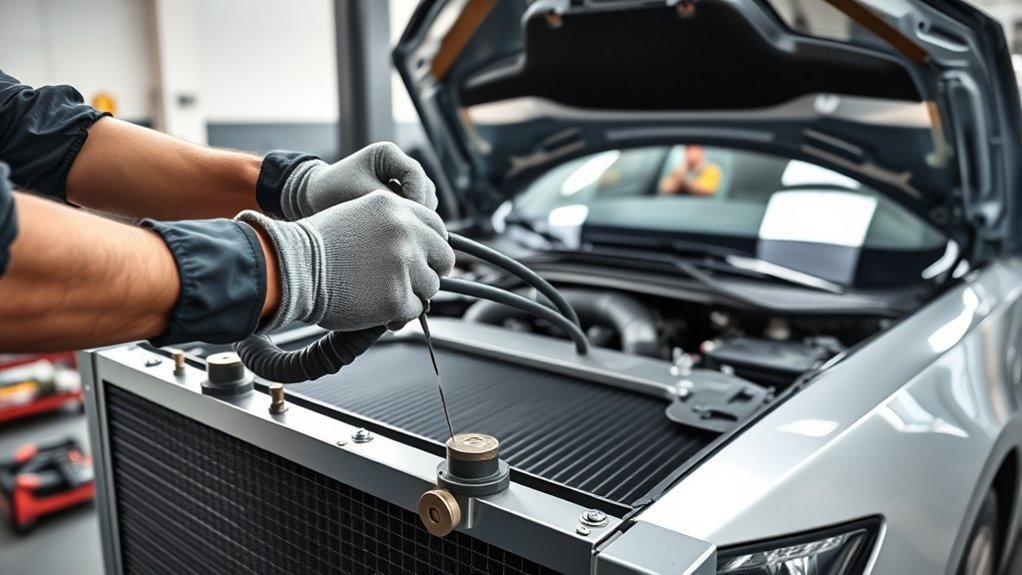
Replacing a car radiator usually takes between 2 to 5 hours, depending on your vehicle and the mechanic’s experience.
The average time required for a car radiator replacement varies because less experienced mechanics might spend around 2 hours, while skilled technicians can finish in just over an hour.
Some garages may need up to 5 hours due to necessary procedures like letting your vehicle cool down and managing multiple cars simultaneously.
Delays up to 5 hours can occur from cooling time and handling several vehicles at once.
Properly bleeding the cooling system after installing the radiator is crucial and adds time to guarantee your car runs smoothly.
You should expect this range when planning your repair, as it reflects typical scenarios without considering extra complications.
Knowing this average time helps you set realistic expectations for the replacement process.
Factors Influencing Replacement Duration
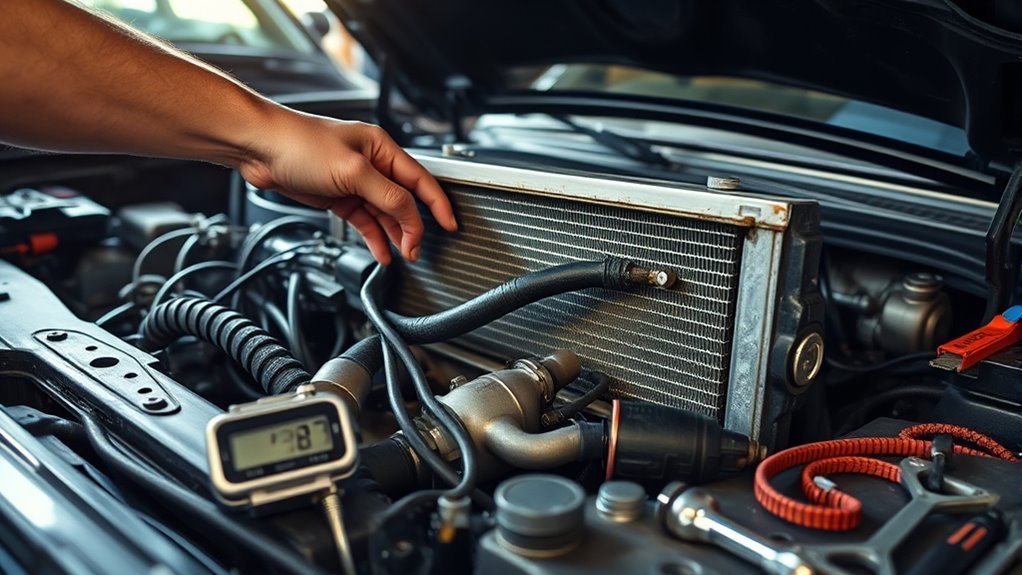
When replacing your car radiator, the time it takes can vary based on your vehicle’s model complexity and the technician’s experience.
If the cooling system is in poor condition, you might need extra time for bleeding and ensuring no airlocks remain.
Knowing these factors helps you set realistic expectations for the job’s duration.
Vehicle Model Complexity
Although you might expect a radiator replacement to be straightforward, the complexity of your vehicle model can considerably affect how long the job takes.
Some vehicles have simple layouts, allowing technicians to finish radiator replacement in about 2 hours.
However, if your car features intricate designs or advanced cooling systems, the process can stretch to 5 hours or more.
Limited access to components, the need to bleed additional systems, and different radiator types—like plastic-aluminium versus copper-brass—also influence the time required.
If your radiator is part of a complex setup, your technician will need extra care and precision to complete the job properly, which naturally increases the overall replacement duration.
Understanding your vehicle’s design helps set realistic expectations for radiator replacement time.
Technician Experience Level
Because technician experience directly impacts radiator replacement time, choosing a skilled mechanic can save you hours.
The technician experience level affects how quickly they disconnect the old car radiator, install the new one, and prevent issues like airlocks.
Experienced technicians familiar with your vehicle model often finish in just over an hour.
Less experienced garages may take around 2 hours or more, especially with multiple vehicles or cooling procedures.
| Technician Experience Level | Estimated Time | Notes |
|---|---|---|
| Expert | ~1 hour | Efficient, familiar with models |
| Intermediate | 2 hours | Handles most tasks competently |
| Novice | 3+ hours | Slower, prone to errors |
| Busy Garage | Up to 5 hours | Scheduling and cooling delays |
Picking the right technician guarantees your car radiator replacement is quick and reliable.
Cooling System Condition
Since the cooling system’s condition varies by vehicle, it directly impacts how long your radiator replacement will take.
The complexity of the cooling system means some models require more steps to disconnect and remove the old radiator.
Also, you’ll need proper bleeding of the cooling system after installation, which can add extra time if overlooked.
Additionally, the condition of hoses and fittings matters; worn parts need replacement, extending the overall job duration.
Keep these factors in mind:
- Cooling system design complexity affects removal time.
- Bleeding the cooling system is essential and time-consuming.
- Damaged hoses or fittings require repairs, adding to the process.
Your mechanic must consider these to give a realistic time estimate for your radiator replacement.
Step-by-Step Radiator Replacement Process

Before you start, make certain to drain the coolant safely to avoid spills and burns.
Next, you’ll remove the old radiator carefully, keeping track of all connections.
Finally, installing the new radiator requires precision to guarantee everything fits and functions properly.
Draining Coolant Safely
When you’re ready to drain the coolant, make sure the engine is completely cool to avoid burns from hot fluid.
Draining coolant safely is essential to prevent injury and environmental harm. Follow these steps carefully:
- Locate the radiator drain plug at the bottom and position a container to catch the coolant as it drains.
- Open the drain plug and allow all coolant to flow out fully.
- Remove the radiator cap to let air in, which speeds up the draining of any remaining fluid.
Remember to dispose of the coolant properly since it’s toxic.
After draining, inspect the coolant reservoir for debris or sludge and clean it before moving on.
Handling the radiator cap and drain plug correctly guarantees a safe, efficient coolant drain.
Removing Old Radiator
Start by letting the engine cool completely to avoid burns and confirm your safety.
Once cooled, disconnect the battery and drain the coolant by removing the drain plug or lower hose to prevent spills.
Next, remove any parts blocking access to the radiator, like the fan, shroud, or hoses.
Clamp the bottom hose to minimize coolant loss during this step.
Now focus on removing old radiator bolts securing it to the mounts.
Carefully lift the radiator out, making sure not to damage nearby components.
Following these steps confirms smooth and safe removal of the old radiator, setting you up perfectly for the next phase of replacing your car’s cooling system.
Installing New Radiator
Place the new radiator carefully into its mounts, making certain it sits securely without forcing or bending any parts.
Next, follow these steps to complete the installation:
- Reconnect all hoses and fittings tightly to the new radiator to prevent leaks.
- Refill the cooling system with fresh coolant, making sure to use the correct type for your vehicle.
- Bleed the cooling system to remove any trapped air, which helps avoid overheating and guarantees peak performance.
Remember to elevate the front of the vehicle during this process to prevent airlocks.
Taking these careful steps will help your new radiator function properly, keeping your engine cool and running smoothly after replacement.
Professional vs. DIY Radiator Replacement Time
Although professional mechanics often finish replacing a radiator within 2 to 5 hours, depending on their experience and the vehicle’s complexity, you might find the process takes longer if you tackle it yourself.
Professional mechanics usually have the tools and know-how to disconnect and remove the old radiator efficiently, minimizing complications.
When you do it yourself, the time can vary widely—sometimes faster if you’re skilled, but often longer due to unexpected difficulties.
You’ll need to carefully handle each step, which can be tricky without experience.
Remember, less experienced garages might take around 2 hours, but as a DIYer, expect more time.
Planning for these factors helps set realistic expectations before you start your radiator replacement project.
Importance of System Bleeding and Airlock Prevention
Because air trapped in your cooling system can cause serious problems, bleeding the system properly after replacing your radiator is vital.
If you skip this step, airlocks may form, blocking coolant flow and causing your engine to overheat or perform inefficiently.
To avoid these issues, focus on:
- Thoroughly bleeding the entire cooling system to remove all trapped air.
- Paying special attention to overhead heating vents to prevent air pockets that can stop warm air from circulating.
- Communicating clearly with your mechanic about the need for complete system bleeding to guarantee no air remains.
Proper system bleeding protects your engine from damage and maintains passenger comfort by keeping heating vents functional during colder months.
Don’t overlook this critical step after radiator replacement.
Tips for Choosing a Garage and Managing Labor Costs
Guaranteeing your cooling system is properly bled after a radiator replacement protects your engine and heating performance.
However, finding the right garage to handle this task matters just as much.
Choose a garage experienced with your vehicle model to ensure efficient service and ideal cooling performance.
Ask about estimated labor hours—typically 2 to 5 hours—and confirm if they allow cooling time before starting.
To manage labor costs, get multiple quotes and compare rates ranging from $400 to $900+.
Clearly communicate your need for system bleeding to avoid future issues.
| Factor | Advice |
|---|---|
| Experience | Choose garage familiar with your car |
| Labor Hours | Expect 2 to 5 hours |
| Cooling Time | Confirm if garage allows cooldown |
| Cost | Compare quotes to manage expenses |
| Service Requirements | Specify system bleeding needs |
Frequently Asked Questions
How Much Does It Cost to Have a Radiator Removed and Replaced?
You’ll typically pay between $400 and $900 to have your radiator removed and replaced.
Labor costs make up a big part of that, often taking 2 to 5 hours depending on your vehicle’s complexity.
Do I Need a New Radiator?
Wondering if you need a new radiator?
If your engine overheats, coolant leaks, or rust shows on fins, it’s time.
Don’t ignore frequent coolant top-ups or corrosion;
acting now protects your engine’s health and performance.
How to Remove a Car Radiator?
First, cool your engine and disconnect the battery.
Next, drain the coolant and remove any obstructing parts.
Then, detach the hoses and bolts.
Finally, carefully lift the radiator out, making sure to avoid damage or spills during the removal process.
Is Replacing a Car Radiator a Big Job?
Replacing a car radiator is no walk in the park; you’ll wrestle with hoses and bolts.
It’s a big job demanding patience, skill, and careful bleeding to keep your engine cool and running smooth.
Conclusion
Replacing your car radiator usually takes about 2 to 4 hours, but don’t let that fool you—it can vary a lot.
You might think it’s just swapping parts, but factors like your car model, experience, and the need to bleed the system make a big difference.
Whether you DIY or hire a pro, rushing risks serious damage.
Taking your time guarantees your engine stays cool and safe.
In conclusion, the time it takes to replace a car radiator can depend on several factors.
Make sure to consider your vehicle type, your skill level, and the specific requirements of the job.
Remember, patience is key when it comes to maintaining your engine’s health.
So, whether you’re doing it yourself or seeking professional help, always prioritize a thorough job over speed.
After all, a well-installed radiator ensures your engine runs smoothly for years to come!