DIY Headlight Adjustment for First Generation Sienna 2001
To adjust your 2001 Sienna’s headlights, you’ll need a 10mm socket or wrench and a ratchet for easy turns.
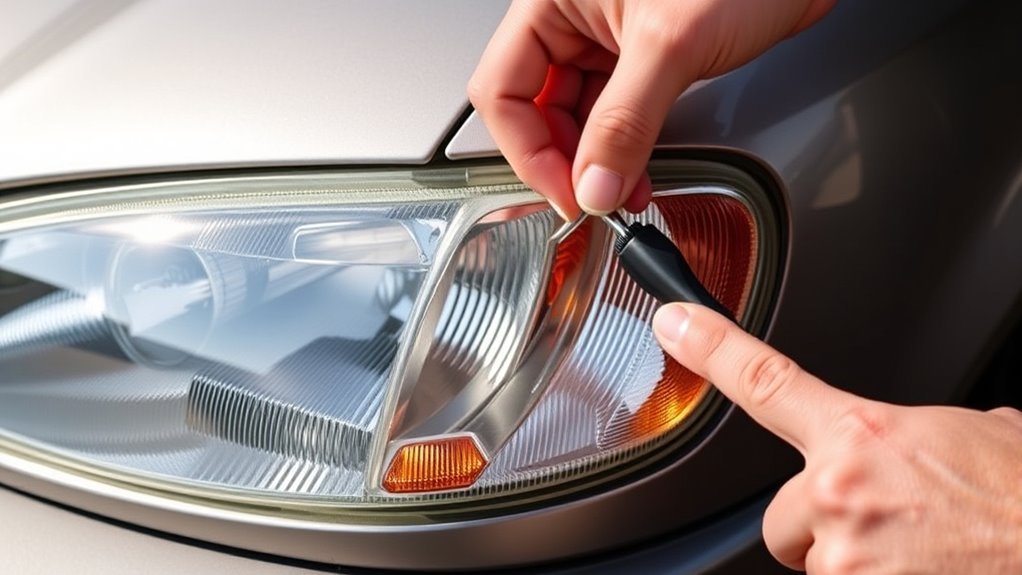
First, open the hood and locate the vertical adjustment bolt behind each headlight.
Turn it clockwise to raise the beam or counterclockwise to lower it.
Make sure to park on level ground facing a wall.
This setup allows for more accurate adjustments.
As you make small tweaks, consistently check your progress to ensure proper alignment.
Remember, proper headlight alignment is crucial for safety and visibility on the road.
Keep going to explore tips, common issues, and upgrade ideas for your headlights!
Key Takeaways
- Use a 10mm socket or wrench to access the adjustment bolt located vertically behind each headlight under the hood.
- Turn the adjustment bolt clockwise to raise and counterclockwise to lower the headlight beam in small increments.
- Park the Sienna on level ground facing a wall or garage door to visually align and measure the headlight beam height.
- Start with 1/4 turns and fine-tune with 1/8 turns to avoid over-correcting and ensure safe nighttime visibility.
- Test the adjusted headlights by observing the beam pattern and mark positions on the wall for future reference.
Tools Required for Headlight Adjustment
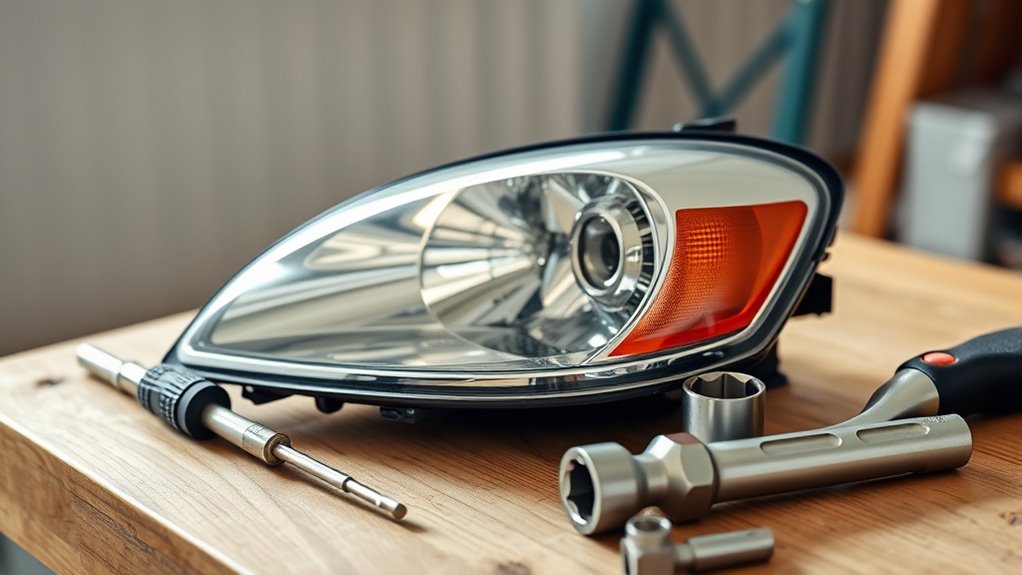
To adjust the headlights on your 2001 Sienna, you’ll need a few essential tools.
First, grab a 10mm socket or wrench to reach the adjustment bolt on the back of the headlights.
Using a ratchet handle will help you make precise turns, allowing you to measure 1/4 and 1/8 turns easily.
You’ll also want a flat surface and a wall or garage door to aim the headlights properly.
A measuring tape comes in handy to check the headlight beam height before and after adjustments.
Confirm your vehicle is parked on level ground with the headlights at the correct height for the best results.
Starting fresh, like setting up a new account, guarantees your tools and workspace are ready for this task.
Locating the Adjustment Bolt
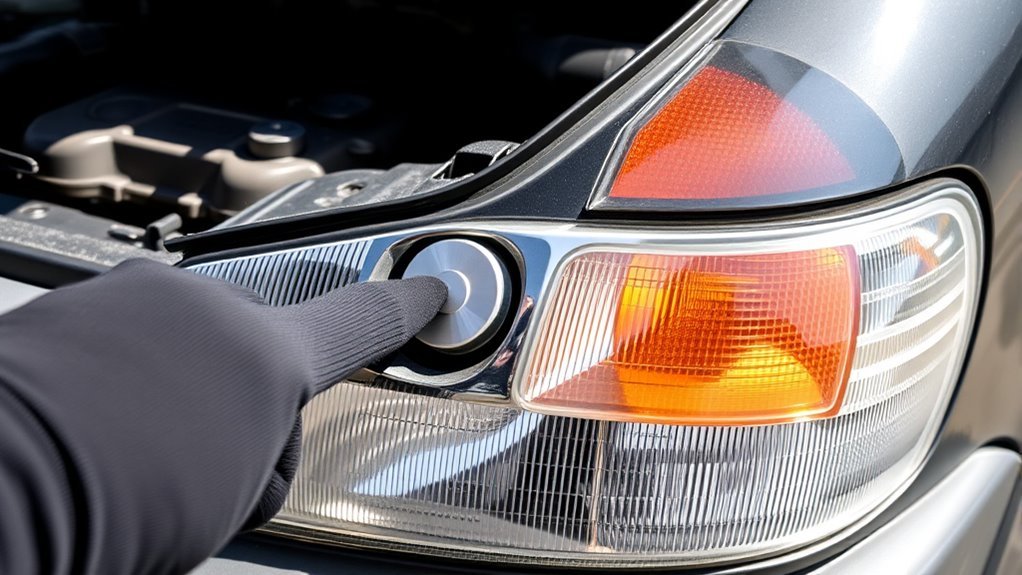
Open the hood of your 2001 Sienna and peer behind the headlight assembly to find the 10mm adjustment bolt.
This bolt is located on the backside of each headlight housing, positioned vertically for easy access.
You might need a ratchet or socket wrench to reach it comfortably.
Once located, remember that turning the bolt clockwise will raise the headlight beam, while turning it counterclockwise will lower it.
Turning the bolt clockwise raises the beam; counterclockwise lowers it for precise headlight alignment.
Take note of this direction before making adjustments.
The bolt’s position makes it straightforward to adjust your headlights without removing any parts.
Identifying this bolt is the essential first step before you begin fine-tuning the headlight aim to guarantee peak visibility and safety on the road.
Step-by-Step Headlight Aiming Process

To get started, you’ll need a 10mm socket or wrench and a ratchet handle to help guide your adjustments.
You’ll turn the bolt on the back of the headlight assembly in small increments—clockwise to raise and counterclockwise to lower the beam.
Following this technique guarantees your headlights are aimed just right for safe, clear nighttime driving.
Tools Needed
Adjusting the headlights on your 2001 Sienna requires just a few essential tools.
The key item is a 10mm socket wrench for accessing the adjustment bolts behind the headlights.
Besides the wrench, you’ll want a flat, level surface near a wall to park your vehicle about 25 feet away.
This setup helps you see how the beams align.
A tape measure or ruler can be handy to guarantee the headlights are level with the wall’s center.
Have a marker or tape ready to mark the beam positions before and after adjusting for reference.
Finally, keep a flashlight nearby for better visibility of the adjustment bolts if lighting conditions are poor.
These simple tools will prepare you to proceed smoothly with your headlight aiming.
Adjustment Technique
With your tools ready and your vehicle positioned near a wall, you’re set to begin fine-tuning the headlights on your 2001 Sienna.
First, locate the 10mm bolt on the back of each headlight assembly.
Turn it clockwise to raise the beam and counterclockwise to lower it.
Make small adjustments — start with a 1/4 turn, then fine-tune with 1/8 turns for accuracy.
If the factory settings aim too high, lower the headlights noticeably to improve road visibility and avoid blinding oncoming drivers.
Use your ratchet handle as a consistent gauge when adjusting both sides.
After each tweak, test the headlights by turning them on and observing the beam pattern on the wall.
Keep adjusting until the beams align properly for safe nighttime driving.
Tips for Precise Headlight Alignment
When adjusting your Sienna’s headlights, make small incremental turns—start with 1/4 turns and fine-tune with 1/8 turns for accuracy.
Park on a level surface facing a wall to visually check the beam pattern and guarantee proper alignment.
Incremental Turn Adjustments
Start by making precise adjustments in increments of 1/4 turn using a 10mm socket on the adjustment bolt behind the headlights.
Turn clockwise to raise the beam and counterclockwise to lower it.
After each adjustment, check the alignment to guarantee your headlights provide ideal visibility without blinding other drivers.
Once you’re near the desired aim, switch to smaller 1/8 turn adjustments for fine-tuning.
Remember to note your starting position and avoid lowering the beam more than 3/4 turn below the factory setting to prevent overly dim lighting.
Using the ratchet handle as a gauge helps keep your turns consistent and precise throughout the process.
This incremental approach guarantees you achieve the perfect alignment safely and effectively.
Visual Alignment Techniques
Although adjusting your headlights might seem straightforward, precise alignment requires careful visual techniques to ascertain ideal visibility and safety.
Start by parking your Sienna on a level surface about 25 feet from a wall, making sure it’s perfectly perpendicular.
Next, measure the height of the headlight beams from the ground and mark this height on the wall for reference.
Use the 10mm bolt on the back of the headlights to adjust—turn clockwise to raise and counterclockwise to lower the beams.
Make small incremental adjustments, starting with 1/4 turns and refining with 1/8 turns to avoid overshooting.
Once aligned, test your headlights at night to confirm they illuminate the road effectively without blinding other drivers.
This method ascertains precise and safe headlight alignment for your Sienna.
Safety Impact Considerations
Proper headlight alignment directly impacts your safety by ensuring you see the road clearly without blinding oncoming drivers.
Misaligned headlights reduce visibility and increase accident risks, so making precise adjustments is essential.
Here’s how to fine-tune your headlights safely:
- Adjust in small increments, starting with a 1/4 turn and refining with 1/8 turns to avoid over-correction.
- Use a flat surface and measure the beam height on a wall—aim for the beam to be 2-3 inches below the headlight center.
- Recheck alignment after suspension changes or heavy loads, as these can shift headlight angles.
Following these tips helps maintain ideal lighting, protecting both you and other drivers during nighttime driving.
Common Issues With Factory Settings
When you inspect the factory headlight settings on a 2001 Sienna, you’ll often find the beams aimed too high.
This not only reduces your visibility but also blinds oncoming drivers.
Many owners notice they need to lower their headlights considerably, often turning the 10mm adjustment bolt on the headlight’s backside counterclockwise by 3/4 to over a full turn.
The factory variability means some Siennas have inconsistent headlight performance right off the lot.
Factory variability causes some Siennas to have uneven headlight performance straight from the factory.
To avoid over-adjusting, make changes in small increments.
Start with 1/4 turns, then fine-tune using 1/8 turns.
Taking control of these common factory issues helps improve your nighttime driving safety and prevents glare for others on the road.
This way, you can ensure your headlights work as they should.
Additional Lighting Modifications and Upgrades
If you want to boost your Sienna’s lighting beyond basic headlight adjustments, upgrading to LED fog lights and installing XSE taillights can make a noticeable difference in visibility and style.
LED fog lights improve your view in bad weather, while XSE taillights brighten your vehicle’s rear for safer driving.
To further enhance lighting, consider these upgrades:
- Add auxiliary lights or light bars for extra illumination during rural or off-road trips.
- Regularly check and replace burnt-out bulbs to keep lighting efficient and safe.
- Customize with colored bulbs or light covers to personalize your Sienna while following local laws.
These modifications not only enhance safety but also give your 2001 Sienna a refreshed, modern look.
Frequently Asked Questions
Can I Adjust My Headlights Myself?
Yes, you can adjust your headlights yourself.
Just locate the adjustment bolt, turn it slowly for precise aiming, and check your settings carefully.
Doing this improves visibility and keeps your driving safer at night.
How to Adjust Headlights on a Toyota Sienna?
Want perfectly aimed headlights?
You’ll find a 10mm bolt behind each light; turn it clockwise to raise, counterclockwise to lower.
Adjust carefully, check alignment on a wall 25 feet away, and drive safely tonight!
How High Should Headlights Be at 25 Feet?
Your headlights should hit about 2 to 4 inches below the center of the beam height at 25 feet.
This guarantees they’re aimed properly, giving you good visibility without blinding oncoming drivers on the road.
Where Are the Headlight Adjustment Screws on a Toyota?
You’ll find the headlight adjustment screws on the backside of the Toyota’s headlight assembly.
Grab a 10mm socket to access them easily.
Turning clockwise raises the beam, and counterclockwise lowers it for precise aiming.
Conclusion
Adjusting your 2001 Sienna’s headlights yourself is easier than you might think.
You don’t need expensive tools or a mechanic’s help.
By following these simple steps, you’ll improve your night driving safety and avoid blinding other drivers.
Even if you’re worried about making mistakes, remember that small adjustments are quick to fix.
Take control of your headlights today—it’s a quick, affordable way to enhance your vehicle’s performance and your peace of mind.
In conclusion, adjusting your headlights on your 2001 Sienna is a manageable task.
By doing it yourself, you ensure safer night driving and contribute to the safety of others on the road.
Don’t hesitate to make those adjustments—it’s a simple yet effective way to improve both your driving experience and your vehicle’s performance.
So grab your tools and get started today!