What Is Rubber Butyl Headlight Sealant and How Does It Work?
Rubber butyl headlight sealant is a fantastic product that combines synthetic rubber with butylene polymer.
This unique blend creates a flexible, waterproof barrier that effectively stops moisture and vapor from damaging your headlights.
When you apply it warm into the sealing channel, you can then clamp the lens until it cools.
This process ensures a tight, long-lasting seal that resists heat, UV rays, and aging.
What’s great about this sealant is its ease of use, allowing you to keep your headlights clear and durable.
So, let’s dive in and discover how to apply it perfectly and maintain that watertight protection for your headlights!
Key Takeaways
Rubber butyl headlight sealant is a flexible, moisture-resistant compound made from synthetic rubber and butylene polymer for sealing automotive headlights.
It forms a strong, waterproof, airtight barrier that prevents moisture, vapor, and condensation inside the headlight assembly.
The sealant is pressure-sensitive, which makes it easy to apply. It conforms tightly to curves and corners without leaving any gaps.
For proper installation, it’s important to heat the sealant for better stretchability. After that, you apply it in the channel and clamp it during cooling to ensure a secure bond.
Its long-lasting, durable seal resists heat, UV, and environmental damage. This reduces the need for frequent headlight repairs, which is a big plus!
Composition and Properties of Butyl Sealant
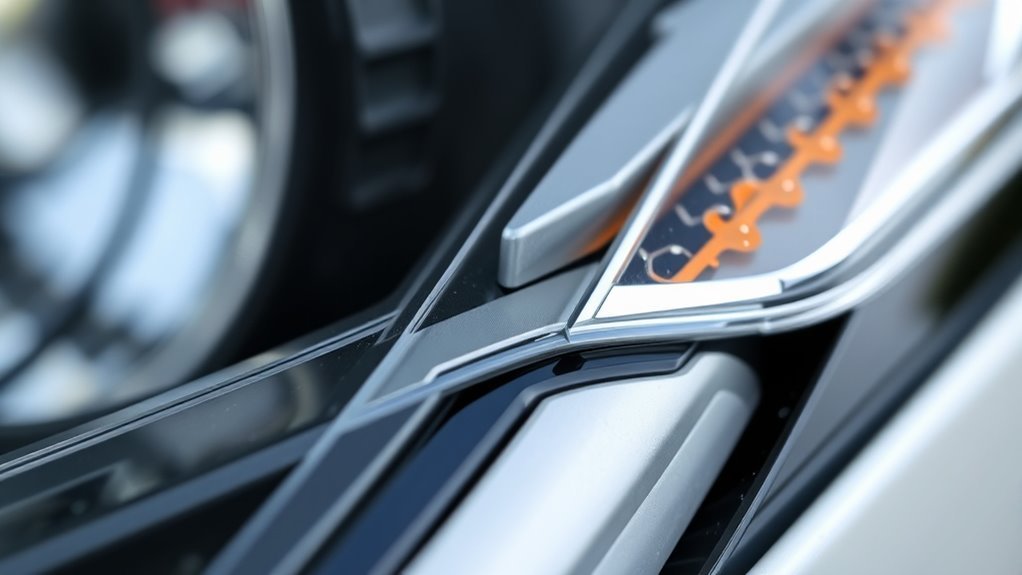
Butyl sealant combines synthetic rubber and butylene polymer to create a flexible, moisture-resistant compound perfect for sealing automotive headlights.
Butyl sealant’s flexible, moisture-resistant blend makes it ideal for securely sealing automotive headlights.
When you use Butyl Rubber sealant, you benefit from its strong adhesive quality, which forms a durable, waterproof barrier that stands up to extreme temperatures, UV rays, and high humidity.
This synthetic rubber compound’s pressure-sensitive adhesion means you don’t need special tools to apply it, ensuring a secure and neat fit around your headlight lenses.
Plus, patented butyl blends, like those in XFasten Butyl Headlamp Sealant, prevent sticking to unwanted surfaces, so you avoid messy residue during installation.
Application Process for Headlight Sealing
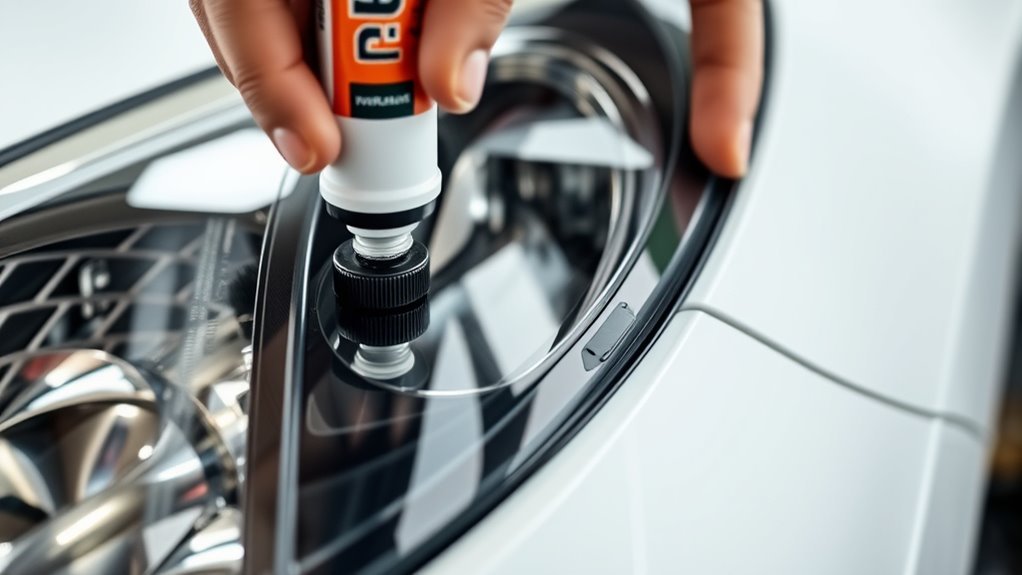
After understanding the unique properties that make this sealant ideal for headlights, you’re ready to learn how to apply it correctly.
The application process for butyl headlight sealant guarantees a watertight and durable fit. Here’s a clear, step-by-step guide:
- Start by removing the original sealant from the headlamp channel. Then, warm the butyl sealant at 200°F for five minutes. This step is important as it improves stretchability and adhesion.
- Next, apply a fresh layer of butyl sealant into the channel. After that, reinstall the headlight lens and heat the assembly at 250°F for 5–10 minutes.
- Finally, secure the lens with clamps while it cools to prevent gaps. Once everything has cooled down, trim any excess sealant for a clean finish.
Following these steps assures a strong, airtight seal that protects your headlights effectively.
Benefits of Using Butyl Rubber Sealant
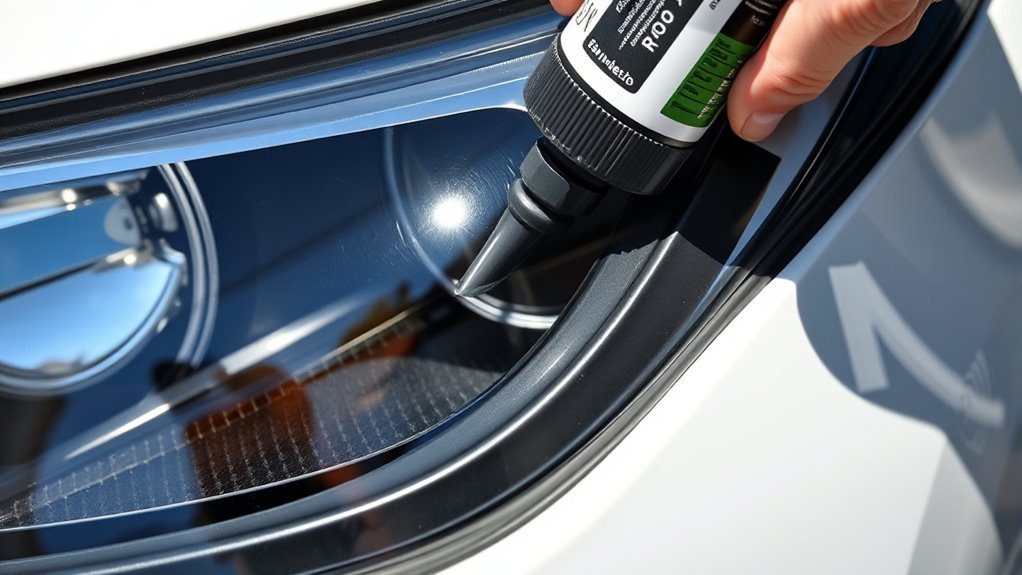
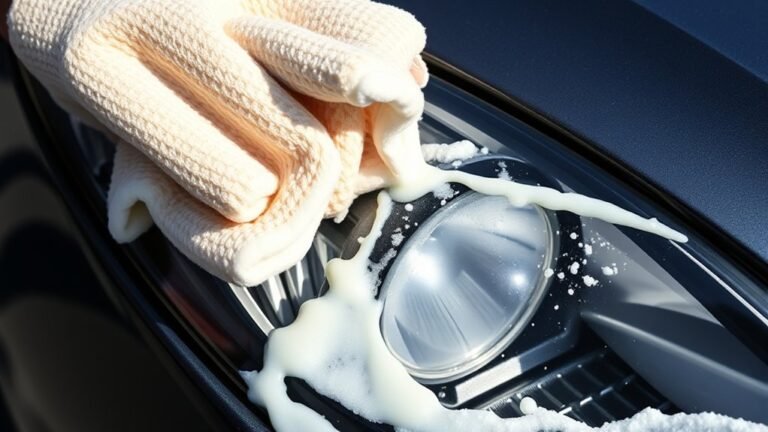
When you want a reliable way to keep moisture and vapor out of your headlights, this rubber sealant delivers a watertight and airtight barrier.
It effectively prevents condensation and bubbling.
Butyl Headlamp Sealant adheres easily thanks to its pressure-sensitive nature.
So, you can apply it smoothly even if you’re new to sealing headlight housing.
Its flexibility lets it conform perfectly to tight corners and curves, ensuring no gaps form that could cause leaks.
You’ll appreciate its durability, as it stands up to heat, humidity, and UV exposure without breaking down or leaving a messy residue.
Plus, using butyl rubber means less waste since it comes with a zero-waste core.
This makes it an efficient and environmentally friendly choice for protecting your headlights.
Tools and Materials Needed for Installation
To get started, you’ll need the right tools like Diode Dynamics Butyl Headlamp Sealant, scissors, and locking pliers.
Warming the sealant with an oven or heat gun makes it easier to apply smoothly.
Setting up a clean, organized workspace will help you work safely and efficiently.
Essential Installation Tools
Although installing rubber butyl headlight sealant might seem straightforward, having the right tools makes the process much smoother and safer.
You’ll need to warm the sealant so it becomes pliable, and a heat gun or oven works perfectly for this. Properly heated sealant adheres better and seals the headlight effectively.
Here are three essential tools for the job:
- Heat gun – to warm the sealant for easy application.
- Scissors – to cut the sealant to the right length for a precise fit.
- Locking pliers or clamps – to hold the lens tightly against the housing while the sealant cures.
Don’t forget safety gear like heat-resistant gloves to protect your hands when handling hot parts.
Sealant Preparation Tips
Since proper preparation assures a smooth installation, gathering the right tools and materials is essential before you start working on the butyl headlight sealant.
You’ll need a heat gun or oven to soften the butyl rubber, scissors to trim excess sealant, and clamps or compression clips to hold the lens securely while curing.
Make sure you have a flat blade screwdriver or a dedicated pry tool to separate the headlight housing gently without causing damage.
Before applying new headlight sealant, remove the old butyl rubber thoroughly to guarantee a tight, moisture-proof seal.
Organize your tools and work on a soft surface to protect the lenses and keep everything within reach.
Proper preparation helps you achieve a flawless seal and long-lasting headlight protection.
Workspace Setup Guidelines
Setting up your workspace properly makes the headlight sealant installation much easier and safer.
A well-organized workspace setup helps you handle the delicate process of applying butyl rubber without damaging the headlight lenses or misplacing tools.
Here’s what you need:
- A clean, soft workspace using towels or foam mats to protect lenses from scratches.
- Essential tools like a flat blade screwdriver, scissors, and clamps, all neatly arranged to keep the process smooth.
- Butyl rubber sealant, such as the XFasten Butyl Headlamp Sealant, heated to about 200°F for five minutes with a heat gun or oven to improve flexibility.
Don’t forget to verify proper ventilation while heating the sealant to maintain safety and comfort throughout the installation.
Tips for Ensuring a Watertight Seal
Before you apply the butyl sealant, make sure the surfaces are clean and dry for the best adhesion.
Use consistent pressure when pressing the headlight lens to fully compress the sealant and create a tight bond.
Don’t forget to soften the sealant with heat, allowing it to cure properly around all curves and edges.
Surface Preparation Essentials
To guarantee a watertight seal, you need to start with a clean headlight housing free of dust, dirt, and old sealant residues.
This confirms the Butyl Rubber Headlight sealant adheres properly. Proper surface preparation is key to preventing leaks and prolonging the life of your headlights.
Let’s break it down into some essentials:
- Clean the headlight housing thoroughly, removing any old sealant and debris.
- Use a heat gun to warm the surface slightly, improving the sealant’s grip.
- Inspect the sealing channel for gaps or irregularities, confirming a smooth, uniform surface.
With these steps, you’ll ensure a solid seal and keep your headlights functioning well!
Applying Consistent Pressure
Once you’ve prepared the surface properly, maintaining steady pressure while applying the butyl sealant guarantees it bonds tightly without gaps.
You should use your hands to apply even pressure along the entire headlight sealant strip.
Clamps or compression clips help hold the headlight halves tightly during curing, confirming a uniform seal and preventing moisture intrusion.
| Tip | Tool Needed | Benefit |
|---|---|---|
| Apply even pressure | Hands | Confirms full adhesion |
| Use clamps | Clamps | Maintains uniform pressure |
| Employ compression clips | Clips | Holds halves tightly |
| Monitor environment | Thermometer | Prevents moisture interference |
| Check seal integrity | Visual inspection | Detects gaps early |
Applying consistent pressure is key to a watertight headlight seal that lasts.
Heat and Cure Timing
Although applying the butyl rubber sealant correctly is essential, heating and curing it properly guarantees a watertight seal that lasts.
To confirm your headlight sealant works effectively, follow these heat and cure timing tips:
- Preheat the sealant at 200°F for five minutes. This makes it pliable and gap-free during application.
- After applying, heat the headlight at 250°F for 5–10 minutes. This step cures the sealant and creates a strong bond.
- Clamp the lens to the housing while the sealant cools for at least 30 minutes. Maintaining pressure ensures that the butyl rubber sets properly.
Following these steps helps your seal resist moisture and vibration.
Regularly check for condensation to catch any leaks early and keep your headlights sealed tight.
Maintenance and Longevity of Butyl Sealant
Because butyl sealant withstands high humidity, heat, and UV exposure, you can rely on its durability for years in your headlight applications.
When using new butyl, proper installation—like heating and applying pressure—ensures a strong, long-lasting seal.
To maximize maintenance and longevity, regularly inspect your headlights for condensation after resealing. Catching issues early prevents leaks and preserves the seal’s integrity.
The patented butyl blend resists turning into a gooey mess, keeping your application clean and effective over time.
Plus, the zero-waste core means you avoid excess material, reducing waste and ensuring efficient use.
Frequently Asked Questions
What Are the Downsides of Butyl Tape?
You’ll find butyl tape can crack in extreme temperatures.
It can also be tricky to apply without heating, and it may struggle in tight spaces.
Plus, it’s sticky and hard to reposition, which can be frustrating.
Lastly, the quality of butyl tape varies, risking improper sealing or leaks.
What Is the Best Sealant to Use for Headlight Re Sealing?
You should use Nissan Butyl Sealant for headlight resealing since it offers OEM-grade quality and reliable moisture protection.
It’s worth the $30 investment, outperforming cheaper options like generic butyl tape or 3M Window Weld.
What Is the Average Lifespan of Butyl Rubber Sealant?
You can expect butyl rubber sealant to last around 5 to 10 years.
Its durability depends on factors like UV exposure and temperature.
Is Butyl Rubber Toxic to Humans?
Don’t worry— butyl rubber isn’t toxic to you.
It’s chemically inert and safe, rarely causing irritation.
You can handle it confidently, knowing it won’t release harmful fumes or dangerous byproducts during normal use.
Conclusion
Now that you know how butyl rubber sealant works, you’ll appreciate its reliability. Did you know it can maintain a watertight seal for over 10 years?
Using this sealant on your headlights not only keeps moisture out but also protects your lights from damage and fogging.
With the right tools and careful application, you’ll guarantee your headlights stay clear and functional.
This proactive approach saves you time and money on repairs down the road.
In conclusion, butyl rubber headlight sealant is a smart investment for anyone looking to keep their headlights in top shape. Its long-lasting watertight seal ensures that moisture and debris are kept at bay, enhancing visibility and safety.
By applying this sealant correctly, you can enjoy clearer headlights for years to come, making it a worthwhile addition to your maintenance routine.