What Is Headlight Sealant and How Does It Work?
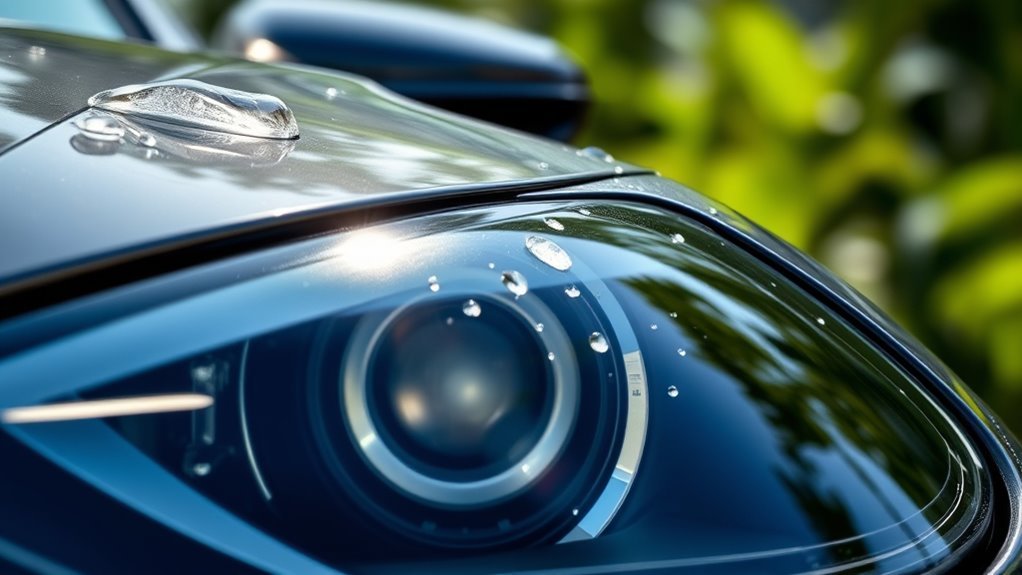
Headlight sealant is an essential product that acts as a protective barrier for your vehicle’s headlights.
By keeping moisture, dirt, and fog at bay, it ensures that you always have clear visibility while driving.
Applying the sealant is simple: just make sure the surfaces are clean and dry.
It creates a watertight seal, often using materials like butyl rubber or silicone.
This protective layer prevents damage to your headlights and extends their lifespan, keeping your lights bright and effective.
If you want to maintain optimal performance, it’s important to follow proper preparation and maintenance tips.
So, let’s dive deeper into how to best use headlight sealant for lasting results!
Key Takeaways
- Headlight sealant creates a protective barrier to prevent moisture, dirt, and debris from entering the headlight assembly.
- This is crucial for maintaining clear visibility, as it stops fogging and condensation from forming inside the lens.
- Sealants like butyl rubber are great because they provide flexibility and durability, ensuring a watertight, long-lasting seal.
- For proper application, make sure you have a clean, dry surface.
- Even spreading is key to avoid any gaps or weak spots.
- Don’t forget that regular maintenance and reapplication are essential.
- This way, you can ensure continued protection and optimal headlight performance!
The Role of Headlight Sealant in Automotive Maintenance
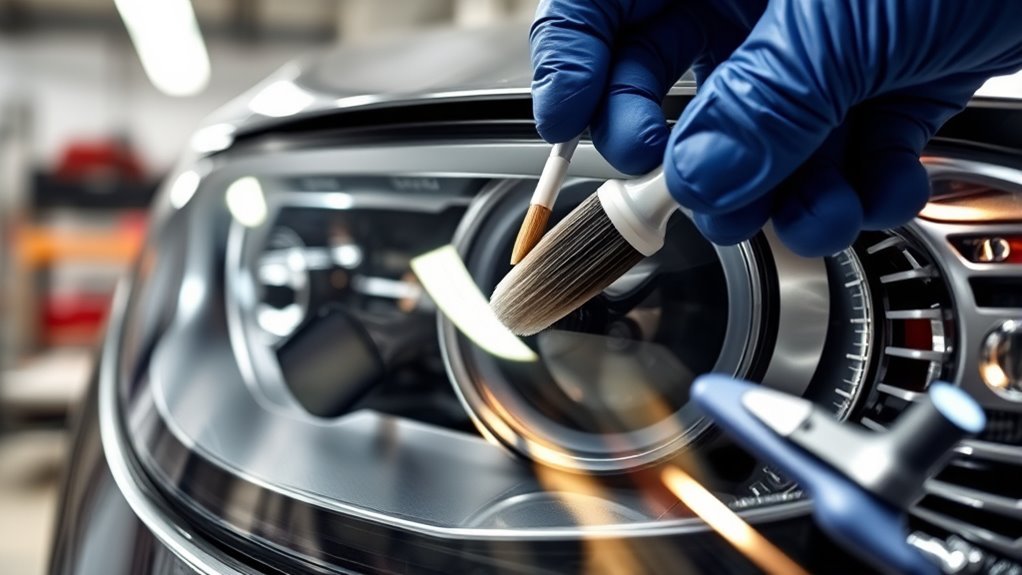
A headlight sealant plays an essential role in keeping your vehicle’s headlights clear and functional.
It acts as a protective barrier, preventing moisture and dirt from entering the headlight assembly, which can cause fogging and reduce visibility.
When you apply sealant properly, you maintain the integrity of your headlights, ensuring they stay bright and effective.
You’ll need to clean the surfaces thoroughly, apply the sealant evenly, and allow enough curing time for the best results.
Keep in mind that environmental conditions like temperature and humidity during application affect the sealant’s performance.
Regularly checking and reapplying the sealant, especially in harsh weather, helps maintain long-lasting protection and keeps your headlights in top condition.
Common Materials Used in Headlight Sealants
When selecting a headlight sealant, you’ll find several materials commonly used, each offering unique benefits and drawbacks.
Butyl Rubber sealant stands out for its flexibility and durability, providing a good seal against moisture and temperature changes.
Silicone sealants offer excellent adhesion and UV resistance, while polyurethane is valued for robust weather resistance.
Acrylic is affordable but less durable, and epoxy provides strong adhesion but lacks flexibility.
| Material | Strengths | Drawbacks |
|---|---|---|
| Butyl Rubber | Flexible, moisture-resistant | May attract dust |
| Silicone | UV & temperature resistant | Less durable under stress |
| Polyurethane | Weather resistant | Can be harder to apply |
Choosing the right sealant guarantees a good seal that protects your headlights effectively.
How to Properly Prepare Headlights Before Sealing
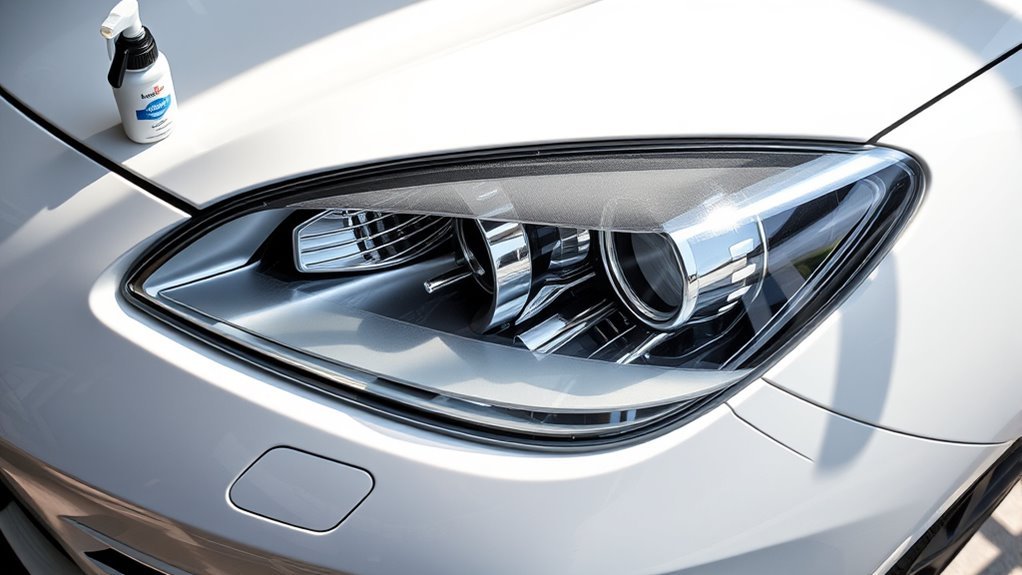
Before you apply sealant, make certain to thoroughly clean the headlight surface to remove any dirt and oxidation.
This step is crucial for ensuring a good bond.
Next, sand the lens with wet/dry sandpaper to smooth out imperfections and improve adhesion.
Taking your time here will really pay off in the end.
Finally, dry and inspect the headlights carefully to guarantee no moisture remains that could weaken the seal.
A careful inspection now can save you from potential issues later on.
Cleaning Headlight Surface
Start by thoroughly cleaning the headlight surface using a gentle automotive cleaner to remove dirt, grime, and oxidation.
This step is essential because any contaminants left on the lens can prevent the sealant from adhering properly.
When cleaning headlight surface areas, take care to remove any dirt trapped in crevices or around edges.
After cleaning, use wet/dry sandpaper with grits ranging from 800 to 2000 to smooth the lens and eliminate imperfections.
Once sanding is complete, wipe the headlights with a microfiber towel soaked in rubbing alcohol to remove dust and residue.
This guarantees the surface is fully prepped for sealing.
Proper cleaning and surface preparation help the sealant bond effectively, extending the life of your headlights and maintaining clarity.
Drying and Inspection
Although you’ve cleaned and sanded the headlight lenses, you need to let them dry completely to guarantee the sealant adheres properly.
Moisture trapped on the surface can prevent the sealant from bonding and may cause future condensation inside the headlight.
After drying, perform a thorough drying and inspection of the lenses.
Check carefully for any cracks or gaps in the headlight assembly—these can compromise the seal’s integrity and should be repaired before you seal your headlights.
For the best results, wipe the lenses with rubbing alcohol to remove any leftover oils or dust.
Taking these steps assures the surface is perfectly prepared, allowing the sealant to form a strong, lasting barrier against dirt, moisture, and oxidation.
Sanding and Smoothing
Once your headlights are completely dry and inspected, it’s time to focus on sanding and smoothing the lenses.
Start by removing any old sealant and heavy yellowing with coarse wet/dry sandpaper around 400 grit. Gradually move to finer grits, up to 2000, to achieve a polished, smooth surface.
This sanding process removes oxidation and imperfections, ensuring better sealant adhesion.
After sanding, thoroughly clean the headlights with rubbing alcohol to eliminate dust and debris that could interfere with the new sealant.
Make sure the lenses are fully dry before applying the sealant, as moisture can cause fogging or condensation.
For added protection and longer-lasting clarity, consider applying a clear coat after sealing to shield against UV rays and environmental damage.
Techniques for Applying Headlight Sealant Effectively
Before you apply headlight sealant, make sure the surface is spotless to help the sealant stick properly.
Spread the sealant evenly to avoid gaps that can let moisture in.
Finally, clamp the parts securely to keep everything tight while the sealant cures.
Preparing Surface Properly
Three key steps will guarantee your headlight surface is perfectly prepared for sealant application: cleaning, sanding, and drying.
First, thoroughly clean the lens with a suitable cleaner to remove dirt, grime, and oxidation. This ensures the seal adheres properly.
If there’s old sealant, use a heat gun to heat it gently. This will soften the material for easy removal and create a clean base.
Next, sand the headlight lens with wet/dry sandpaper in varying grits. This helps to smooth imperfections and improve adhesion.
Finally, make sure the surface is completely dry after sanding. This prevents moisture from interfering with the sealant.
Taking these steps seriously will help you create a strong, lasting bond between the headlight and the new sealant.
Applying Sealant Evenly
With the headlight surface clean, sanded, and dry, you’re ready to apply the sealant evenly for a secure fit.
First, use a heat gun to warm the butyl sealant slightly; this makes it more pliable and easier to work with.
Then, apply the sealant evenly along the perimeter of the headlight channel in one continuous bead.
Avoid gaps or breaks in the bead to prevent moisture from seeping in.
Taking your time to spread the sealant uniformly guarantees a tight, reliable seal between the headlight lens and housing.
Remember, an even application is essential for long-lasting protection and ideal adhesion.
This approach helps maintain your headlights’ integrity and clarity over time.
Ensuring Secure Clamping
Although applying sealant evenly is essential, securing a tight fit requires proper clamping techniques to press the headlight lens firmly against the housing.
Before you start clamping, heat the existing sealant to soften it. This improves adhesion during reassembly.
Use multiple clamps around the headlight’s perimeter to distribute pressure evenly. This helps avoid gaps that let moisture in.
While clamping, apply manual pressure to enhance the bond between the sealant and surfaces.
Don’t forget to verify all components, like bulb covers and sockets, are properly installed and sealed beforehand.
This careful approach to clamping guarantees a flush fit, preventing leaks and condensation.
Ultimately, this will prolong your headlight’s durability and performance.
Troubleshooting Common Issues With Headlight Sealing
How can you tell if your headlight seal isn’t holding up?
One key sign is condensation or fogging inside the lens.
Regular checks for condensation and fogging are crucial after resealing to catch any moisture entry early.
If you notice these issues, it often means the seal has gaps or wasn’t applied evenly.
Troubleshooting starts with making certain you didn’t overfill the channel or apply uneven pressure during sealing, as these can create weak spots.
Also, if you reused stock sealant without proper heating and clamping, the seal might not be fully watertight.
To fix common problems, inspect the seal for gaps and confirm all components are tightly secured.
Using a high-quality butyl sealant helps prevent recurring issues and keeps your headlights clear.
Best Practices for Maintaining Sealed Headlights
If you want your sealed headlights to last, you need to check them regularly for moisture, fogging, or water spots inside the assembly.
Take your time inspecting around the edges, where sealant often weakens first.
Clean your headlights frequently with automotive-safe products to prevent yellowing and maintain clarity.
Apply a new layer of sealant every six months or more often in harsh weather.
Store your vehicle in shaded or covered areas to minimize UV damage.
Address any peeling or cracking promptly to keep moisture out.
| Maintenance Task | Frequency/Tip |
|---|---|
| Check for moisture | Monthly, focus around edges |
| Clean headlights | Every 1-2 weeks |
| Reapply sealant | Every 6 months or as needed |
| Store vehicle | In shade or covered when possible |
| Repair sealant damage | Immediately upon detection |
Frequently Asked Questions
What Is the Best Headlight Sealant?
The best headlight sealant depends on your needs, but Nissan Butyl Sealant offers top quality.
On the other hand, 3M Window Weld is a budget-friendly option.
You’ll want to apply it on a dry, warm day for the best seal.
How Much Does It Cost to Get Headlights Resealed?
Getting your headlights resealed can cost you anywhere from $50 to $150, like paying a toll for clear night vision.
If you roll up your sleeves, DIY kits run about $30, saving you money and hassle.
What Type of Glue Is Used for Headlight Sealant?
You’ll typically use butyl rubber or silicone glue for headlight sealants because they’re flexible, durable, and waterproof.
Avoid epoxy since it can crack with temperature changes.
This makes butyl or silicone the best choices for lasting seals.
What Is the Best Automotive Silicone Sealant for Headlights?
You’ll want to use Permatex Black Silicone for headlights; it’s flexible, durable, and resists heat and UV.
Just make certain to follow application instructions carefully to avoid fogging and guarantee a lasting, moisture-tight seal.
Conclusion
Now that you know how headlight sealant acts like a protective shield, you can keep your headlights shining bright and clear for miles to come.
By preparing your headlights properly and applying sealant carefully, you’ll fend off moisture, dirt, and fading like a knight guarding a fortress.
It’s really all about that initial prep and application.
Remember, maintaining that seal regularly guarantees your headlights stay in top shape.
This not only enhances visibility but also contributes to safer, more confident drives every time you hit the road.
So, don’t overlook this essential maintenance step.
Investing a little time and effort in headlight sealant will go a long way in keeping your headlights clear and effective for years to come.
Stay proactive, and enjoy the benefits of bright, clear headlights on every journey!