What Is a Headlight Switch and How Does It Function?
You use a headlight switch to control your vehicle’s lighting system, allowing you to toggle between low beams, high beams, parking lamps, and fog lights as needed.
This essential component completes the electrical circuit to power your headlights, ensuring good visibility and signaling on the road.
If your headlights flicker or cycle on and off, it may indicate that the switch or its contacts require cleaning or repair.
Maintaining your headlight system is crucial for safe driving.
Keep reading to discover how to properly maintain and even upgrade your headlight system for better performance.
Key Takeaways
- A headlight switch controls vehicle lighting, toggling low beams, high beams, parking lamps, and fog lights.
- It completes electrical circuits to power headlights, ensuring proper visibility and signaling on the road.
- The switch sends electrical signals to headlight bulbs for safe night driving and visibility.
- Common issues include flickering or cycling headlights due to corrosion or damaged connectors.
- Regular maintenance and cleaning prevent corrosion, ensuring smooth operation and extending switch lifespan.
The Role of a Headlight Switch in Vehicle Lighting
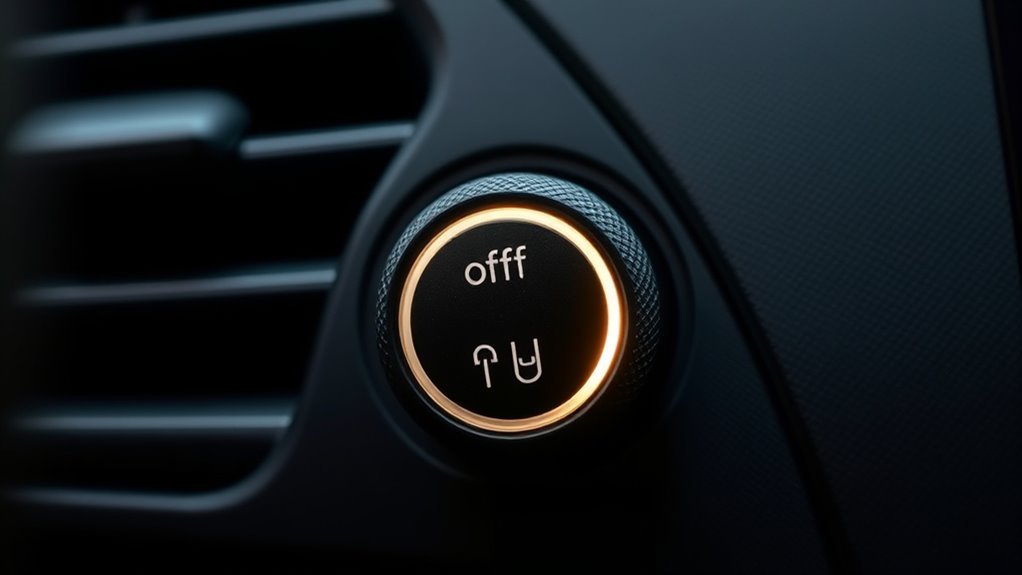
Although you might not think much about it while driving, the headlight switch plays an essential role in controlling your vehicle’s lighting system.
This light switch lets you easily toggle between low beams, high beams, and sometimes other functions like parking lamps or fog lights.
When you flip the switch, it completes electrical circuits that power the headlights, ensuring you have proper visibility and signaling on the road.
However, over time, corrosion or dirt can build up inside the switch, increasing electrical resistance and causing your headlights to flicker or fail.
That’s why regular maintenance is vital—cleaning the contacts and lubricating moving parts can keep your headlight switch reliable and extend its lifespan.
This way, you can avoid unexpected lighting issues while driving.
How Vintage Headlight Switches Operate
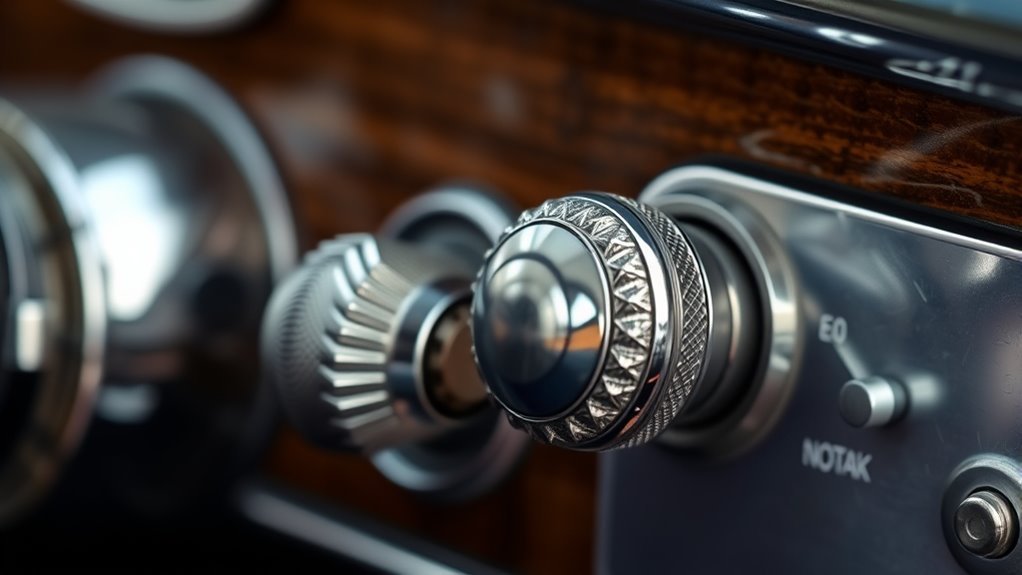
When you operate a vintage headlight switch, you control the electrical flow to your vehicle’s headlights and parking lamps.
Often, this relies on a built-in circuit breaker instead of a traditional fuse for protection.
If you need to service the switch, you’ll have to remove these screws carefully to open the casing.
Inside, corrosion can build up on contacts, which can cause issues like cycling headlights or dimmer fog lights.
Cleaning these contacts with fine emery paper can help restore proper conductivity.
To reduce strain on the switch and improve performance, many enthusiasts opt to add an electrical relay system.
When replacing bulbs or upgrading to a new headlight, keeping the switch in good condition is essential.
This guarantees consistent lighting and prevents electrical overload, helping to keep your vintage vehicle running smoothly and safely on the road.
Common Problems With Headlight Switches
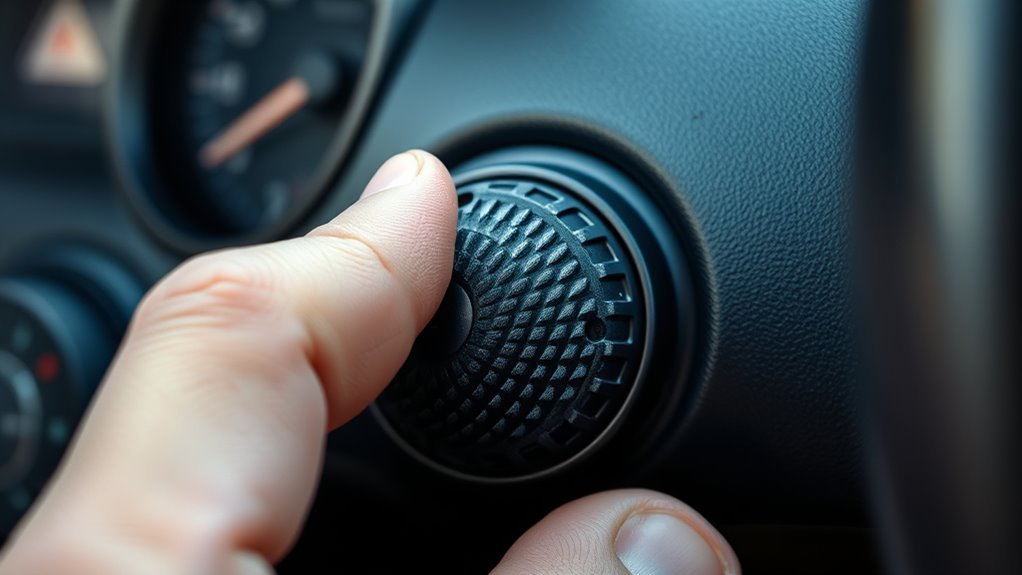
You might notice your headlights cycling on and off or flickering.
This often points to corrosion or increased resistance in the switch contacts.
Damaged connectors can also disrupt power flow, causing erratic behavior or failure.
Understanding these common issues helps you pinpoint problems before they worsen.
Corrosion and Resistance
Since corrosion can build up inside headlight switches, you might notice increased electrical resistance that causes overheating or flickering headlights.
When you turn the steering wheel to activate the lights, corroded contacts inside the switch can disrupt the flow of electricity. This is especially true if the switch hasn’t been used or maintained long enough.
This issue is fairly common in older vehicles with vintage switches.
To fix this, you can clean the contacts carefully using fine emery paper. This will help remove corrosion and restore a solid connection.
After cleaning, applying dielectric grease will protect the contacts from future corrosion. It also helps maintain smooth electrical flow.
Regular inspection and maintenance are key to preventing resistance issues. This ensures your headlights work reliably every time you steer and signal.
Circuit Breaker Cycling
Although vintage headlight switches use circuit breakers to prevent overheating by cycling the lights off and on during short circuits, you might still experience frequent cycling if the contacts inside the switch are corroded or worn.
Corroded contacts increase electrical resistance, causing the switch to overheat and trigger the circuit breaker repeatedly.
Since headlights draw higher amperage than parking lamps, any added resistance stresses the switch further.
To reduce cycling, regularly inspect and clean the switch contacts to maintain good conductivity.
Additionally, installing an electrical relay system can help by taking the heavy current load off the switch, extending its lifespan and preventing unnecessary cycling.
Keeping your headlight switch in good condition guarantees reliable operation and safer nighttime driving.
Connector Damage Effects
Circuit breakers and worn contacts aren’t the only culprits behind headlight issues; connector damage can also cause significant problems.
Burned pins or corrosion can disrupt electrical flow, causing headlights to malfunction—sometimes regular lights won’t activate while brights still work. Excessive heat from high amp loads can deteriorate connectors, resulting in poor contact and intermittent operation.
Here’s what you should know about connector damage effects:
- Damage can prevent regular headlights from turning on properly.
- Cleaning pins often restores function, but severe damage requires replacement.
- Using dielectric grease prevents corrosion and extends connector life.
- Regularly inspect connectors, especially in vintage vehicles, to avoid dirt and moisture buildup.
Taking these steps helps maintain reliable headlight performance and prevents unexpected failures.
Steps to Clean and Repair a Headlight Switch
To clean and repair a headlight switch, start by carefully opening the switch casing to inspect its internal components for corrosion and wear.
Use fine emery paper to gently clean any corroded contacts. This restores electrical conductivity and reduces resistance.
Gently cleaning corroded contacts with fine emery paper restores conductivity and reduces electrical resistance.
After cleaning, apply a suitable lubricant to the contacts to guarantee smooth operation. This also helps prevent future corrosion.
When reassembling, make sure all parts are correctly positioned and securely fastened.
Before reinstalling the switch in your vehicle, double-check everything.
Taking these steps will help maintain reliable headlight function and extend the switch’s lifespan without requiring a full replacement.
Regular maintenance like this keeps your headlights operating safely and effectively, avoiding potential electrical issues down the line.
Upgrading With Electrical Relay Systems
Maintaining your headlight switch through cleaning and lubrication can keep it working smoothly.
But upgrading with an electrical relay system takes protection and performance to the next level.
By adding relays, you reduce the current load on your switch, extending its lifespan and improving reliability.
Relays let the headlights draw power directly, minimizing switch wear and preventing overheating.
Here’s why you should consider upgrading:
- Relays handle high-amp loads efficiently, reducing switch failure risk.
- They provide a direct power source to headlights, ensuring full voltage and brighter illumination.
- Relays protect switch contacts from corrosion and resistance buildup.
- Installation is straightforward with a relay harness and basic wiring knowledge.
Upgrading with relays is a smart move for better headlight performance and switch durability.
Tips for Maintaining Headlight Switch Performance
You should regularly check your headlight switch contacts for corrosion to prevent overheating and poor performance.
Cleaning and lubricating these contacts can keep your switch operating smoothly.
Also, upgrading with a relay system can reduce the current load and extend the switch’s lifespan.
Regular Contact Inspection
Although it might seem minor, regularly inspecting the headlight switch contacts is vital for keeping your headlights functioning smoothly.
Corroded contacts increase resistance, causing overheating or flickering headlights.
To maintain peak performance, follow these steps:
- Check the contacts for corrosion or dirt buildup.
- Use fine emery paper to gently clean any corrosion, restoring a solid electrical connection.
- Apply a suitable lubricant to prevent future corrosion and guarantee smooth switching.
- Use gentle compressed air to dry the cleaned parts, avoiding heat that could damage them.
Relay System Upgrades
Inspecting and cleaning your headlight switch contacts helps prevent common issues.
But upgrading to a relay system takes performance a step further.
By installing a relay rated for 30 amps or more, you reduce the current load on the switch, extending its lifespan.
Relays let your headlights draw power directly from the battery, bypassing the switch and minimizing voltage drops caused by corroded contacts.
This guarantees a more stable voltage supply, enhancing headlight brightness and reliability.
To keep your relay system functioning efficiently, regularly check the relay connections and verify proper grounding.
These simple steps prevent electrical problems and maintain consistent headlight performance, giving you safer night driving and a longer-lasting switch.
Frequently Asked Questions
How Do You Know if a Headlight Switch Is Bad?
You’ll know your headlight switch is bad if your headlights don’t turn on, flicker, or cycle, while other lights work fine.
Also, check for burnt connectors or a stuck high beam indicator on the dashboard.
How Much Does It Cost to Replace a Headlight Switch?
Wondering how much it costs to replace your headlight switch?
You’ll typically pay between $50 and $300, depending on your car and labor.
Want to save? Try DIY, but be sure you’ve got the right tools.
How Much Does a Headlight Switch Cost?
You can expect to pay between $15 and $100 for a headlight switch, depending on your vehicle’s make, model, and whether you choose an aftermarket or OEM part.
Shopping around helps you find the best price.
How Do I Fix a Faulty Headlight Switch?
Don’t worry about complexity; you can fix a faulty headlight switch by removing it, cleaning corroded contacts with fine emery paper,
applying dielectric grease, and reinstalling it.
If damaged, replace it with a compatible switch from suppliers.
Conclusion
Think of your headlight switch as the command center of your vehicle’s lighting. Flicking it on is like waking a quiet night into life.
When it works smoothly, your path glows bright and safe.
By understanding its role, you can spot issues early. Keeping it clean or upgrading with relays ensures every drive is wrapped in clarity.
Take care of this small but mighty switch.
Watch how confidently the darkness fades away, illuminating your journey ahead.
In conclusion, the headlight switch plays a crucial role in your vehicle’s safety and visibility. By maintaining it and addressing any concerns promptly, you ensure a clear path on every drive. Remember, a well-functioning headlight switch not only enhances your driving experience but also helps you navigate safely through the night. So, give it the attention it deserves!