How to Replace Oil Filter Housing Gasket
To replace your oil filter housing gasket, first ensure that your BMW’s engine is cool and disconnect the battery.
Next, grab a socket wrench and carefully remove the oil filter housing bolts.
Once the bolts are out, take off the housing and remove the old gasket.
Now, it’s time to fit a new gasket evenly into place.
Make sure to clean the mating surfaces thoroughly before reassembling everything.
When putting everything back together, tighten the bolts to the right torque specifications.
Finally, reattach all connectors securely to avoid any leaks.
By following these steps, you’ll be well on your way to verifying your repair thoroughly and ensuring your engine runs smoothly.
Key Takeaways
- Ensure the engine is cool and disconnect the negative battery terminal before starting the gasket replacement.
- Remove obstructing components and use the correct socket wrench to unscrew and detach the oil filter housing carefully.
- Scrape off the old gasket completely, cleaning the housing surface to avoid leaks or damage.
- Position the new gasket evenly on the housing.
- Don’t forget to inspect mating surfaces for cleanliness before reassembly.
- Reattach the housing and tighten bolts to manufacturer torque specs.
- Finally, reconnect all electrical connectors and hoses securely.
Tools and Materials Needed
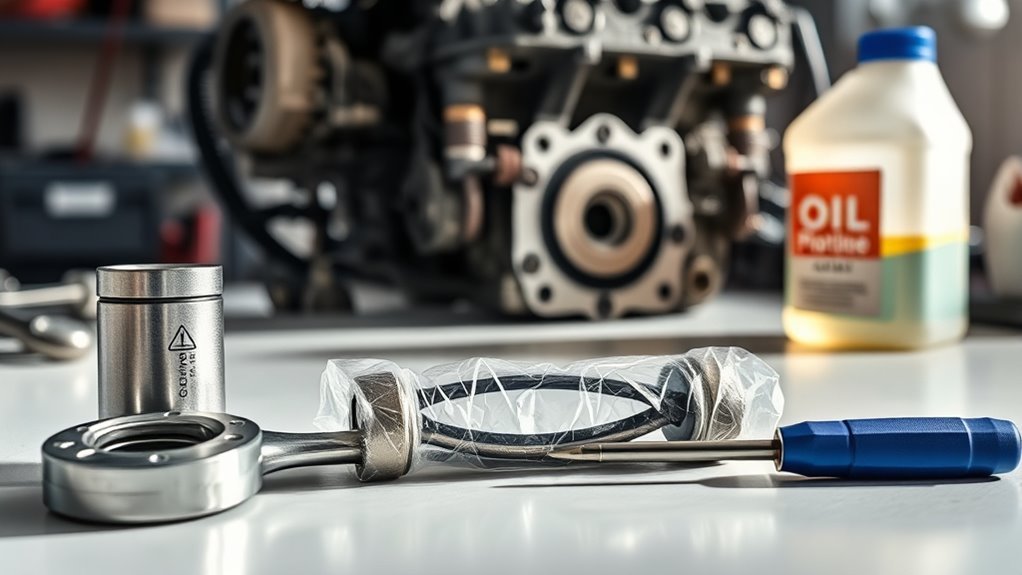
To replace the oil filter housing gasket, you’ll need a few essential tools and materials.
Essential tools and materials are key for successfully replacing the oil filter housing gasket.
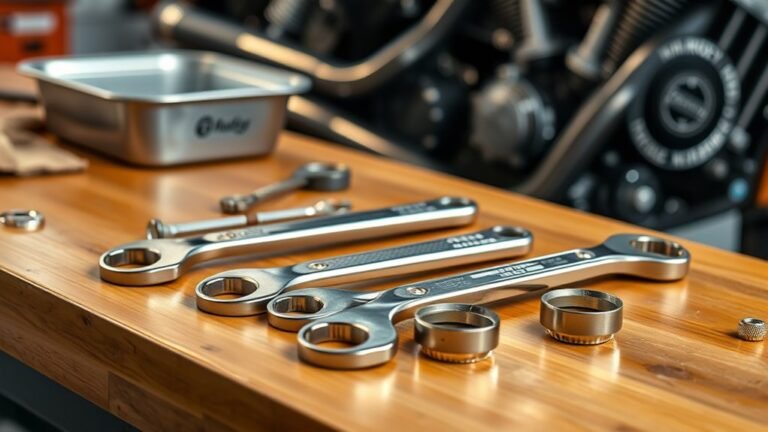
Start with a socket set, including a 10mm socket, to remove the bolts securing the oil filter housing.
A torque wrench is vital to tighten those bolts to the manufacturer’s specifications after installing the new gasket.
You’ll also want a gasket scraper or a plastic putty knife to carefully remove the old gasket without damaging the surfaces.
Keep a clean rag or shop towels handy to wipe away any excess oil and maintain a tidy workspace.
Finally, have a new oil filter ready, since replacing it along with the gasket helps prevent leaks and keeps your engine running smoothly.
These tools and materials set you up for a successful repair.
Preparing Your BMW 5 Series for the Replacement
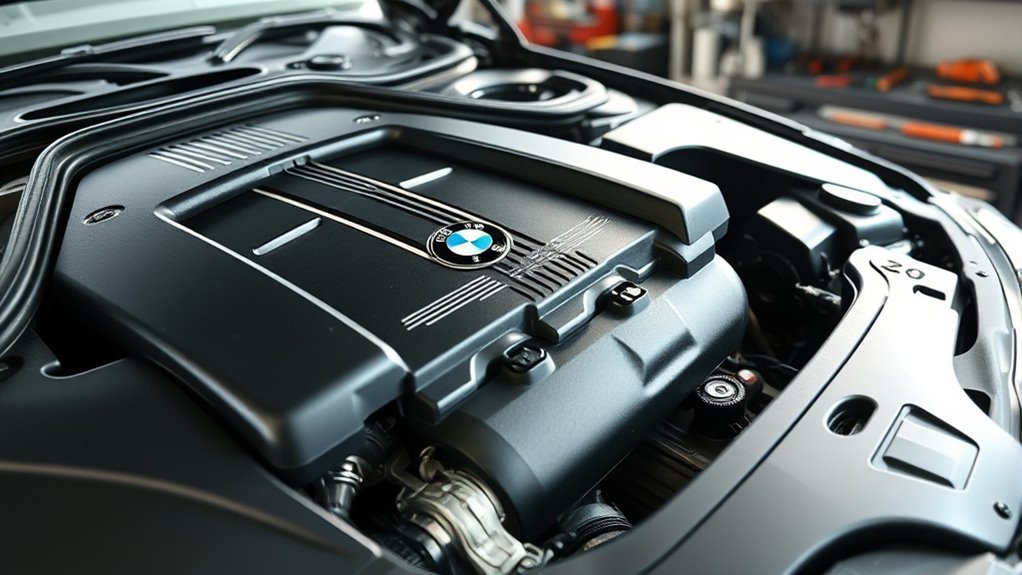
Before you start, make sure the engine is completely cool to avoid any burns.
Gather all the tools you’ll need, like your socket set and torque wrench, along with the new oil filter housing gasket.
Having everything ready will make the replacement process much smoother.
Gather Necessary Tools
Although replacing the oil filter housing gasket may seem straightforward, having the right tools on hand will make the job much smoother.
Before you start, gather everything you need to avoid interruptions and guarantee a clean, safe workspace.
Essential tools include a socket set to remove bolts, a torque wrench to tighten them to spec, and a gasket scraper to clean the surfaces thoroughly.
Don’t forget replacement oil and a new filter to complete the maintenance.
Safety gear like gloves and glasses will protect you from spills and debris, while shop towels help keep the engine area clean.
Finally, have a container ready to catch any oil that might spill during the process.
- Socket set
- Torque wrench
- Gasket scraper
- Replacement oil and oil filter
- Safety gloves and glasses
Ensure Engine Cooldown
Having gathered all your tools and materials, the next step is to make certain your BMW 5 Series engine has cooled down completely.
After driving, allow at least 30 minutes for the engine to cool, as it can stay hot even after you turn off the vehicle.
To check, use a temperature gauge or carefully touch the engine block—only proceed once it feels cool to the touch.
Park your car on a level surface and engage the parking brake to prevent any movement during your work.
While you wait for the engine to cool, organize your tools and materials so you can start the replacement smoothly and safely.
Taking these precautions helps you avoid burns and guarantees safe handling of components during the oil filter housing gasket replacement.
Removing the Oil Filter Housing
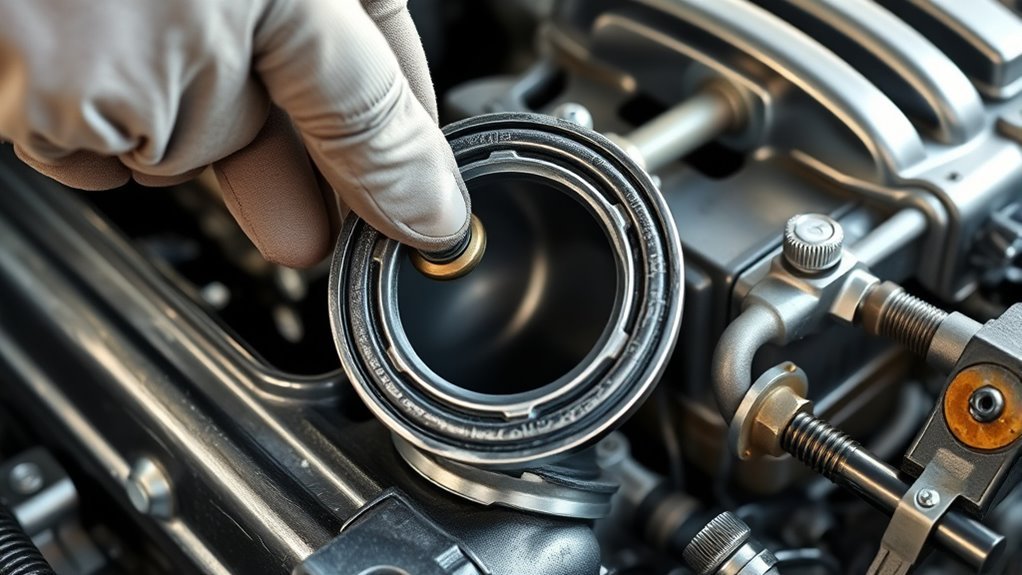
Start by making sure the engine is cool to prevent burns.
Then, disconnect the negative battery terminal to avoid any electrical issues.
Next, locate the oil filter housing near the engine block and remove any components that may be blocking access.
Use a socket wrench with the correct size to carefully unscrew the bolts holding the housing in place.
Once the bolts are out, gently pull the housing away from the engine, avoiding damage to nearby parts.
Before moving on, make sure to clean the engine block’s mating surface thoroughly.
This will help remove any old gasket residue and debris.
- Confirm engine is cool to prevent burns.
- Disconnect negative battery terminal for safety.
- Remove obstructing components for clear access.
- Use proper socket size to avoid bolt damage.
- Carefully detach housing without harming adjacent parts.
Replacing the Oil Filter Housing Gasket
With the oil filter housing removed and the mating surface cleaned, you’re ready to replace the oil filter housing gasket.
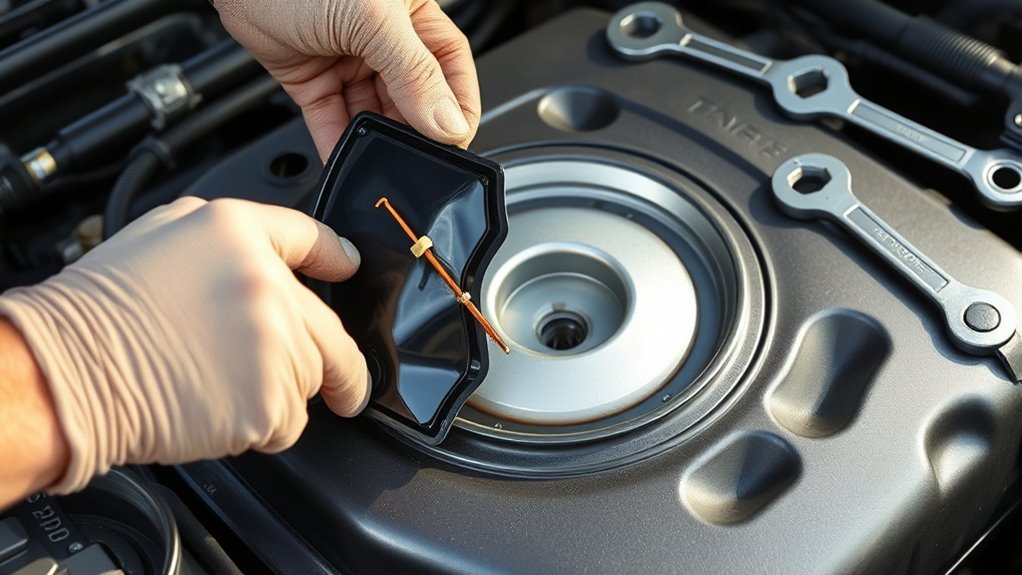
Carefully remove the old gasket from the housing, ensuring no remnants remain that could cause leaks.
Position the new gasket precisely on the housing, making sure it sits evenly to create a proper seal.
This step is crucial to prevent dangerous oil leaks that can damage your engine.
Replacing the gasket regularly helps maintain ideal oil pressure and extends your engine’s life.
Taking on this DIY task saves you considerable repair costs compared to professional service.
Follow the video instructions closely—they guide you step-by-step, making the process straightforward regardless of your skill level.
With the new gasket set, you’re prepared for the next phase.
Reassembling and Securing Components
Carefully position the oil filter housing back onto the engine block.
Make sure the new gasket sits evenly to prevent leaks.
Ensure the new gasket is evenly positioned to maintain a proper seal and prevent leaks.
Before securing it, double-check that all mating surfaces are clean and free from old gasket residue.
Tighten the bolts to the exact torque specified in your vehicle’s manual.
This is crucial to avoid damaging the housing or causing leaks.
Reattach any electrical connectors and hoses removed earlier.
Ensure they’re properly seated to avoid any issues down the line.
Before wrapping up, confirm that everything aligns correctly.
Also, check that nothing obstructs the housing.
Handle components gently to avoid damage during reassembly.
Verifying the Repair and Checking for Leaks
Once the oil filter housing gasket is replaced, you’ll want to run the engine for a few minutes to circulate oil and check for any leaks around the gasket area.
After the engine warms up, carefully inspect the oil filter and surrounding parts for visible leaks or oil pooling.
Keep an eye on the oil level using the dipstick to verify it stays within the recommended range, as a drop might indicate a leak.
To be thorough, take your vehicle for a short drive and recheck the gasket area afterward.
Vibrations from driving can reveal leaks that don’t appear while idling.
Catching any issues early helps confirm your repair holds and prevents potential engine damage from oil loss.
Frequently Asked Questions
How to Replace the Oil Filter Housing Gasket?
You drain the oil, remove the filter, then detach the housing.
Clean surfaces, replace the gasket, reassemble tightly, reinstall the filter, and refill oil.
Always disconnect the battery and work on a cool engine for safety.
How Much Does It Cost to Replace an Oil Filter Housing Gasket?
You’ll typically pay between $150 and $300 to replace the oil filter housing gasket.
Parts usually cost around $20 to $60.
Doing it yourself can save you on labor fees, which typically run from $100 to $200.
How Serious Is an Oil Filter Housing Leak?
An oil filter housing leak is like a slow bleed; it’s serious because you’ll lose oil,
risk engine damage, and face costly repairs.
Don’t ignore it—you’ll want to fix it before your engine starts crying for help.
Can I Replace a Gasket Myself?
Yes, you can replace a gasket yourself if you have basic tools and mechanical skills.
Just follow a detailed guide, clean surfaces thoroughly, and use a new gasket.
Also, make sure to torque bolts properly to avoid leaks and engine damage.
Conclusion
Replacing the oil filter housing gasket on your BMW 5 Series is a smart way to prevent leaks and maintain engine performance.
Did you know that about 15% of BMW owners experience oil leaks related to this gasket?
By following these steps, you’re not only saving on costly repairs but also extending your car’s lifespan.
Keeping an eye on your engine is crucial, and with regular maintenance, you’ll enjoy a smoother, more reliable ride for years to come.
In conclusion, replacing the oil filter housing gasket is an essential task that helps prevent leaks in your BMW 5 Series.
This proactive approach not only saves you money on potential repairs but also contributes to your vehicle’s longevity.
By staying vigilant with maintenance, you ensure optimal engine performance and a dependable driving experience. So, don’t overlook this simple yet crucial step in your car care routine!