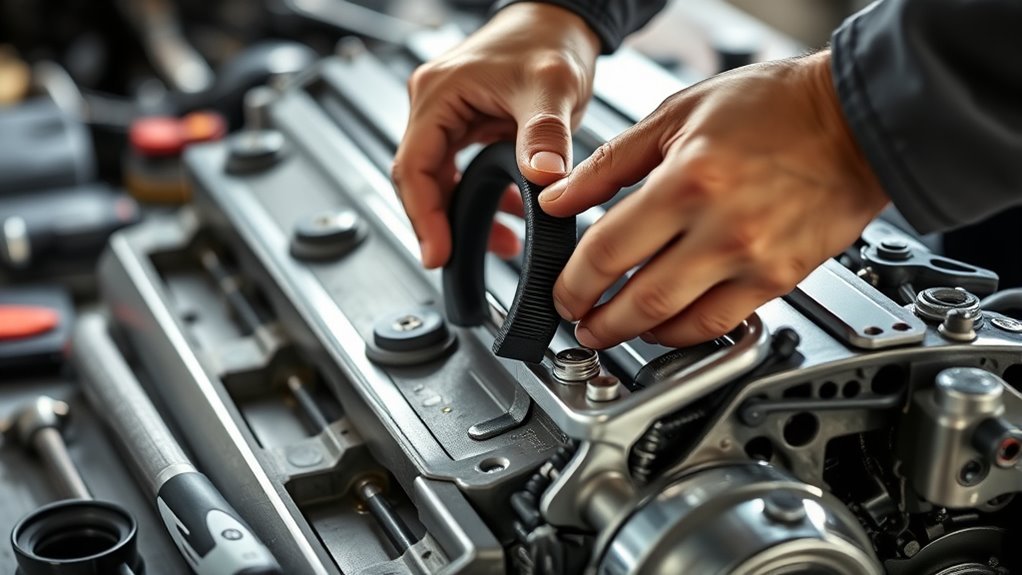
10 Essential Steps for Oil Filter Housing Gasket Replacement
First, park on a level surface, cool the engine, and wear safety gear.
Drain the engine oil if needed, then remove the oil filter and housing by loosening bolts.
Clean all old gasket material from the mating surfaces thoroughly.
Choose a compatible OEM gasket and position it correctly.
Reinstall and tighten the housing bolts evenly to specs.
Refill with fresh oil, warm the engine, and check for leaks around the gasket.
Keep following these steps to guarantee a perfect, leak-free seal.
Key Takeaways
- Park safely on level ground, cool engine, and use wheel chocks before starting gasket replacement.
- Drain engine oil to prevent spills and remove oil filter housing bolts carefully to access the gasket.
- Thoroughly clean mating surfaces, removing old gasket residue.
- Inspect the new gasket for proper fit and condition.
- Align and install the new gasket correctly. Hand-tighten housing bolts evenly, then torque to manufacturer specifications.
- Refill engine oil, warm the engine, and inspect the gasket area closely for leaks.
- Don’t forget to re-torque bolts if necessary!
Prepare the Vehicle and Ensure Safety
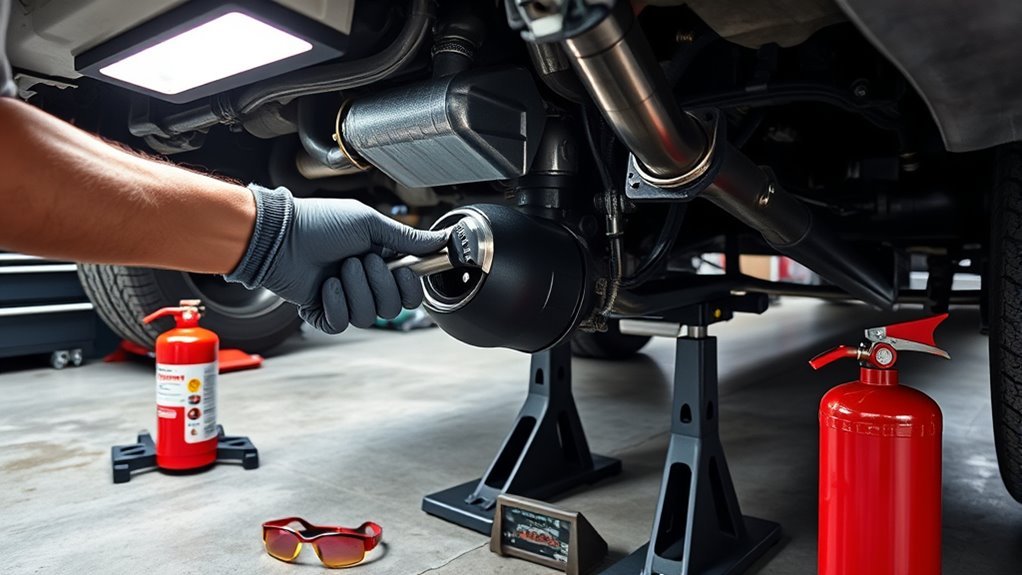
Before you begin replacing the oil filter housing gasket, make sure your vehicle is parked on a level surface.
It’s important that the engine is completely cool to avoid burns.
To prepare the vehicle properly, engage the parking brake and place wheel chocks behind the wheels. This will prevent any movement while you work.
Next, gather all necessary tools and locate the oil filter housing for easy access.
And don’t forget to wear appropriate safety gear—gloves and safety goggles—to protect yourself from oil spills and debris.
Place a large oil catch tray beneath the filter housing to catch any leaking oil during removal.
Taking these steps to prepare the vehicle and guarantee safety will help you complete the oil filter housing gasket replacement smoothly and without injury.
Drain Engine Oil if Necessary
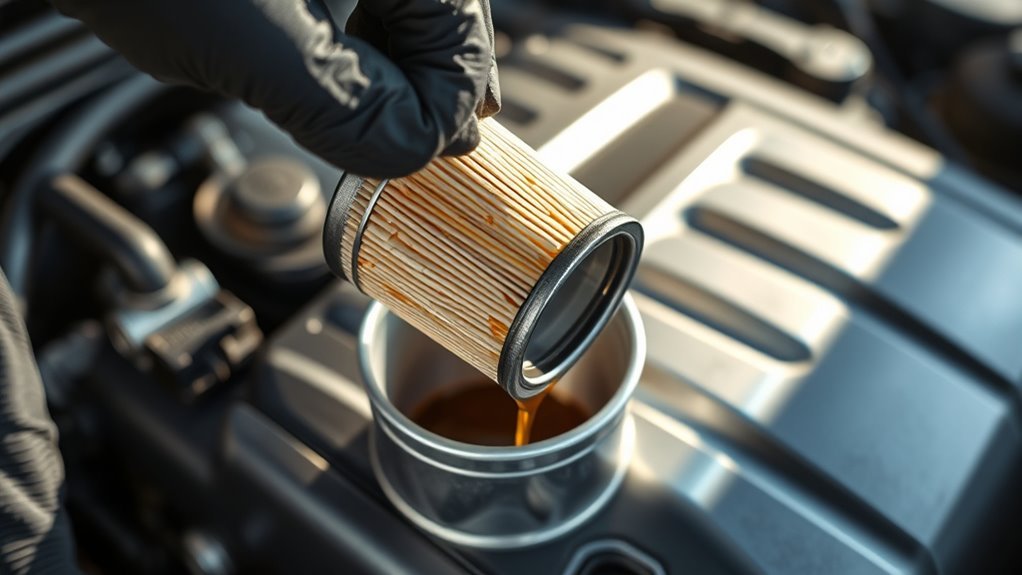
Before you replace the oil filter housing gasket, check if you need to drain the engine oil to prevent spills and leaks.
Skipping this step can cause messy oil backflow and make the job harder.
Always follow your vehicle’s guidelines to know when draining is necessary.
When to Drain Oil
Although it might seem like an extra step, draining the engine oil is essential when replacing the oil filter housing gasket.
This prevents spills and keeps your workspace clean.
Draining the oil before you start helps avoid oil spillage when you remove the gasket, which can otherwise create a mess and complicate the replacement process.
You should drain the oil anytime you’re replacing the oil filter housing gasket to reduce the risk of leaks during removal.
This also gives you a chance to inspect your oil’s condition and decide if an oil change is needed.
Many DIY mechanics include draining the oil as part of routine maintenance, ensuring a smoother gasket replacement and better overall engine performance.
Don’t skip this step—it makes the job cleaner and easier.
Risks Without Draining
Skipping the step of draining your engine oil can cause major spills that make your workspace unsafe and messy.
If you don’t drain the oil, leftover fluid in the filter housing can disrupt the seal of the new housing gaskets and rubber ring, leading to leaks. Plus, oil contamination during installation can harm your engine’s lubrication system.
Before replacing the gasket, draining lets you:
- Prevent oil spills that stain your workspace and create hazards.
- Inspect the housing and surrounding parts for damage or debris.
- Guarantee the rubber ring and housing gaskets seat properly without contamination.
Proper drainage and disposal protect both your engine and the environment.
Remove the Oil Filter and Housing Assembly
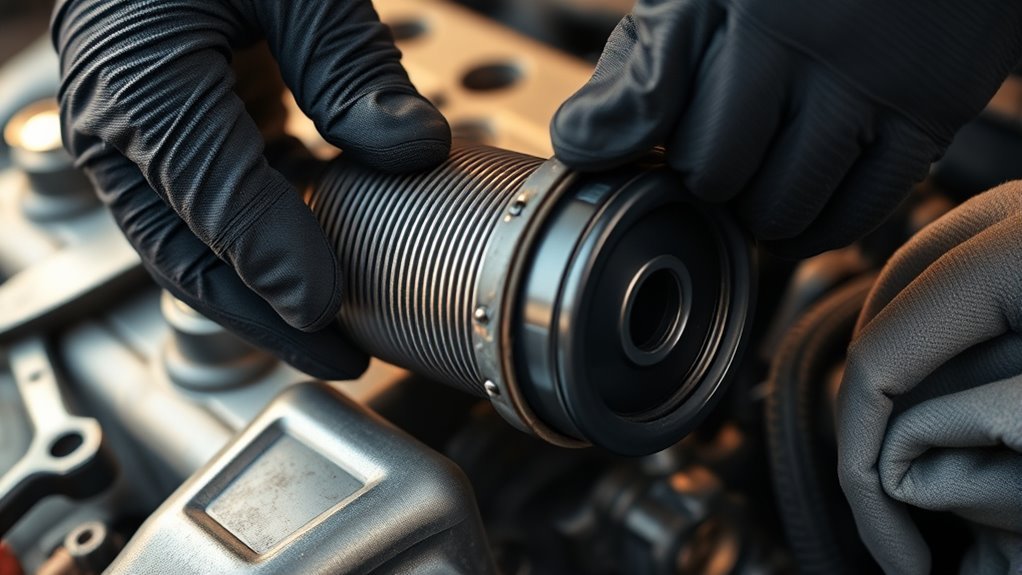
Start by draining the engine oil to prevent spills and keep your workspace clean.
Place a large tray beneath the oil filter housing to catch any residual oil during removal.
Carefully detach the oil filter by turning it counterclockwise; if it’s tight, use a strap wrench to avoid damaging the filter or housing.
Once the filter is off, locate and unscrew the bolts securing the oil filter housing using a socket or ratcheting box wrench.
Remove the housing gently to expose the gasket area.
Remember, all rights reserved apply to this guide to protect the detailed instructions you’re following.
This step prepares you to clean the mating surfaces thoroughly before installing the new gasket and housing assembly in the next phase.
Clean the Mating Surfaces Thoroughly
Before installing the new gasket, make sure you remove all old gasket residue from both mating surfaces.
Use a quick-drying solvent to clean away any oil or debris that might interfere with the seal.
Then, shine a strong light on the surfaces to confirm they’re completely clean and ready for the new gasket.
Remove Old Gasket Residue
Carefully remove all old gasket material from both the oil filter housing and engine block surfaces to guarantee a reliable seal.
Even tiny remnants can cause leaks, so take your time.
Use a sturdy scraper or gasket remover tool to gently lift off residue without damaging the metal surfaces.
To make sure you haven’t missed anything, shine a strong light over the area and inspect closely.
You might need to repeat the cleaning a few times until the surfaces look spotless.
Here’s how to visualize this process:
- Scrape off visible gasket pieces carefully.
- Inspect surfaces under bright light for hidden residue.
- Repeat cleaning until both surfaces are perfectly clean and smooth.
A clean workspace helps keep dirt away, protecting your new gasket’s integrity.
Use Quick-Drying Solvent
Although you’ve removed the old gasket residue, you still need to use a quick-drying solvent to thoroughly clean the mating surfaces.
This step effectively removes any leftover oil, grime, and stubborn gasket material that visual inspections might miss.
Apply the solvent evenly to both surfaces, and wipe them down until completely clean.
Don’t hesitate to repeat this process if you spot any residue under strong lighting.
Keeping your workspace clean is equally important, as contaminants can compromise the new gasket’s seal.
After cleaning, make sure both surfaces feel smooth and free from imperfections, ensuring the gasket will adhere properly.
Taking these precautions helps prevent leaks and guarantees a reliable, long-lasting seal when you install the new oil filter housing gasket.
Inspect Surfaces With Light
When you inspect the mating surfaces under strong light, you can spot any stubborn gasket residue or debris that might have been missed during cleaning.
Visual checks alone aren’t always enough, so shining a bright light helps reveal imperfections that could cause leaks.
Use a quick-drying solvent to clean any remaining material and repeat the process if needed until the surface is perfectly smooth.
Remember, a clean workspace is just as important to avoid contamination.
To guarantee thorough inspection:
- Hold a strong light at various angles to highlight any leftover debris or uneven spots.
- Wipe the surface with solvent-soaked cloths, then recheck under light.
- Repeat cleaning and inspection until the surface is spotless and smooth.
This careful inspection guarantees a reliable seal for your new gasket.
Inspect and Choose the Correct Replacement Gasket
Choosing the right replacement gasket for your oil filter housing is essential to prevent leaks and guarantee a reliable seal.
Start by prioritizing OEM gaskets—they’re thicker and offer better sealing than most aftermarket options.
Next, confirm the gasket material is compatible with your engine oil to avoid any chemical reactions that could degrade the seal.
Carefully compare the new gasket’s dimensions and shape to the original to ascertain a perfect fit.
Before installing, thoroughly inspect the gasket for any damage or wear; even small imperfections can cause leaks.
Apply Sealant or Lubricant if Recommended
If your gasket manufacturer recommends it, apply a thin layer of sealant or lubricant to improve the seal or ease installation.
Before doing so, make sure both surfaces are thoroughly cleaned to prevent leaks or compromised sealing.
Remember, OEM gaskets usually don’t need sealant, but a light lubricant can help with alignment.
Aftermarket gaskets might require sealant on both sides for a better seal.
Follow these steps for application:
- Use a clean brush or finger to apply a thin, even layer of sealant or lubricant.
- Avoid excess application to prevent squeeze-out or contamination.
- Let the sealant set briefly if specified by the manufacturer before positioning the gasket.
Always adhere to manufacturer guidelines to guarantee peak sealing performance.
Position the New Gasket on the Housing
After applying sealant or lubricant as recommended, clean both the oil filter housing and gasket surfaces thoroughly to remove any old gasket material or debris.
Next, align the new gasket carefully with the housing. Make sure it sits evenly in its groove without any twists or overlaps.
If you’re using an aftermarket gasket, apply a thin layer of gasket sealant to one side. OEM gaskets usually don’t need this.
Press the gasket gently into place so it adheres properly, but avoid pressing too hard to prevent distortion.
Finally, check that all bolt holes remain accessible for tightening.
Proper positioning guarantees a secure fit and helps prevent leaks once you reinstall the housing and tighten the bolts.
Reinstall the Oil Filter Housing and Secure Bolts
Carefully position the oil filter housing onto the engine, making certain the new gasket stays perfectly aligned to prevent leaks.
Before doing so, confirm both mating surfaces are clean of old gasket material and oil residue. If desired, apply a thin layer of gasket sealant on both sides of the gasket, although it’s usually not necessary with OEM gaskets.
To reinstall and secure the housing bolts effectively:
- Use a ratcheting box wrench to reach the bolts in tight spaces.
- Hand-tighten each bolt evenly to avoid misalignment.
- Finally, tighten all bolts to about 20 ft-lbs using a torque wrench for a proper, secure fit.
This guarantees a leak-free seal and prevents damage to the housing.
Refill the Engine With Fresh Oil
Once you’ve secured the oil filter housing, you need to refill the engine with fresh oil to guarantee proper lubrication and protect your engine from damage.
First, verify the oil drain plug is tightly secured to avoid leaks.
Then, use the manufacturer’s recommended oil type and viscosity for your engine.
Slowly pour the new oil into the oil filler neck, using a funnel if needed to prevent spills and maintain precision.
After filling, check the oil level with the dipstick and add more if necessary to reach the correct level.
This careful approach ensures your engine receives the right amount of fresh oil, maintaining peak performance and longevity after replacing the oil filter housing gasket.
Start the Engine and Check for Leaks
Once you start the engine, let it idle and watch closely around the oil filter housing for any leaks.
Pay attention to oil seepage or drips that could signal a poor seal.
If you spot any leaks, shut off the engine immediately and double-check that all bolts are tightened to the recommended torque.
Initial Leak Inspection
How do you know if your oil filter housing gasket is leaking?
Start by warming up the engine to its normal operating temperature. This helps reveal leaks that might not be visible when the engine is cold.
Then, carefully inspect the oil filter housing and the surrounding areas for any signs of oil leakage.
Focus especially on the gasket between the oil filter housing and the block, as leaks often start there.
Use a strong light source to brighten your inspection spot and catch even small leaks.
Here’s what to look for:
- Wet spots around the oil filter housing gasket
- Pools or drips of oil beneath the engine
- Dark, oily residue tracing the gasket’s edge
If you spot leaks, address them quickly to avoid bigger engine issues.
Engine Running Observation
After you replace the oil filter housing gasket, start the engine and let it run for a few minutes to check carefully for any oil leaks around the new gasket.
While the engine runs, inspect the gasket area closely using a strong light to spot leaks that might not be immediately visible.
Catching leaks early helps prevent bigger issues and oil loss down the road.
If you notice any oil seepage, it could mean the gasket wasn’t installed properly, the surfaces weren’t cleaned well enough, or the gasket itself is faulty.
By performing this observation right after installation, you verify the gasket’s integrity and protect your engine’s health.
This saves time and avoids unnecessary repairs later.
Tightening Verification Checks
While the engine warms up, you should closely monitor the oil filter housing area for any signs of leaks.
Pay special attention to the new gasket installation and watch for oil seepage.
Once the engine reaches operating temperature, perform these tightening verification checks:
- Use a flashlight to inspect the gasket area thoroughly for any oil residue.
- Check the tightness of the housing bolts; if any feel loose, re-torque them to around 20 ft-lbs.
- Confirm that no leaks appear during this inspection, indicating the gasket is properly seated.
Completing these steps guarantees your gasket seals effectively.
This helps prevent future oil leaks and maintains engine performance.
Frequently Asked Questions
Do You Need a Gasket for an Oil Filter?
Yes, you need a gasket for an oil filter to prevent leaks.
Make sure you lubricate it before installation and avoid over-tightening.
Regularly check and replace the gasket to keep your engine running smoothly.
How Is an Oil Change Performed?
You drain the old oil, remove and replace the oil filter, then refill with fresh oil.
Don’t forget to check for leaks and oil levels after running the engine to guarantee everything’s sealed properly.
How Much Does It Cost to Get an Oil Filter Housing Replaced?
Back in the days of horse carriages, you’d pay $150 to $400 to replace your oil filter housing gasket today.
Labor costs around $100-$200, plus parts.
If the housing’s damaged, costs can soar past $1,000.
Where Is Oil Filter Housing?
You’ll find the oil filter housing on the side or bottom of your engine block.
Sometimes it’s accessible from the top of the engine bay,
but other times you might need to get underneath your vehicle to reach it.
Conclusion
Now that you’ve replaced the oil filter housing gasket, your engine’s sealing better than Fort Knox!
By following these steps carefully, you’ve prevented leaks that could’ve turned your engine into a ticking time bomb.
Remember to double-check everything and keep an eye out for any drips after starting the engine.
With a little care, you’re keeping your vehicle running smooth and protected for miles to come—
your engine will thank you big time!
—
In conclusion, replacing the oil filter housing gasket is crucial for maintaining your engine’s integrity.
By ensuring a proper seal, you can prevent leaks and avoid costly repairs down the road.
Keep monitoring for any signs of leakage to ensure your hard work pays off.
With regular maintenance, your engine will run efficiently and reliably.
Your proactive approach will not only enhance performance but also extend the lifespan of your vehicle.
So, stay vigilant and enjoy the peace of mind that comes with a job well done!