Step-by-Step Guide to Clean Your Car Radiator
To clean your car radiator, you need to ensure your engine stays cool and efficient. A well-maintained radiator can significantly extend the lifespan of your vehicle.
If you’re ready to tackle this straightforward task, gather your tools—like a 10 mm socket and a drainage pan.
First, park your car on level ground and let the engine cool down completely. This is crucial for safety.
Next, drain the old coolant by opening the radiator’s drain screw.
Once that’s done, add a cooling system cleaner and run the engine with the heat on. This will help break down any buildup inside the system.
After running the engine, drain the mixture again and flush the radiator with distilled water until the water runs clear.
Finally, inspect for any leaks and top off with fresh coolant.
Follow these steps carefully to keep your engine running cool and efficient—there’s more to guarantee a thorough job.
Key Takeaways
- Gather your tools, park on a level surface, and wait for the engine to cool before starting the radiator cleaning process.
- Next, drain the old coolant by removing the radiator drainage screw. Make sure to collect the fluid in a suitable container.
- Now it’s time to flush the radiator with Pristone cleaner. Run the engine with the heater on to ensure proper circulation, then drain and flush repeatedly with distilled water.
- After flushing, inspect the radiator, hoses, and coolant for any leaks, discoloration, or signs of corrosion.
- Once everything has cooled down, check and top off the coolant levels as needed. Don’t forget to monitor the temperature gauge regularly for optimal engine performance!
Gathering Tools and Preparing Your Vehicle
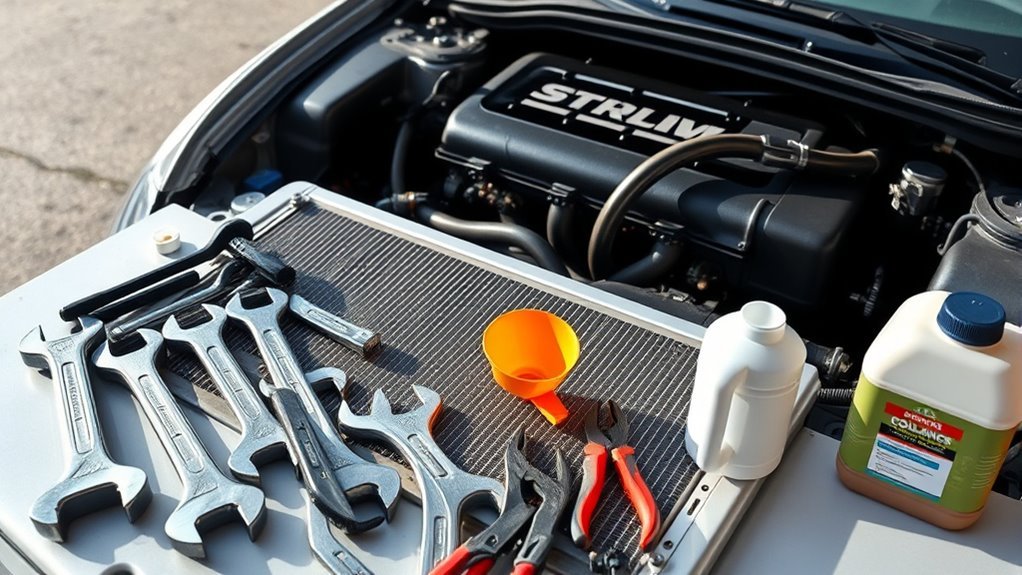
Before you begin cleaning your car radiator, make sure you’ve gathered all the necessary tools.
You’ll need a 10 mm socket for removing the plastic shield beneath your vehicle, a drainage pan, and a water hose.
Gathering your tools ahead of time guarantees a smooth process without interruptions.
Next, park your vehicle on a level surface and wait until the engine cools completely to avoid burns.
Locate the radiator’s drainage screw to prepare for coolant removal later.
It’s also a good idea to have a microfiber cloth handy to keep your hands clean and manage any spills during the cleaning.
Finally, get your Pristone cooling system cleaner and distilled water ready for the cleaning and flushing steps.
Proper preparation helps you clean the radiator efficiently and safely.
Draining the Old Coolant From the Radiator
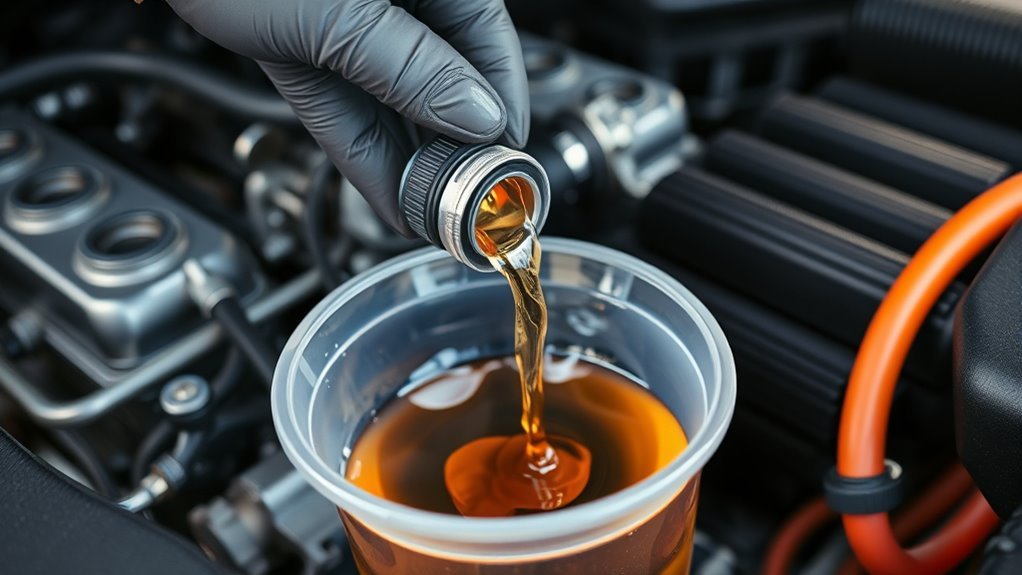
First, locate the drainage screw on your radiator.
Make sure the engine is cool before you start.
You might need to remove the plastic shield underneath with a 10 mm socket to access the drain.
Once ready, loosen the screw and collect the old coolant in a container for safe disposal.
Locate Drainage Screw
Locating the drainage screw at the bottom of your radiator is essential for draining old coolant efficiently.
You’ll typically find the drainage screw accessible from underneath your vehicle.
Before you reach it, use a 10 mm socket to remove any plastic shield blocking your way.
Once exposed, position a container or bucket directly beneath the drainage screw to catch the old coolant as it drains out.
Carefully turn the drainage screw counterclockwise to open it and let the coolant flow completely.
Make certain the coolant drains fully before moving on to the next step—this prevents contamination during the cleaning process.
Proper access to the drainage screw guarantees a smooth and clean coolant removal every time.
Coolant Removal Process
With the drainage screw exposed and a container in place, you’re ready to start removing the old coolant from your radiator.
First, make certain the engine is completely cool to avoid burns.
If there’s a plastic shield blocking access, use a 10 mm socket to remove it carefully.
Then, slowly unscrew the drainage plug at the bottom of the radiator and let the coolant drain fully into your container.
Pay close attention to the fluid’s color and look for any signs of corrosion.
This could indicate issues within the cooling system.
Once the radiator empties, securely tighten the drainage screw back in place to prevent leaks.
This step guarantees your cooling system is ready for the next phase of radiator cleaning.
Applying the Pristone Cooling System Cleaner
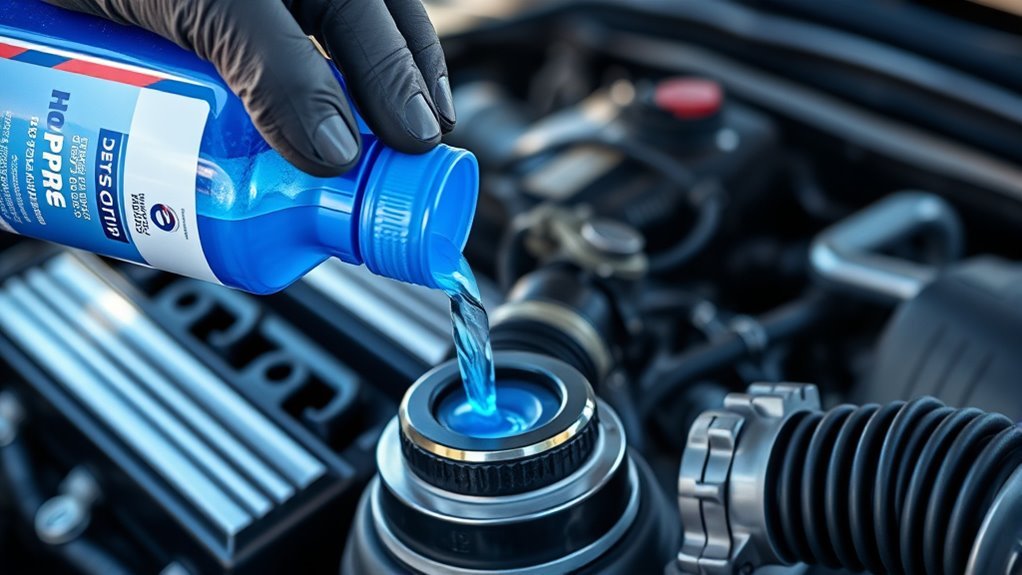
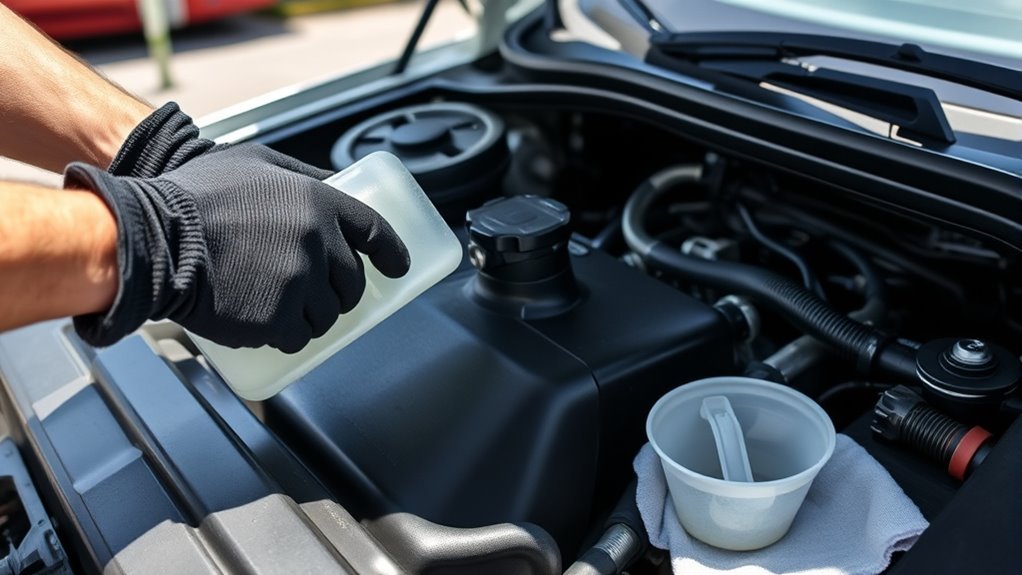
Once you’ve drained the old coolant, pour the Pristone cooling system cleaner into your radiator to get the cleaning started.
Next, turn on your vehicle and set the heater to maximum heat. Let the engine run for 10-12 minutes so the cleaner can circulate thoroughly throughout the cooling system.
While the engine runs, keep a close eye on the temperature gauge to guarantee the system stays within a safe operating range and is functioning properly.
After this cleaning cycle, turn off the engine and drain the radiator again.
Check the drained fluid for any remaining contaminants or discoloration, which indicates how much buildup was removed.
This step prepares your radiator for the next phase of cleaning, guaranteeing your cooling system is well-maintained and ready for flushing.
Flushing the Radiator With Distilled Water
Although you’ve already applied the Pristone cooling system cleaner, you still need to flush the radiator with distilled water to remove any remaining contaminants.
Start by pouring distilled water into the radiator. Then, run your vehicle for 10-12 minutes with the heater set on maximum heat.
This helps circulate the water, ensuring thorough cleaning. Keep an eye on the temperature gauge to make sure the system operates efficiently during flushing the radiator.
After the run, drain the system completely and inspect the expelled water for clarity.
If you notice any discoloration or debris, repeat the flushing process with distilled water until the expelled water runs clear.
This step is essential to guarantee your cooling system is fully cleaned before adding new coolant.
Inspecting for Leaks and System Performance
How can you tell if your radiator or cooling system has leaks or issues?
Start by inspecting for leaks around the radiator and hoses—look for stains or discoloration that signal coolant escape.
Check the coolant itself for unusual discoloration or signs of mixing with water, which could indicate contamination or leaks within the system.
While the vehicle runs, monitor the temperature gauge to ascertain it stays within normal ranges.
Also, feel for hot air blowing from the heater; this confirms effective coolant circulation.
Don’t forget to examine the radiator and hoses for corrosion or buildup, as these affect performance.
Refilling With Fresh Coolant and Final Checks
Once you’ve drained all the old fluid,
refill your radiator with fresh coolant that matches your vehicle’s specs.
Pour slowly to avoid air pockets.
Confirm the drain plug is tight to prevent leaks,
then run the engine with the heater on to circulate the new coolant.
Keep an eye on the temperature gauge and check for any leaks
to ascertain everything’s working properly.
Coolant Replacement Procedure
Start by draining all the distilled water from the radiator to remove any leftover contaminants before you add fresh coolant.
Make certain the drain plug is tightly secured to prevent leaks during the coolant replacement procedure.
Next, pour in the new coolant that matches your vehicle’s specifications.
This guarantees your water pump and entire cooling system function properly.
Turn on the engine and set the heater to maximum; run it for 10-12 minutes to circulate the coolant fully through the system.
Keep an eye on the temperature gauge to confirm everything is working as it should.
Once the engine cools down, check the coolant level again and top it off if needed.
Using distilled water initially and following this process helps maintain an efficient cooling system.
System Leak Inspection
Before refilling your radiator with fresh coolant, carefully inspect the entire system for any leaks by checking for stains or discoloration around the radiator and hoses.
Make certain to examine each radiator hose closely, as cracks or loose clamps can cause leaks.
Also, verify that the drain plug is securely fastened to prevent any coolant loss during refilling.
Once you confirm the system is leak-free and flushed of contaminants, pour in fresh coolant.
After refilling, run your vehicle with the heater on maximum for 10 to 12 minutes to promote proper coolant circulation and check the heating system’s performance.
This final step helps guarantee your radiator and hoses work efficiently without leaks before you hit the road.
Temperature Gauge Monitoring
After you’ve confirmed there are no leaks and topped off the radiator with fresh coolant, keep an eye on your vehicle’s temperature gauge as you run the engine.
Temperature gauge monitoring is essential to guarantee the engine stays within the normal operating range while the new coolant circulates.
Set your heater to maximum heat and run the engine for 10 to 12 minutes; this helps the coolant flow through the entire system.
Watch the gauge carefully—if it rises above normal, air pockets might be trapped and need bleeding out.
Once the engine cools down, check the coolant level again and top it off if necessary, since some coolant may have been displaced during flushing.
Proper temperature gauge monitoring guarantees your cooling system functions efficiently and avoids overheating.
Frequently Asked Questions
How to Clean a Blocked Car Radiator?
You drain the old coolant, add a radiator cleaner, fill with water, and run the engine with the heater on.
After circulation, drain again and check for leaks or discoloration to guarantee the blockage is cleared.
Can I Use Dawn Dish Soap to Flush My Radiator?
You might think Dawn dish soap’s a handy hero, but it’s best to skip it for your radiator.
It can cause unwanted foam and residues, so stick with cleaners designed specifically to keep your cooling system happy.
Trust me, your radiator will thank you later!
How Do I Clean the Fluff From the Inside of My Radiator?
You’ll want to drain your radiator first.
Then flush it with a high-pressure hose to remove fluff.
If needed, use a cooling system cleaner, followed by distilled water to rinse thoroughly.
This will help keep your radiator clean.
How to Do a Coolant Flush?
Since you’re already draining your radiator,
do a coolant flush by adding a cleaner like Pristone with distilled water.
Run your heater on max for 10-12 minutes.
Then, drain and refill with fresh coolant.
Conclusion
Cleaning your car radiator isn’t just about maintenance—it can boost your engine’s efficiency by up to 15%.
By following these simple steps, you’re not only preventing costly repairs but also extending your vehicle’s lifespan.
Remember, a clean radiator helps keep your engine cool and running smoothly, especially during hot months.
Taking just a bit of time now can save you headaches later, so get started and enjoy a healthier, more reliable ride!
In conclusion, keeping your car radiator clean is essential for optimal engine performance and longevity.
Regular maintenance can significantly enhance efficiency and prevent expensive repairs down the line.
So, don’t wait too long—make radiator cleaning a part of your routine to enjoy a smoother driving experience!