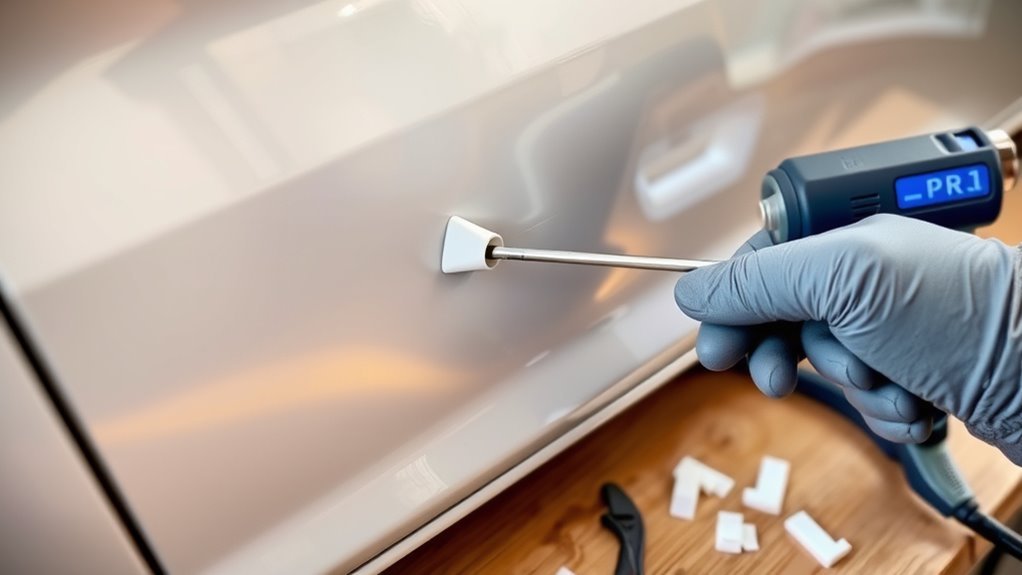
DIY Guide to Do Paintless Dent Removal for Your Car
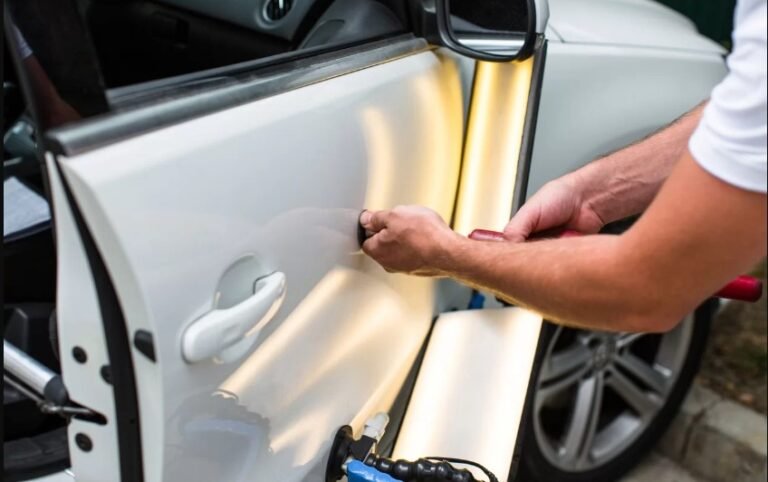
You can fix minor car dents yourself using paintless dent removal (PDR). This method is great because it avoids repainting and helps maintain your car’s finish.
To get started, clean and heat the dented area.
Next, apply glue tabs and use pulling tools to gently pop the dent out.
Make sure to pick the right tools and work in good lighting for the best results.
As you keep reading, you’ll uncover tips to tackle challenges and get professional-quality dents fixed at home.
With a bit of patience and practice, you can make your car look as good as new without breaking the bank!
Key Takeaways
- Start by cleaning and heating the dented area. This step is crucial for ensuring better glue tab adhesion before diving into the paintless dent removal process.
- Next, grab a glue gun and the appropriate-sized tabs. Attach them to the dent, then gently pull using either a hand squeeze device or a slide hammer.
- Remember to inspect the dent regularly under good lighting. Adjust your pulling technique as needed to achieve that smooth, original finish—no repainting required!
- It’s important to avoid tackling dents near edges or those with cracked paint. These types of damage typically require professional repair, which goes beyond DIY PDR methods.
- Finally, prepare a comfortable workspace. Make sure you have all the necessary tools on hand, such as glue tabs, dent rods, and optional LED lights for precise dent spotting.
Happy repairing!
Understanding Paintless Dent Removal Basics
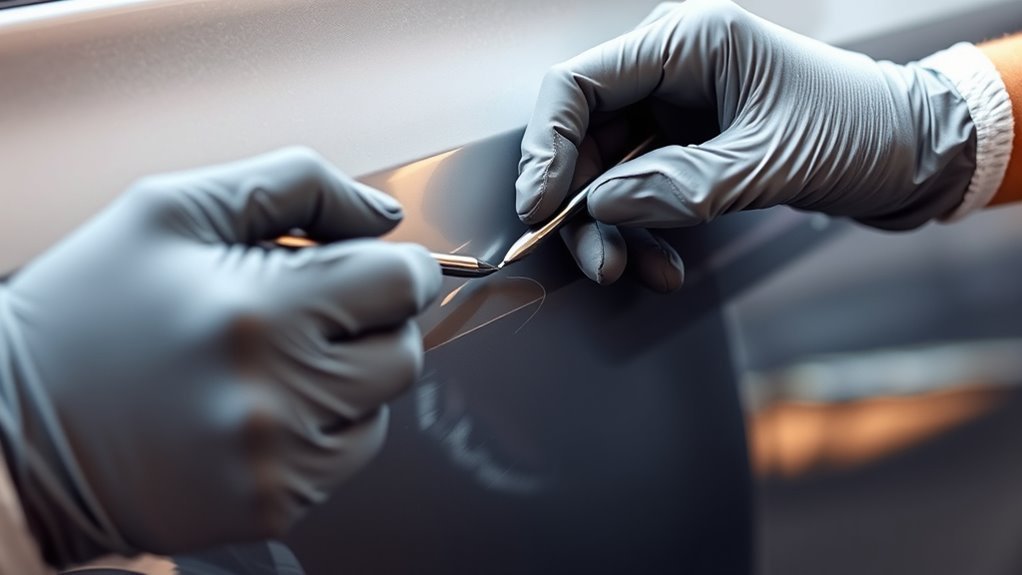
Paintless dent removal (PDR) lets you fix minor dents on your car without repainting, keeping its original finish intact.
You’ll work by gently manipulating the metal back into place, using tools like glue tabs, slide hammers, and dent repair rods.
Before you start, make sure to clean the dented area thoroughly and apply some heat to make the metal more pliable.
Clean and heat the dented spot first to soften the metal for easier repair.
Although PDR tools are pretty straightforward and affordable—starter kits often cost around $120—using them correctly is key to avoiding further damage.
Keep in mind, this method suits simple dents; complex ones near edges or with cracked paint usually need a pro’s touch.
With the basics down, you’re ready to tackle minor dents while preserving your car’s factory look.
Selecting the Right Tools for the Job
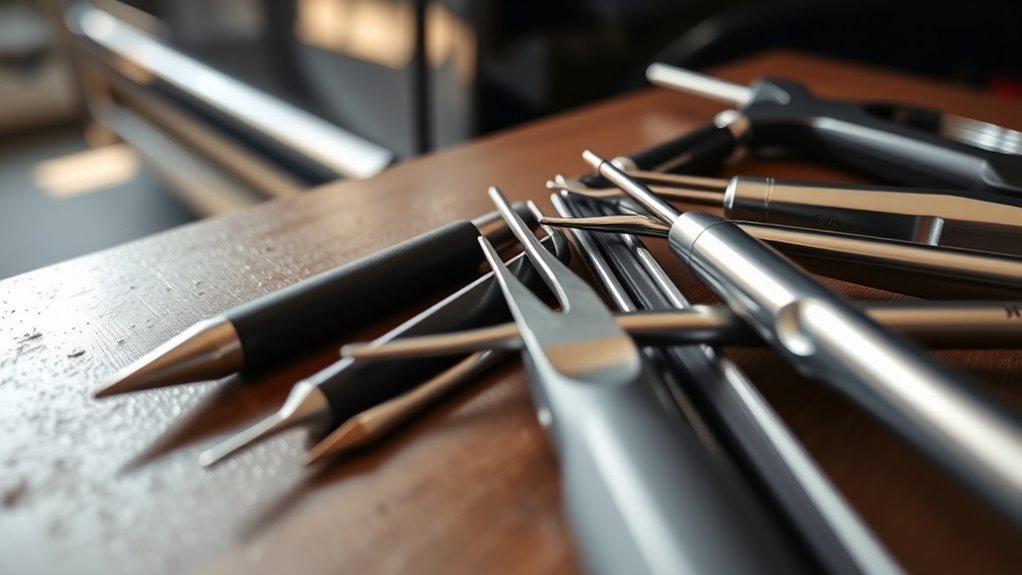
When tackling dent removal yourself, having the right tools makes all the difference.
To get started, invest in a basic toolkit costing around $120, which includes essential items for effective paintless dent removal.
Here’s what you need:
- A glue gun with a 97-piece tab kit (~$40) offers various tab sizes. Smaller tabs work best for fine dents, while larger tabs suit bigger dents.
- Dent repair rods (~$45) allow you to push out dents from the inside carefully.
- A hand squeeze device helps pull dents using the glued tabs.
While a USB-powered LED light panel (~$30) can help spot dents, it’s optional.
Avoid suction cups for small dents—they often don’t fit well and aren’t as effective as glue tabs.
Preparing Your Car for Dent Removal
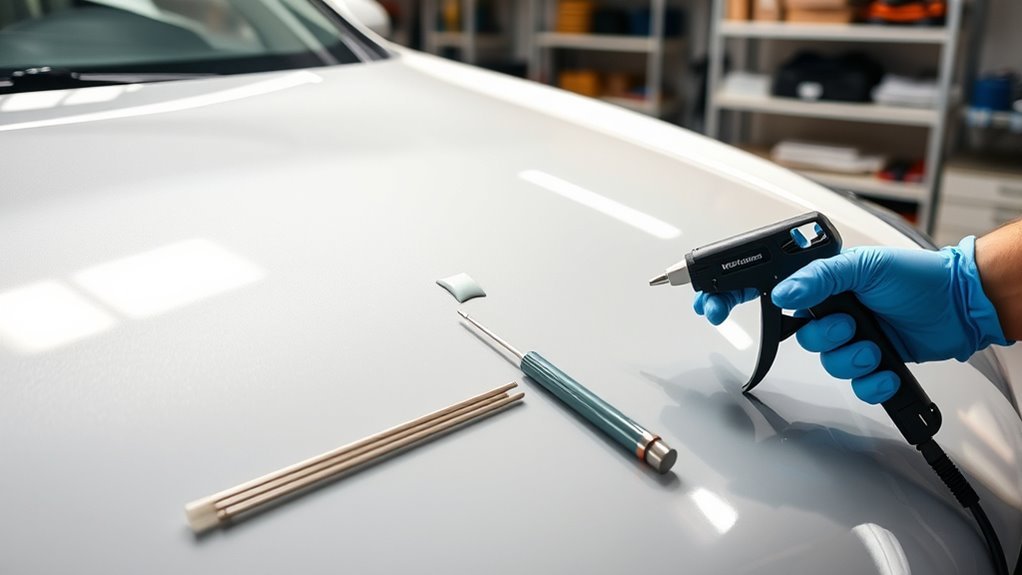
Before you start removing dents, make sure to thoroughly clean the area with an alcohol and water mixture. This step helps the glue tabs stick properly.
Next, take a close look at the dent to check its size and the condition of the paint. Be cautious and avoid areas with cracked paint.
Now, gather your tools: you’ll need a glue gun, various tabs, a hand squeeze device, and a slide hammer.
Also, set up good lighting and a comfortable workspace. A USB-powered LED light panel can help you spot dents clearly.
| Task | Purpose |
|---|---|
| Clean with alcohol | Guarantees glue adhesion |
| Inspect dent | Assess dent type and severity |
| Gather tools | Prepare for different dents |
| Set lighting/workspace | Improve precision and control |
Step-by-Step Dent Removal Process
First, you’ll want to clean and heat the dented area to prepare it for the glue tab tools.
Then, carefully apply the glue tab and use your pulling device to gently remove the dent.
Finally, inspect your work to guarantee a smooth finish and decide if any further touch-ups are needed.
Preparing the Dent Area
Although it might seem simple, properly preparing the dent area is essential for successful paintless dent removal.
This guarantees the adhesive bonds well and the metal responds to manipulation without damage.
Start by thoroughly cleaning the dent with an alcohol and water mix to remove grease or dirt.
Next, gently heat the area with a hairdryer for about 30 seconds; this softens the metal, making it easier to work with.
Then, carefully select the right size glue tab and apply strong adhesive before pressing it firmly onto the dent.
Follow these steps to set the stage for effective dent removal:
- Clean the dent area with alcohol and water.
- Heat the area for 30 seconds to soften the metal.
- Attach the properly sized glue tab with strong adhesive.
Using Glue Tab Tools
Using glue tab tools effectively requires attention to detail and patience.
Start by cleaning the dented area with an alcohol and water mix to guarantee the glue adheres properly.
Next, apply heat to soften the metal, making it easier to pull.
Select a glue tab size that fits the dent well so you can pull evenly.
Apply the glue tab to the heated area and let the glue harden completely.
Then, use a hand squeeze device or slide hammer to gently pull the dent out.
Be careful with each pull—too much force can worsen the dent or damage the paint.
You might need several gentle pulls to get the best result, so monitor your progress closely throughout the process.
Finishing and Inspection
Once you’ve applied the glue tabs and begun pulling the dent, take time to inspect the area regularly.
This helps you gauge progress and avoid causing more damage. Be certain to allow the adhesive to set properly before pulling gently with your hand squeeze device.
Keep pressure even and controlled, especially on smaller dents where smaller tabs work best.
To finish up and guarantee your repair is successful:
- Inspect the dent frequently to adjust your technique and maintain even pressure.
- Use a slide hammer cautiously for stubborn, larger dents.
- Check for paint damage before starting, as cracked paint needs professional repair.
Regular inspection is key to achieving a smooth, damage-free finish.
Overcoming Common Challenges in Dent Repair
You’ll find that suction cups don’t always fit smaller dents, so picking the right size matters.
Getting glue tabs to stick properly can be tricky, especially if the surface isn’t perfectly clean.
Plus, accessing the back of the dent with rods can be tough.
Suction Cup Limitations
Many dent repair enthusiasts find suction cups less effective on smaller or stubborn dents.
Larger cups don’t fit well, and some dents just resist suction altogether.
When suction cups fail, you might struggle to remove dents without causing damage.
To overcome these limitations, consider these tips:
- Use smaller tools or hand squeeze devices for better control on tight spots.
- Combine suction cups with glue tabs and other methods for diverse dent types.
- Avoid relying solely on suction—some dents need more precise techniques.
With these strategies, you’ll have a better shot at tackling those tricky dents!
Glue Tab Adhesion Issues
Although glue tabs can be a powerful tool for paintless dent removal, inconsistent adhesion often stands in your way.
To improve stickiness, start by cleaning the dented area with an alcohol and water mix to remove oils and dirt that block a strong bond.
Applying heat to the metal softens it, helping the glue grip better during pulling.
If tabs aren’t sticking well, check the temperature—cold surfaces weaken adhesion, so warming the area or glue can help.
For beginners, smaller glue tabs are easier to control and reduce the risk of damaging nearby paint.
Investing in high-quality glue and preparing surfaces thoroughly guarantees you get the best results without frustration from poor adhesion.
Rod Access Challenges
When working with dent repair rods, gaining proper access to the back of the dented panel often proves tricky.
This limitation can significantly affect your ability to push out dents effectively.
You’ll face challenges like tight spaces, edges, or additional panels blocking your path, which can reduce leverage and control.
Sometimes, pushing through extra panels risks causing unintended damage, so you need to work carefully.
To overcome rod access challenges, keep these tips in mind:
- Identify accessible entry points before starting.
- Use smaller glue tabs for dents where rods can’t reach well.
- Practice patience and precision, especially if you’re new to the technique.
Tips for Achieving Professional-Looking Results
To achieve professional-looking results in paintless dent removal, you’ll want to start with a clean surface by wiping the dent area with an alcohol and water mixture.
Start paintless dent removal by cleaning the area with an alcohol and water mix for best results.
This guarantees proper adhesion of the glue tabs you’ll use for pulling out the dent.
For smaller dents, glue tabs are user-friendly and effective, especially if it’s your first time.
Larger dents may require a slide hammer for controlled pulling, but handle it carefully since it’s less precise than hand squeeze tools.
Use a USB-powered LED light panel to spot irregularities and track your progress clearly.
Avoid tackling complex dents near edges or those with cracked paint, as these often need professional care to prevent further damage.
Following these tips will help you get smooth, professional-grade results.
Frequently Asked Questions
Can I Do Paintless Dent Removal Myself?
You can do paintless dent removal yourself.
While small dents respond well to glue tab kits, bigger or complex ones might frustrate you.
Start with simple dents, and know when to call a pro for the tough spots.
How Much Does PDR Cost on Average?
You’ll typically pay around $75 to $150 per dent for paintless dent removal.
But bigger or tricky dents might cost up to $300.
Getting a free estimate helps you avoid surprises before committing.
What Dents Cannot Be Removed?
You can’t remove dents with cracked paint, deep creases, sharp edges, or structural damage.
These types of issues make it difficult to achieve a smooth finish.
You also can’t fix dents on panel edges or hard-to-reach spots.
These require professional tools, skills, and sometimes invasive repairs.
Can You Show Me Some Videos on How to Remove Paintless Dents Using a PDR Tool?
You can find tons of paintless dent removal videos on YouTube and social media.
Just search “PDR tool dent removal” to watch step-by-step tutorials.
They’ll show you how to use glue tabs and hand tools effectively.
Conclusion
Now that you’ve learned the basics of paintless dent removal, you might wonder if it really works as well as professionals claim.
The truth is, with the right tools and a bit of patience, you can achieve impressive results yourself.
While some dents might be tricky, most minor dings can be smoothed out without damaging your car’s paint.
So, why not give it a try?
You might just save money and gain a satisfying new skill along the way.
Remember, paintless dent removal can be a cost-effective solution for maintaining your car’s appearance.
With practice, you’ll find it’s not only rewarding but also a practical way to keep your vehicle looking its best.
So roll up your sleeves and dive into this DIY project—you’ve got nothing to lose and a lot to gain!