Step-by-Step Guide to Drop Car Suspension
To drop your car’s suspension, you’ll want to follow a few essential steps to ensure a smooth and safe process.
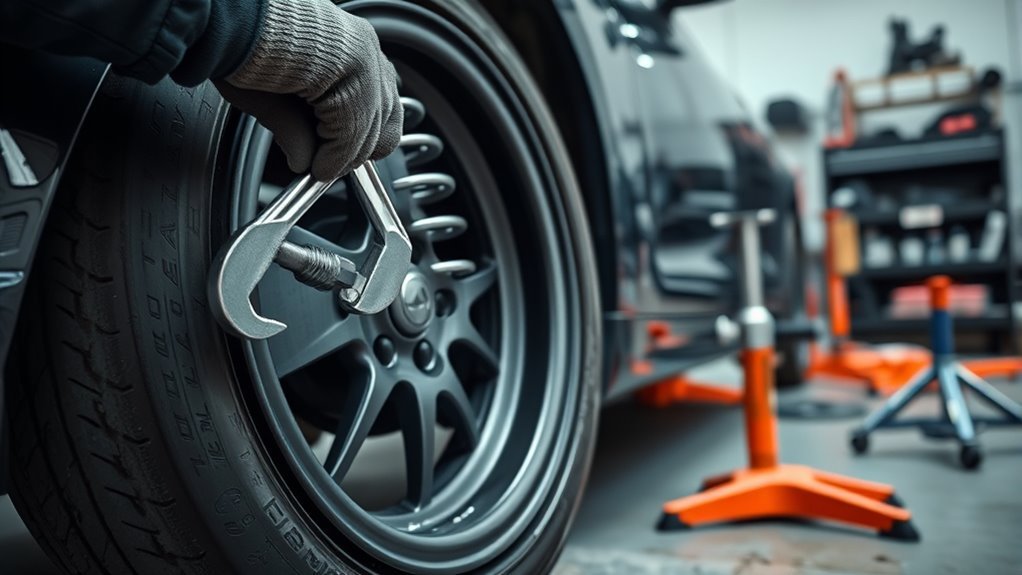
First, make sure to safely lift and secure the vehicle with jack stands on a flat surface. This is crucial for your safety while working on the suspension.
Next, remove the wheels and take a moment to inspect the front and rear suspension types.
Are they coil or leaf springs, struts, or torsion bars? This information is vital for the next steps.
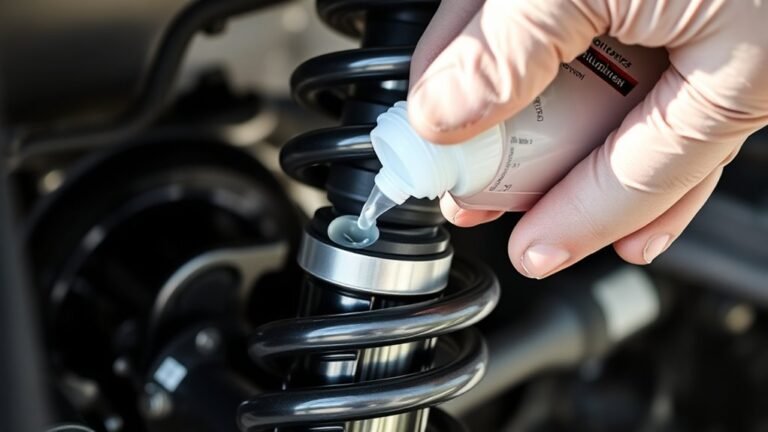
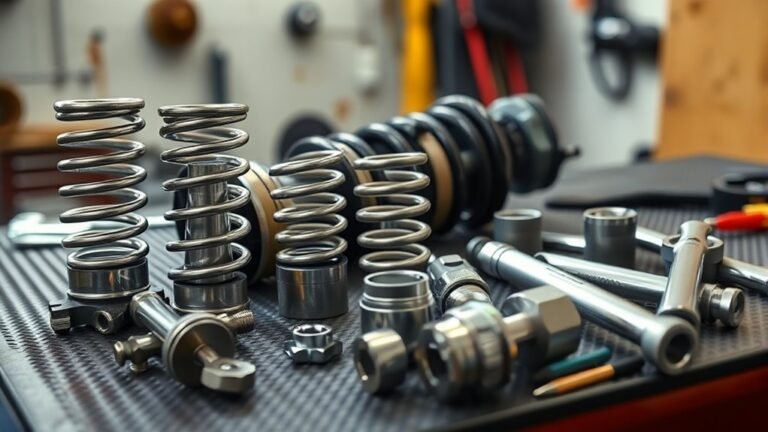
Carefully remove the springs or struts. If you’re dealing with springs, a spring compressor may be necessary for safety.
After that, it’s time to replace the components with lowering options.
Once everything is in place, reassemble the suspension securely, making sure to use the proper torque specifications.
Finally, don’t skip getting a professional alignment. This ensures proper handling and minimizes tire wear, keeping your ride smooth and safe.
Keep reading to uncover detailed steps and maintenance tips for a successful setup!
Key Takeaways
– Prepare a level workspace, gather tools, and securely jack up the car with jack stands and wheel chocks before starting.
It’s important to ensure you’re in a safe environment to work on your vehicle.
– Identify your vehicle’s suspension type (strut, coil spring, torsion bar) to determine the correct lowering method.
Knowing what kind of suspension you have will guide you in choosing the right components.
– Remove wheels, detach strut or spring assemblies carefully using a spring compressor if needed, and replace with lowering components.
Take your time with this step to avoid any accidents or damage.
– Reassemble suspension parts in reverse order, tightening all bolts to manufacturer torque specifications for safety.
Double-check your work to ensure everything is secure.
– After lowering, perform a professional wheel alignment to ensure proper geometry and prevent uneven tire wear.
This step is crucial for the longevity of your tires and overall vehicle performance.
Preparing Your Vehicle and Workspace
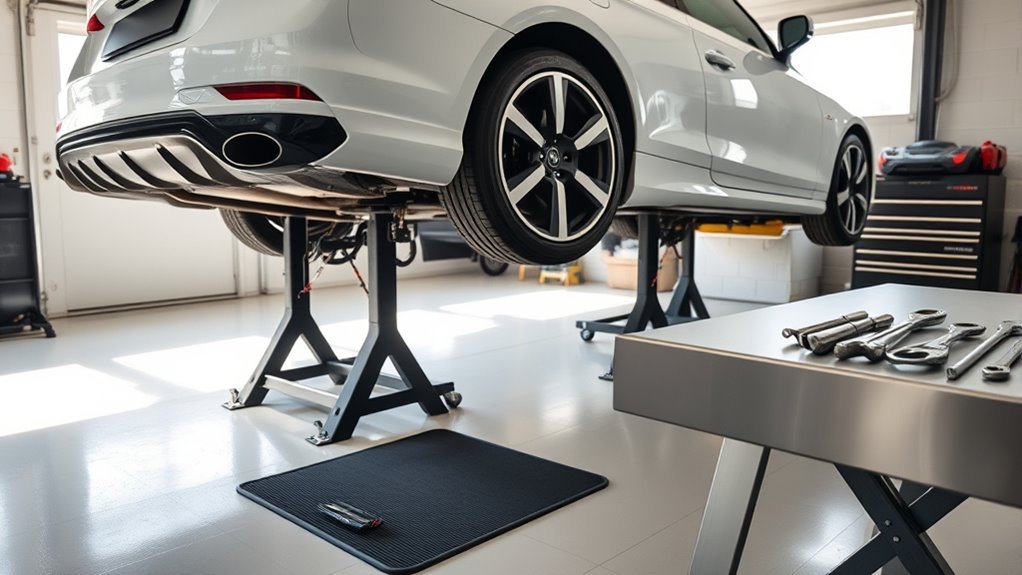
Before you begin lowering your car’s suspension, make certain you have a level surface to work on and all the necessary tools ready, such as a jack, jack stands, wheel chocks, wrenches, a socket set, and a torque wrench.
Start by engaging the parking brake and placing wheel chocks behind the rear wheels to prevent any movement.
For safety, always support your car with jack stands once it’s lifted.
Perform a thorough visual inspection of the suspension components to check for wear or damage before starting.
If your vehicle uses coil springs, have a coil spring compressor on hand—it’s essential for safely removing and reinstalling springs.
Preparing your workspace and vehicle properly guarantees a safer, more efficient suspension lowering process.
Inspecting Front Suspension Components
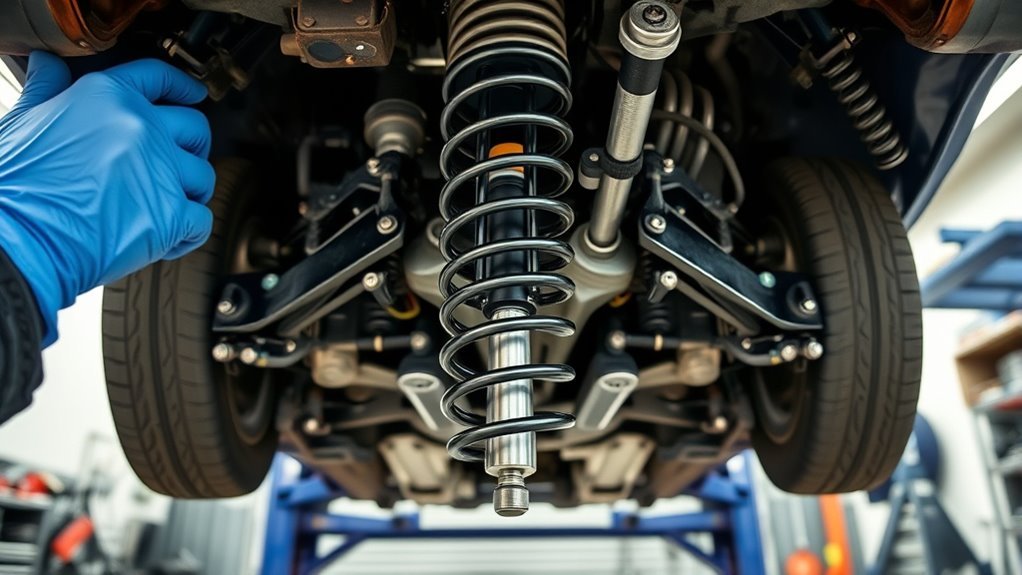
Before you start lowering your car, you need to identify your front suspension type.
Check under the fenders and in the engine bay for struts or springs.
Look closely at the vertical components and bolts to determine if you have struts, coil springs, or torsion bars.
Knowing this will help you choose the right lowering method and avoid complications.
Identifying Front Suspension Types
How can you tell what type of front suspension your vehicle has?
Start by examining key components that define your car suspension’s setup. Identifying these helps you plan the right lowering springs or modifications to maintain suspension geometry and ride quality.
First, look under the fenders for vertical struts—these indicate a strut suspension system, which is common in many cars.
Next, check the engine bay near the struts for mounting bolts; this will confirm a strut-based front suspension.
If you have a truck or SUV, spot coil springs or torsion bars, as these are typical in those vehicles.
Keep in mind that 4WD models often utilize struts instead.
Also, be sure to identify control arms; this will help you determine if you have an independent suspension, which enhances wheel articulation and handling.
Knowing these parts guarantees you choose appropriate lowering methods while preserving your vehicle’s performance.
Checking Struts and Springs
Anyone inspecting your car’s front suspension should start by closely examining the struts and springs for signs of wear or damage.
Check the struts for any leakage, which signals worn seals and directly impacts ride quality.
Look over the strut assembly for rust or corrosion, as these weaken suspension performance.
Inspect the coil springs carefully; cracks or breaks can cause uneven ride height and handling problems.
Don’t forget to assess the upper strut mounts for looseness or wear since they’re essential for maintaining proper alignment and stability.
Finally, verify that the entire strut assembly is securely fastened, preventing unwanted movement that could affect handling and safety.
Keeping these components in good condition guarantees your suspension performs at its best.
Removing and Lowering Front Springs
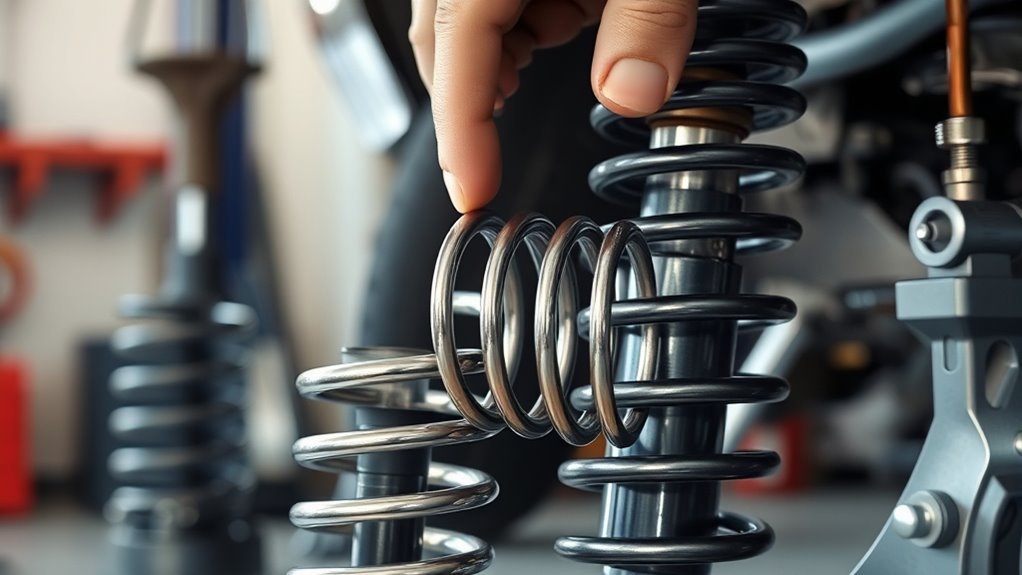
Start by safely lifting the front of your vehicle with a jack and securing it on jack stands.
Make sure the parking brake is engaged and wheel chocks are in place to prevent any movement.
Next, remove the front wheels and support the lower control arms with a jack to relieve suspension pressure.
Follow these steps to remove and lower your front coil springs:
- Unscrew the upper and lower mounting bolts of the strut assembly; use rust remover if needed.
- Carefully detach the strut assembly from the car.
- Compress the coil springs safely with a spring compressor.
- Replace the original springs with lowering coil springs, reassemble, and reinstall.
Afterward, get a professional alignment to avoid uneven tire wear and maintain ride comfort.
Assessing and Modifying Rear Suspension
Now that you’ve handled the front springs, it’s time to assess your rear suspension type—whether leaf springs or coil springs—as this affects how you’ll lower it.
You’ll also want to adjust the rear geometry carefully to keep axle alignment and suspension angles in check.
Proper tweaks here guarantee your car handles well and avoids premature wear.
Rear Suspension Types
Understanding rear suspension types is crucial when evaluating and modifying your vehicle‘s setup.
Most trucks use leaf springs, which you can lower with lowering blocks or by de-arching.
Cars and SUVs typically have coil springs, requiring shorter or aftermarket springs to lower your vehicle properly.
Independent rear suspensions need careful attention to maintain proper geometry and avoid negative camber, which can cause tire wear.
Here’s what to take into account:
- Leaf springs: Use lowering blocks or de-arch for a drop.
- Coil springs: Replace with shorter or aftermarket springs.
- Independent rear suspensions: Check CV axle angles and geometry.
- Alignment shop: Essential to correct negative camber after lowering.
Understanding these basics helps you choose the right method to safely and effectively drop your rear suspension.
Adjusting Rear Geometry
When you lower your vehicle, you’ll need to adjust the rear suspension geometry to keep your tires gripping the road properly and prevent uneven wear.
Adjusting camber and toe angles is essential, especially with independent rear suspension designs. These setups require more complex corrections than the front.
Use eccentric alignment bolts or adjustable control arms to fine-tune camber and meet alignment specs after lowering.
And don’t forget to check CV axle angles in independent setups to avoid binding and premature wear. Differential and subframe risers can help here.
For solid axle suspensions, adjust the panhard bar and consider drop brackets. This will help maintain proper axle alignment and prevent lateral movement.
Regularly inspect all rear suspension components to address wear or geometry changes. This will ensure consistent handling and tire longevity.
Reassembling and Securing Suspension Parts
As you start reassembling your lowered suspension, follow the reverse order of disassembly to verify each component aligns perfectly.
This guarantees all suspension components fit back without issues.
To secure everything properly:
- Reassemble the strut assembly, aligning it with mounting points and securely tighten the top nut using a torque wrench.
- Attach sway bar links and control arms, making sure every bolt is properly tightened to manufacturer specs.
- Use a torque wrench to securely tighten all nuts and bolts, preventing loosening during driving.
- Perform a thorough visual inspection to confirm all parts are correctly positioned with no obstructions before lowering the vehicle.
Once complete, you’ve reassembled and secured your suspension parts correctly.
Now, you’re ready for the next step before getting the alignment done.
Post-Lowering Alignment and Maintenance
After reassembling and securing your suspension parts, you’ll want to get a professional alignment to adjust angles like camber and toe. These angles often change with the new ride height.
Post-lowering alignment is essential to prevent uneven tire wear and maintain proper handling. If your drop exceeds 1.5 inches, consider installing a camber kit to correct negative camber and achieve ideal alignment angles.
Proper alignment after lowering prevents tire wear and ensures safe, smooth handling—consider a camber kit if dropped over 1.5 inches.
Alignment costs typically range from $80 to $150. You should plan on realigning annually or after any suspension changes.
Regular maintenance includes inspecting suspension components for wear or damage and monitoring tire wear patterns closely. Catching issues early helps you keep your car safe and performing well after lowering.
Staying proactive with alignment and maintenance guarantees your lowered suspension lasts longer and drives smoothly.
Frequently Asked Questions
How Do You Drop Your Car Suspension?
You drop your car suspension by choosing lowering springs or coilovers.
Next, safely lift your car with proper tools.
After that, replace the old suspension parts.
Finally, get a professional alignment to guarantee smooth handling and prevent uneven tire wear.
What Is the 30-60-90 Rule for Cars?
You follow the 30-60-90 rule by checking fluids and tires every 30 days.
This ensures everything is in good condition and ready for the road.
Next, at 60 days, make sure to inspect your brakes and battery.
These components are crucial for your car’s safety.
Finally, at the 90-day mark, perform oil changes, tire rotations, and suspension checks.
Doing this keeps your car safe and reliable for all your journeys.
How Much Does It Cost to Drop a Car Suspension?
Dropping your car suspension typically costs between $200 and $2,000, depending on parts like lowering springs or coilovers.
Don’t forget installation fees, which add $150 to $500.
Plus, you’ll need to factor in an additional $100 to $150 for wheel alignment.
Will Lowering a Car Damage the Suspension?
Lowering your car can damage the suspension if not done correctly.
It alters geometry, increases wear, and may cause uneven tire wear.
You’ll need professional alignment to avoid premature damage and maintain proper handling.
Conclusion
Now that you’ve carefully lowered your car’s suspension, you’ve given it a fresh, confident stance that’s sure to turn heads.
By taking the time to inspect, adjust, and reassemble each part thoughtfully, you’ve guaranteed a smoother, more enjoyable ride ahead.
Remember, a little patience and attention to detail go a long way in keeping your car feeling as sharp as it looks.
Enjoy the ride and the newfound connection with your vehicle!
With your car’s suspension lowered, you can truly appreciate the improved handling and aesthetics.
This transformation not only enhances performance but also elevates your driving experience.
Take pride in your work and relish the attention your car will attract.
Happy driving!