10 Essential Steps to Replace Your Car Radiator
To replace your car radiator, you need to follow a few essential steps to ensure the job is done correctly.
Start by parking your vehicle on level ground and disconnecting the battery.
Gather all necessary tools to make the process smoother.
Next, safely lift and secure your car using jack stands.
Once that’s done, drain the old coolant by opening the radiator valve.
After draining, remove the fan shroud to gain better access to the radiator.
Now, disconnect the radiator hoses and any electrical connections before carefully removing the old radiator.
With the old radiator out, install the new one and make sure to reconnect everything securely.
Don’t forget to refill the system with a proper coolant mix.
Finally, start the engine, check for any leaks, and follow the precise steps to guarantee a smooth radiator replacement experience.
With these steps, you’ll be on your way to a successful radiator replacement!
Key Takeaways
- Park on level ground, ensure the engine is cool, disconnect the battery, and remove the radiator fan shroud for safe access to the radiator.
- Next, lift and secure the vehicle using a hydraulic jack. Make sure to place axle stands under solid frame points for safety.
- To drain the old coolant, open the radiator drain valve and let it flow into a pan. Remember to store the used coolant properly for disposal later.
- Now, detach the radiator components by loosening the mounting bolts. Unplug any electrical connectors, and carefully remove the radiator from its place.
- Finally, install the new radiator. Reconnect the hoses and electrical parts, then refill with a 50:50 mix of coolant and distilled water. Don’t forget to check for leaks!
Prepare Your Vehicle and Tools
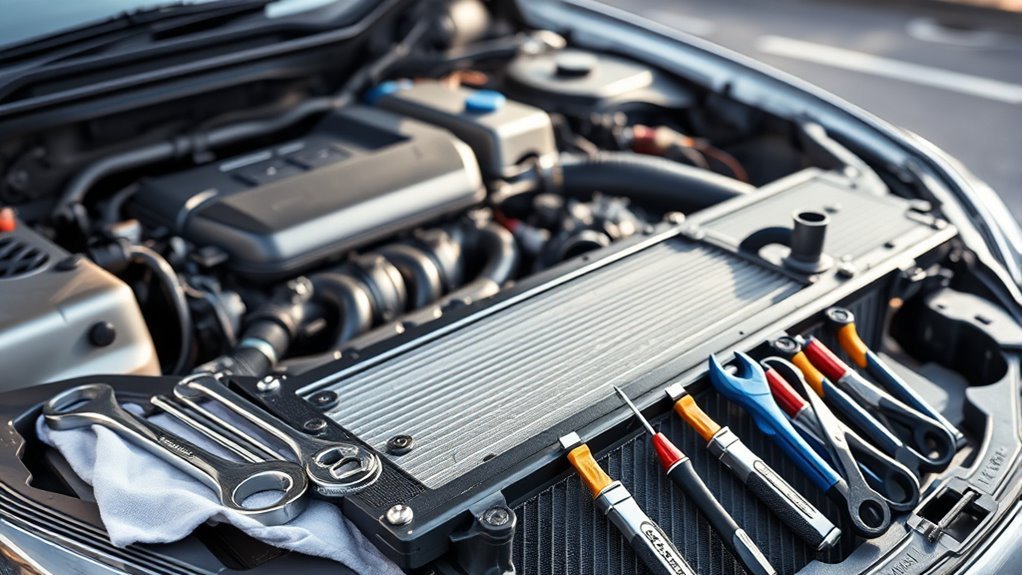
Before you begin replacing your car radiator, make certain the vehicle is parked on level ground and the engine has fully cooled to prevent burns.
Open the hood and disconnect the battery to guarantee safety while working.
Ensure safety by opening the hood and disconnecting the battery before starting any work.
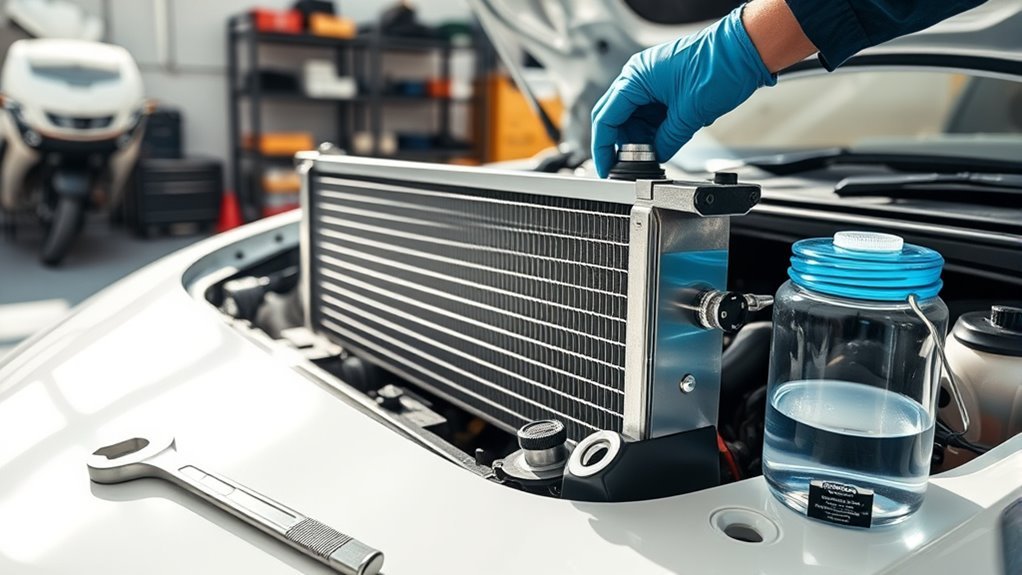
Next, gather all necessary tools like wrenches, pliers, and a coolant drain pan to make the job smoother.
You’ll also need replacement coolant, distilled water for dilution, and a muslin cloth to filter any reused coolant.
Removing the radiator fan shroud with a wrench gives you better access to the radiator.
Having your tools organized and coolant ready helps you efficiently replace a radiator without unnecessary delays or hazards.
Preparing your vehicle and tools properly sets the foundation for a successful radiator replacement.
Safely Lift and Secure the Car
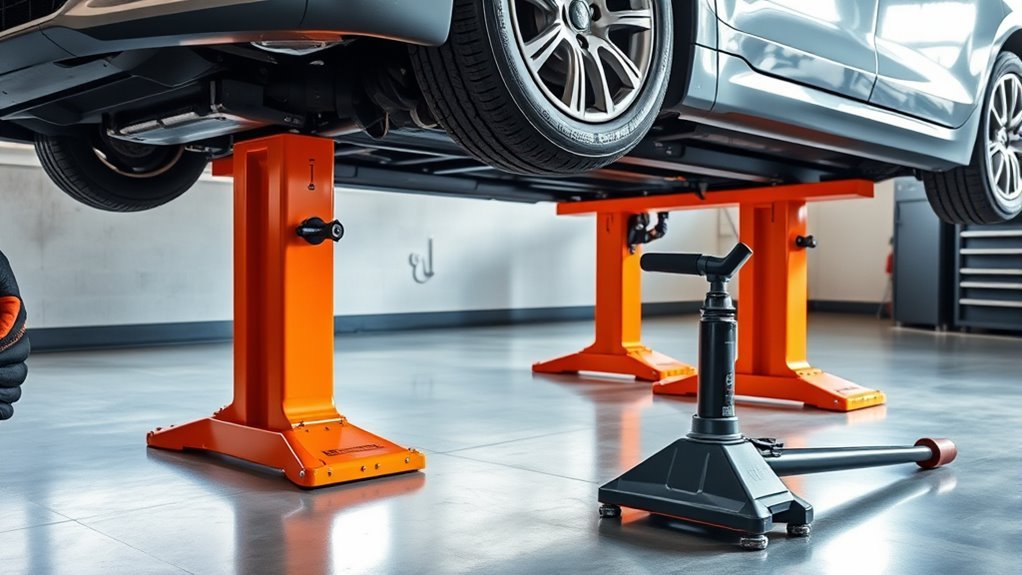
Before you lift the car, make sure to park it on a level surface and disconnect the battery.
Position the hydraulic jack under the proper lifting points, then raise the car carefully.
Always secure the vehicle with axle stands rated for its weight to keep it stable while you work.
Proper Jack Placement
To safely lift and secure your car, start by parking it on a level surface to keep it stable.
Use a hydraulic jack for proper jack placement by positioning it under the designated jack points, usually near the vehicle’s engine or frame.
Avoid lifting from weak spots to maintain safety.
After raising the car, place jack stands under solid parts to support the vehicle securely.
Never rely solely on the hydraulic jack.
| Step | Tool Used | Placement Location |
|---|---|---|
| 1. Position Car | None | Level Surface |
| 2. Hydraulic Jack | Hydraulic Jack | Designated Jack Points |
| 3. Lift Vehicle | Hydraulic Jack | Near Vehicle’s Engine Frame |
| 4. Set Jack Stands | Jack Stands | Solid Frame Points |
| 5. Confirm Safety | Visual/Hands | Stable and Secure |
Using Axle Stands
Three essential steps guarantee your car stays safely lifted when using axle stands:
park on a level surface, engage the parking brake, and position the stands under the vehicle’s specified lift points.
These steps ensure your vehicle remains secure during maintenance.
Follow this process to use axle stands correctly:
- Lift the vehicle with a jack and place the axle stands under the designated support points.
- Confirm the axle stands are rated to support your vehicle’s weight, typically around 315 kg for standard cars.
- Double-check the stands’ stability before working underneath to prevent accidents.
It’s important to never rely solely on a hydraulic jack; axle stands provide the secure support crucial for safe radiator replacement and other maintenance tasks.
Drain the Old Coolant From the Radiator
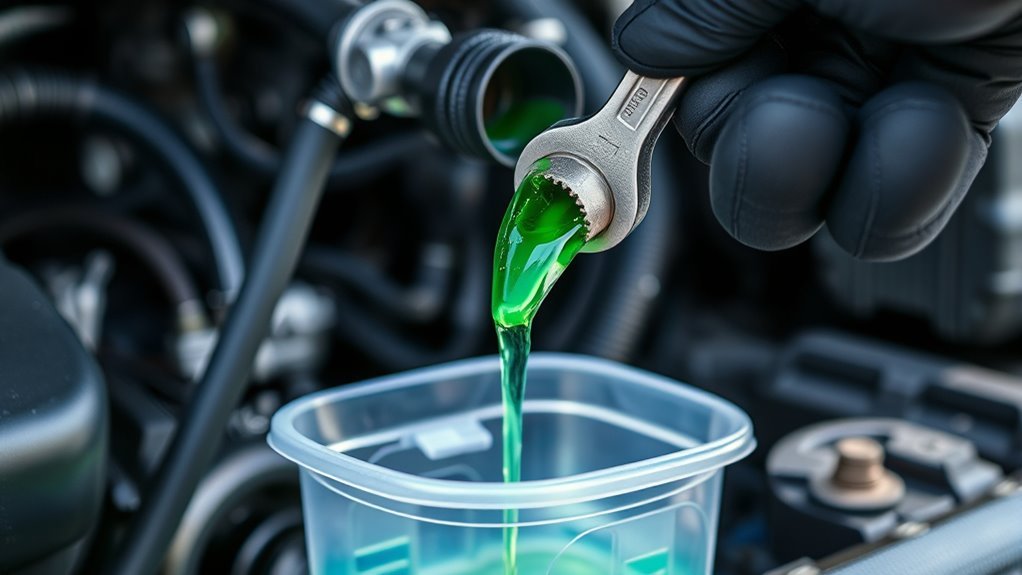
Before you start draining the old coolant, make sure the engine is completely cool and the car is securely lifted.
Disconnect the battery and remove the fan shroud to access the drain valve safely.
Collect the coolant in a container and dispose of it responsibly to protect the environment.
Safety Precautions First
While working on your car’s radiator, always park on level ground in a well-ventilated area.
Disconnect the battery to prevent electrical hazards. Following safety precautions is essential before draining the old coolant.
Use a jack and axle stands to lift the car securely, giving you safe access to the radiator.
Disconnecting the battery eliminates the risk of shorts or shocks during maintenance.
Once you drain the coolant, make sure to properly dispose of it according to local regulations to avoid environmental harm.
Here’s what to do:
- Park on level ground in a well-ventilated area and disconnect the battery.
- Use a jack and axle stands to safely lift your vehicle.
- Collect drained coolant and properly dispose of it or store for reuse.
Proper Drainage Techniques
To drain the old coolant from your radiator effectively, start by securely raising your car with a jack and axle stands to access the radiator’s drain valve.
First, park your vehicle on level ground in a well-ventilated area.
Don’t forget to disconnect the battery to avoid any electrical hazards.
Next, remove the fan shroud using a wrench to reveal the radiator drain valve.
Place a pan beneath the valve and carefully open it to begin the drainage process.
Allow all coolant fluid to fully drain out, ensuring no leftover liquid remains inside.
Collect the drained coolant in a suitable container for proper storage.
This step is essential to prevent environmental contamination, so handle the fluid responsibly.
Following this method prepares you well for the next phase of radiator replacement.
Coolant Disposal Methods
Once you’ve drained the old coolant from your radiator, the next step is disposing of it properly.
Since coolant is classified as hazardous waste, using correct coolant disposal methods is vital during radiator replacement.
Never pour old coolant down drains or into the trash.
Instead, follow these proper disposal guidelines:
- Collect the old coolant in a sealable container, avoiding spills and contamination.
- Transport the coolant to a local auto repair shop or hazardous waste facility that accepts used coolant.
- Check and comply with local regulations to guarantee safe and legal disposal of hazardous waste.
It’s important to handle this responsibly for the safety of our environment!
Remove the Radiator Fan and Shroud
Start by making sure the engine is cool and disconnecting the battery for safety before you remove the radiator fan and shroud.
First, use a wrench to loosen the mounting bolts securing the radiator shroud to the radiator and vehicle frame.
Begin by loosening the radiator shroud mounting bolts with a wrench for easy removal.
Next, carefully unplug any electrical connectors attached to the electric cooling fan to prevent damage.
Gently lift the electric cooling fan assembly out of the radiator shroud, taking care not to bend the fan blades.
Once the fan is removed, proceed to remove the radiator shroud itself by loosening its mounting bolts or clips.
Removing the radiator fan and shroud gives you clear access to the radiator, making it easier to complete the replacement without obstruction.
Disconnect Radiator Hoses and Electrical Connections
Start by loosening the clamps on the upper and lower radiator hoses with pliers or a screwdriver.
Then, carefully disconnect them to prevent coolant spills.
Make sure to catch any draining fluid in a pan to keep your workspace clean.
Don’t forget to unplug any electrical connectors, like those for the cooling fan or temperature sensors.
This will help you safely free the radiator.
Hose Removal Techniques
Carefully loosen the upper and lower radiator hoses using pliers.
Make sure you have a container ready to catch any coolant that may spill.
Proper hose removal techniques help prevent damage and guarantee a smooth radiator replacement.
When you disconnect the radiator hoses, twist them gently rather than pulling straight off. This will avoid tearing or damaging the fittings.
After removal, perform a thorough inspection of the hoses for cracks, bulges, or wear that might require replacement.
Follow these steps for effective hose removal:
- Use pliers to loosen hose clamps securely but gently.
- Twist radiator hoses slightly to break the seal before pulling off.
- Collect any coolant that spills to avoid mess and environmental harm.
These careful steps protect your radiator system and keep coolant contained.
Electrical Connector Safety
Before disconnecting any radiator hoses or electrical connections, make certain you’ve disconnected the battery to avoid electrical shocks or short circuits.
When you detach the electrical connectors, always pull on the connector body—not the wires—to prevent breakage.
This careful handling will guarantee safety and avoid costly damage.
Before removal, label or photograph each connector to assure proper reconnection during installation.
Use pliers to carefully loosen radiator hoses without damaging clamps.
If your radiator has additional cooler lines, disconnect them cautiously, ready with a catch pan for any escaping fluid.
Following these steps helps you detach all electrical connectors and hoses safely, ensuring a smooth, damage-free radiator replacement.
Preventing Fluid Spills
While the engine is still cool, you should prepare a drain pan to catch any coolant when you disconnect the radiator hoses. This will prevent spills that can damage your workspace and the environment.
When disconnecting the hoses, use pliers to loosen clamps and gently twist the hoses to remove them without damage.
Also, carefully disconnect any electrical connections like the cooling fan to avoid wire damage.
To avoid spills and handle coolant safely, follow these steps:
- Position a drain pan under the radiator before loosening hoses.
- Slowly remove hoses to let coolant drain into the pan.
- Collect and dispose of drained coolant responsibly, as it’s toxic and harmful.
Following these steps helps you avoid spills and protect both your workspace and the environment.
Detach the Radiator Mounting Bolts
Locate the radiator mounting bolts at the top and bottom of the radiator.
Then, use the correct socket wrench to loosen them without stripping.
These bolts secure the radiator firmly within the engine compartment, so take care to detach each one carefully.
Support the radiator with one hand as you remove the final bolt to prevent it from falling unexpectedly.
Keep all the radiator mounting bolts in a safe spot, as you’ll need them for reinstallation later.
By detaching these bolts properly, you guarantee the radiator can be removed smoothly without damaging the mounting brackets or surrounding components.
This step is essential for a safe and effective radiator replacement, so work methodically.
Double-check that all bolts are fully loosened before proceeding.
Carefully Remove the Old Radiator
After you’ve detached the radiator mounting bolts and confirmed they’re safely set aside, you can begin removing the old radiator itself.
First, unplug and remove the electric cooling fan to create space.
Next, carefully disconnect the upper and lower radiator hoses using pliers to avoid coolant spills. If your vehicle has an oil cooler, disconnect the cooler lines as well.
Finally, lift the radiator out of the engine compartment gently, making sure not to damage any nearby parts.
- Remove the electric cooling fan to access the radiator easily.
- Disconnect the upper and lower radiator hoses along with any oil cooler lines.
- Lift the radiator out after undoing the mounting bolts, clearing the engine compartment.
Install the New Radiator in Place
Place the new radiator carefully into the engine compartment, making certain it aligns perfectly with the mounting brackets.
Once positioned, secure it firmly using the appropriate bolts so it stays stable during operation.
Next, connect the upper and lower radiator hoses to the new radiator, ensuring they’re properly seated and clamped to prevent leaks.
Don’t forget to reinstall the radiator cap securely; this helps maintain the cooling system’s pressure.
Double-check all mounting points and hose connections to confirm everything is securely attached.
After verifying these steps, you’re ready to fill the radiator with coolant.
This guarantees the system can circulate fluid effectively once the engine runs, avoiding overheating and keeping your vehicle in top shape.
Reconnect All Hoses, Fans, and Electrical Components
Start by reconnecting the upper and lower radiator hoses firmly, making certain the clamps are tight to prevent any leaks.
Next, reattach the cooling fan and fan shroud, securing all mounting points to maintain proper airflow.
Reinstall the cooling fan and shroud, ensuring all mounts are secure for optimal airflow.
Don’t forget to reconnect any electrical components and oil cooler lines you detached earlier to avoid fluid leaks.
- Secure both radiator hoses with clamps to ascertain no coolant escapes.
- Fasten the electric fan and shroud tightly for peak cooling performance.
- Connect all electrical components and oil cooler lines properly for system integrity.
Double-check all connections to confirm everything is in place before moving on to refill coolant.
This guarantees your radiator and related parts function smoothly.
Refill Coolant and Remove Air From the System
To refill the coolant properly, begin by filtering any reused coolant through a muslin cloth to remove debris.
Then, mix fresh coolant concentrate with distilled water at the recommended ratio, usually 50:50.
Fill the radiator carefully until it brims, watching for air bubbles that signal air pockets in the engine cooling system.
Start the engine and keep it running while adding coolant as needed to expel trapped air—this “burping” prevents overheating.
Monitor the coolant level without touching it directly to avoid contamination.
Let the engine run for about 20 minutes, checking the temperature gauge to verify it stays stable.
Finally, inspect for leaks to confirm the system is sealed and functioning properly.
This step guarantees your radiator replacement performs efficiently and prolongs your vehicle’s life.
Frequently Asked Questions
What Are the Steps Involved in Replacing a Car Radiator?
You drain the coolant, disconnect hoses and fan,
remove the old radiator, install the new one securely.
Then, refill with coolant, and run the engine to check for leaks
and burp air bubbles, ensuring proper cooling function.
When Replacing a Radiator, What Else Should Be Replaced?
Think of your radiator replacement like a garden: you don’t just plant a new flower; you refresh the soil and check the watering system.
Replace the thermostat, hoses, coolant, water pump, and radiator cap to keep everything thriving.
It’s all about ensuring everything works together smoothly.
Don’t skip these essential parts!
Is It Hard to Replace a Radiator Yourself?
It can be challenging to replace a radiator yourself if you’re inexperienced.
But with basic mechanical skills and the right tools, you can manage it.
Just take your time, follow safety steps, and double-check your work carefully.
What Are the Steps to Replace a Radiator?
Replacing your radiator is like baking a cake—start by draining coolant.
Next, remove the old parts, then install the new radiator.
Reconnect the hoses, fill with fresh coolant, and finally, run the engine to check for leaks and proper temperature.
Conclusion
Replacing your car radiator might seem like climbing a mountain, but with these steps, you’re equipped to reach the summit.
By preparing your tools and carefully removing the old parts, you’re giving your engine a fresh breath of life.
Remember to reconnect everything securely and refill the coolant to keep your car running smoothly.
Follow these steps, and you’ll have your cooling system back in tip-top shape in no time.
In conclusion, tackling a radiator replacement doesn’t have to be overwhelming.
With the right tools and a bit of patience, you can successfully install a new radiator and ensure your vehicle stays cool on the road.
So, gather your supplies, take your time, and enjoy the rewarding feeling of a job well done.
Soon enough, you’ll be back on the road with a reliable cooling system, ready for the adventures ahead!