Step-by-Step Guide to Measure Wheel Backspace
To measure wheel backspace, you’ll want to start by laying the wheel face down on a clean, flat surface.
Place a straight edge across the back rim lip.
Then, grab a tape measure and find the distance from the mounting surface to the bottom of the straight edge.
Make sure the wheel is clean and stable for accurate results, and don’t forget to double-check your measurement.
You’ll also want to know how to convert backspace to offset and avoid common mistakes.
This is important for ensuring your wheels fit properly.
You can explore further here for more details!
Key Takeaways
- Place the wheel face down on a clean, flat surface with the back rim lip accessible for measurement.
- Lay a straight edge across the back rim lip to create a reference line for measuring.
- Measure the distance from the mounting surface to the bottom of the straight edge for backspace.
- Repeat measurements at multiple points around the wheel to ensure consistency and accuracy.
- Convert backspace to offset if needed using the formula: Offset (mm) = (Backspace – Wheel Centerline) × 25.4.
Tools Needed for Measuring Wheel Backspace
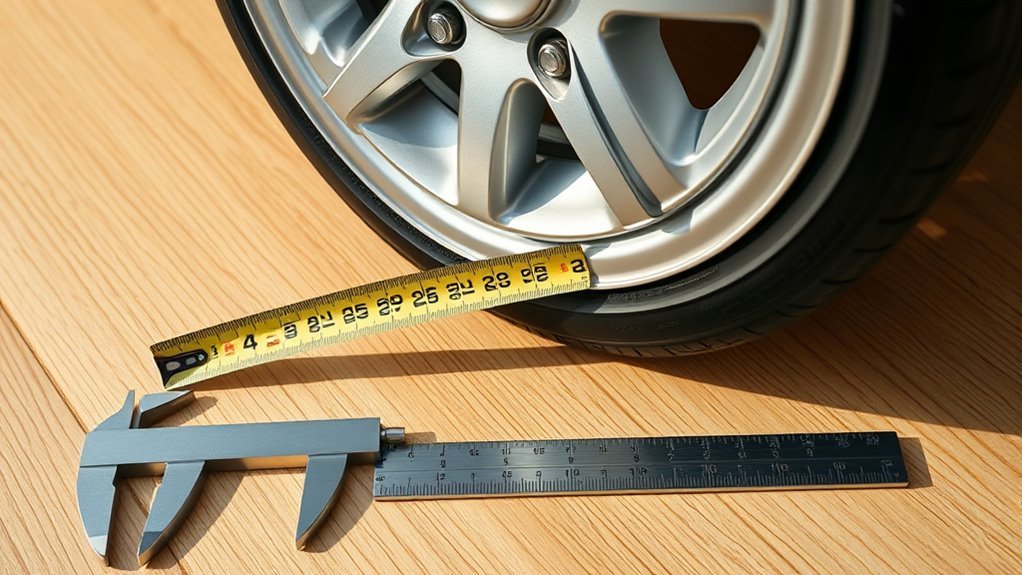
To measure wheel backspacing accurately, you’ll need a few simple tools: a straight edge like a ruler or level, and a tape measure.
Start by placing the wheel face down on a soft surface to protect its finish.
Place the wheel face down on a soft surface to avoid scratches and protect its finish.
Then, lay the straight edge across the back of the wheel, making sure it is level and spans the entire wheel width.
Next, use the tape measure to determine the distance from the straight edge down to the mounting face, which gives you the backspacing measurement.
For more precise measurement, you can use two straight edges—one across the wheel and another to measure down to the hub mounting surface.
These tools guarantee your measurements are accurate and reliable for proper wheel fitment.
Preparing the Wheel for Measurement
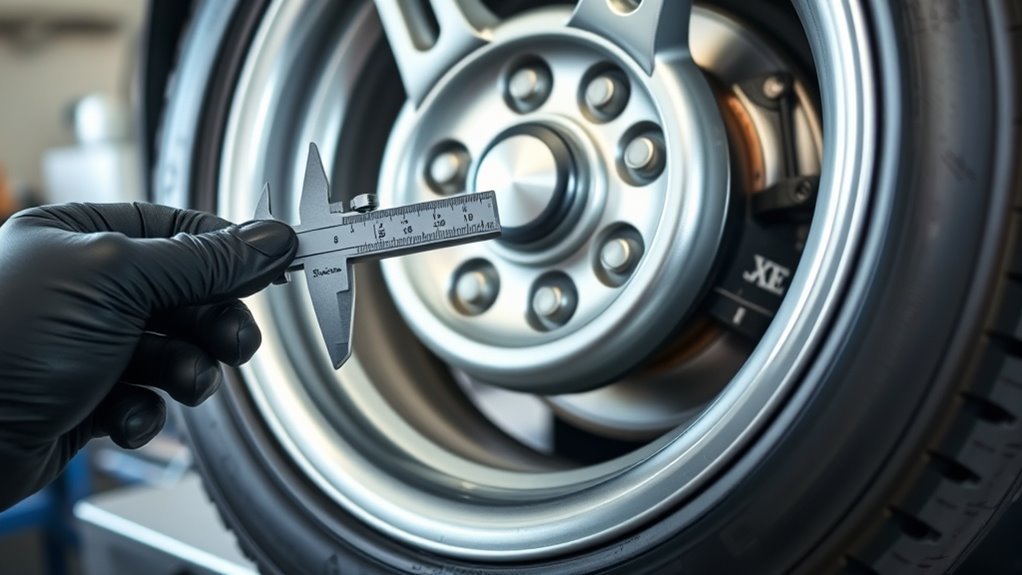
Before you start measuring, clean the wheel’s back surface to remove any dirt or debris that might affect accuracy.
Place the wheel face-down on a flat, soft surface to protect its finish.
Then, gather your straight edge and tape measure so you’re ready to take precise measurements.
Clean Wheel Surface
One essential step in measuring wheel backspace is ensuring the wheel’s surface is spotless.
Start by removing the wheel from the vehicle if possible. This gives you better access for thorough cleaning.
Use a soft cloth or brush to clear dirt, grease, and debris from the mounting surface and the rim’s lip.
This debris removal is vital for accurate measurement and reliable backspacing measurement results.
After cleaning, inspect the wheel for any damage or imperfections that could affect wheel fitment.
A clean wheel surface free of flaws helps you achieve precise wheel backspacing.
Finally, let the wheel dry completely before moving on.
Taking these steps guarantees you get dependable measurements and avoids errors during the wheel backspacing process.
Position Wheel Face-Down
Although it may seem straightforward, positioning the wheel face-down on a clean, soft surface is vital for protecting its finish and ensuring accurate measurements.
Start by placing the wheel face-down carefully to avoid scratches or damage.
Make sure the wheel is stable and won’t roll or shift during measuring.
Next, lay a straight edge evenly across the back lip of the wheel; this acts as a reference point and creates a level plane for measurement.
The straight edge resting on the back lip allows you to measure backspacing accurately—from the mounting surface of the wheel to the straight edge.
This setup is essential for precise backspacing measurement, helping you get reliable results without any guesswork or error caused by an unstable or improperly positioned wheel.
Gather Measuring Tools
After positioning the wheel face-down and securing a straight edge across its back lip, gather the measuring tools you’ll need to get an accurate backspacing reading.
You’ll want a tape measure and a reliable straight edge to guarantee precise results.
Place the wheel face down on a soft surface to protect its finish during the process.
Make certain the straight edge is level and perfectly aligned with the mounting surface of the wheel.
Using the tape measure, carefully measure the distance from the wheel’s hub mounting face to the straight edge.
This distance is your backspacing measurement.
Take your time to double-check the measurement so it’s accurate, as even small errors can affect how the wheel fits on your vehicle.
Positioning the Wheel to Measure Backspace
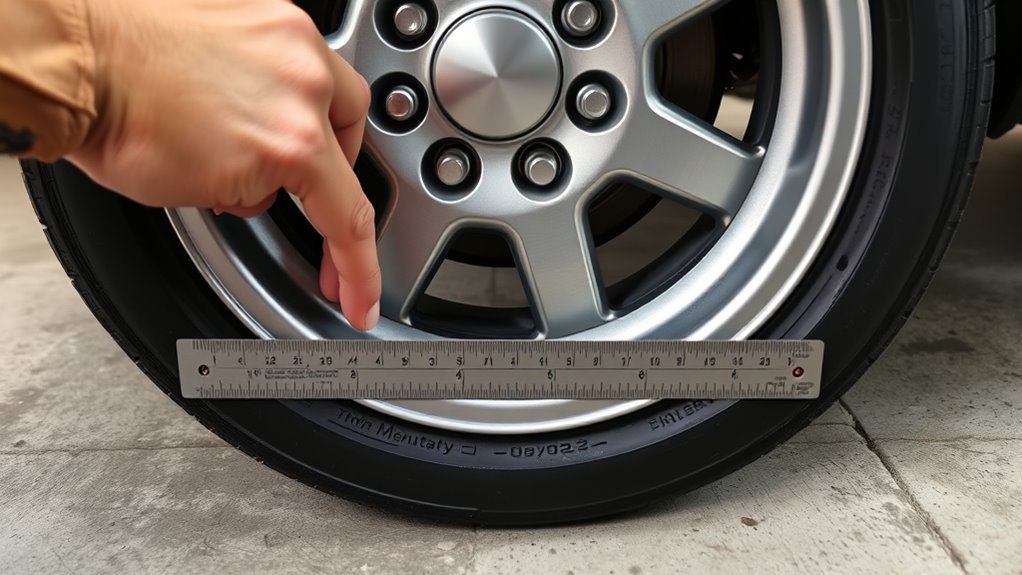
To measure wheel backspace accurately, start by placing the wheel face down on a clean, flat surface to protect its finish and keep it stable.
Proper positioning of the wheel is essential to measure backspacing precisely. Confirm the wheel is clean to avoid any debris affecting the measurement.
Next, use a straight edge across the back rim lip to create a reference line, which helps achieve an accurate measurement.
The mounting surface should be clearly visible as you measure from the straight edge down to it.
For measurement consistency, repeat this at multiple points around the wheel.
| Step | Action |
|---|---|
| 1 | Position wheel face down |
| 2 | Clean wheel surface |
| 3 | Place straight edge on back rim lip |
| 4 | Identify mounting surface |
Measuring Backspace Using a Straight Edge and Ruler
One simple way to measure wheel backspacing is by using a straight edge and a ruler.
Start by placing the wheel face down on a flat surface to protect its finish and keep it stable.
Next, lay a straight edge across the back lip of the wheel, creating a level surface for your distance measurement.
Then, measure the distance from the mounting surface, where the wheel attaches to the hub, up to the bottom of the straight edge—this gives you the backspacing in inches.
To guarantee accuracy, double-check your measurement or use two straight edges to avoid discrepancies.
Keep in mind that common backspacing ranges vary by vehicle model and wheel width, often falling between 3.5 to 5.5 inches for classic American cars.
Converting Backspace Measurements to Offset
Now that you’ve measured the backspace, you can convert it to offset using a simple formula.
Just subtract half the overall wheel width from the backspace, then multiply by 25.4 to change inches to millimeters.
Make sure all your measurements are in inches before you do the math for an accurate result.
Backspace-to-Offset Formula
When you convert backspacing measurements to offset, you’ll use a simple formula that involves the wheel’s centerline and backspace in inches.
The backspace-to-offset formula is: Offset (mm) = (Backspace (inches) – Wheel Centerline (inches)) × 25.4.
To find the wheel centerline, measure your wheel width and divide it by two.
A positive offset means your backspacing is greater than the wheel centerline, while a negative offset means it’s less.
Accurate conversion is essential for proper wheel fitment and to avoid interference with suspension components.
Before calculating, make sure to convert any fractional inches to decimals for precision.
This method helps you measure and determine the correct offset for your wheels confidently.
Inch-to-Millimeter Conversion
To convert backspace measurements from inches to millimeters, you simply multiply the inch value by 25.4, since one inch equals 25.4 millimeters.
For example, if you measure your wheels’ backspacing at 4 inches using a tape measure, multiply 4 by 25.4 to get 101.6 millimeters.
This conversion helps you accurately calculate the offset, which is the difference between backspace and the wheel centerline.
Keep in mind, negative offsets happen when backspacing is less than the wheel centerline, meaning the wheel sits further inward.
Always measure backspacing in decimal inches for precise conversion.
Use the formula: (Backspace – Wheel Centerline) × 25.4 = Offset in millimeters.
Convert early to compare wheels with metric specs easily.
Common Errors to Avoid When Measuring Backspace
Although measuring wheel backspace might seem straightforward, you can easily make mistakes that lead to inaccurate results and poor fitment.
One of the most common errors is measuring from the wrong point—always start at the mounting flange, not the rear lip.
Using a straight edge guarantees an accurate reading by keeping measurements level.
Also, don’t confuse backspacing with offset; backspacing is in inches, offset in millimeters.
Finally, always measure your existing wheels to avoid buying the wrong fitment.
| Common Errors | Correct Practice | Result |
|---|---|---|
| Measuring from wrong point | Measure from mounting flange | Accurate backspacing |
| Not using a straight edge | Use straight edge level across back | Precise measurement |
| Confusing backspacing & offset | Understand units & definitions | Proper wheel fitment |
Frequently Asked Questions
What Does 4.5 Inch Backspacing Mean?
A 4.5-inch backspacing means your wheel’s mounting surface sits 4.5 inches inward from the back edge.
This ensures proper clearance for suspension and brakes.
It fits well with around 8-inch wide wheels for balanced performance and look.
How Much Offset Is 5.5 Inch Backspacing?
If your wheel has 5.5 inches of backspacing and an 8-inch width, your offset is about +38 mm.
This positive offset means the wheel sits closer to your vehicle’s outer face, improving handling.
What Offset Is 3.5 Backspacing?
A 3.5-inch backspacing equals about a -12.7 mm offset.
This means the wheel sits more outward from the vehicle.
You’ll subtract the wheel centerline from backspacing after converting inches to millimeters to find this.
What Does 4.75 Backspacing Mean?
A 4.75 backspacing means the wheel’s mounting surface is 4.75 inches from the back edge of the rim.
This positioning allows your wheel to sit more inward, which is great for ensuring proper clearance with suspension and brakes.
It’s especially ideal for stock or lightly modified setups.
Conclusion
Measuring wheel backspace might seem tricky at first, but once you follow these steps, you’ll get accurate results every time.
Don’t worry if you think you need expensive tools—just a straight edge and a ruler work perfectly.
Taking the time to measure backspace correctly helps guarantee your wheels fit safely and perform well.
So, trust the process, and you’ll avoid costly mistakes or fitment issues down the road.
In conclusion, measuring wheel backspace is essential for ensuring proper wheel fitment and performance.
By using simple tools like a straight edge and ruler, you can achieve reliable results without breaking the bank.
Remember, accurate measurements lead to safer driving experiences and can save you from future headaches.
So, take the time to measure correctly and enjoy the peace of mind that comes with knowing your wheels fit just right!