
How to Adjust Headlight Adjustment Screws for Optimal Visibility
To adjust your headlight screws for the best visibility, it’s important to follow a few key steps.
First, park your vehicle on level ground and ensure that your tires are properly inflated.
Adding weight to the driver’s seat simulates a typical driving condition, which is essential for accurate adjustments.
Next, measure the height of your headlights from a wall about 10 meters away and mark the center of the beam.
Now, locate the vertical and horizontal adjustment screws on the headlight assembly.
Turning the screws clockwise will raise the beams or improve their alignment, while counterclockwise will lower them.
Aim for a slight downward tilt, positioning the brightest part of the beam just to the right of center.
Keep going to uncover detailed steps for perfect alignment.
Remember, proper headlight adjustment is crucial for optimal visibility and safety on the road.
Key Takeaways
- Locate the vertical and horizontal adjustment screws on the headlight assembly according to the vehicle service manual.
- Park the vehicle on a level surface, facing a wall about 10 meters away for accurate beam alignment.
- Mark the headlight center height on the wall and draw a horizontal reference line with a slight downward tilt.
- Turn the screws clockwise to raise the beam and counterclockwise to lower it.
- Align the cut-off line with the marked height for proper visibility.
- If you have asymmetrical beams, position the brightest part just to the right of the vertical line.
- Make small and precise adjustments to ensure everything is just right.
Preparing the Vehicle for Headlight Adjustment

Before you adjust your headlights, make certain your vehicle is parked on a level surface to get accurate alignment.
This step is vital for a correct headlight adjustment since uneven ground can throw off your measurements.
Next, check all your tyre pressures and inflate them to the manufacturer’s recommended levels.
Ensure all tyres are inflated to the manufacturer’s recommended pressure for accurate headlight alignment.
Proper tyre pressure helps maintain the vehicle’s stance, which affects headlight aim.
You should also add about 75 kg or one person’s weight to the driver’s seat to simulate normal driving conditions.
Inspect your headlamp assembly for any damage or dullness that might reduce light output.
If your vehicle has automatic headlamp adjustments, follow the manufacturer’s instructions before proceeding.
Taking these preparation steps guarantees your headlight adjustment will be precise and effective for peak visibility.
Choosing the Right Location and Tools
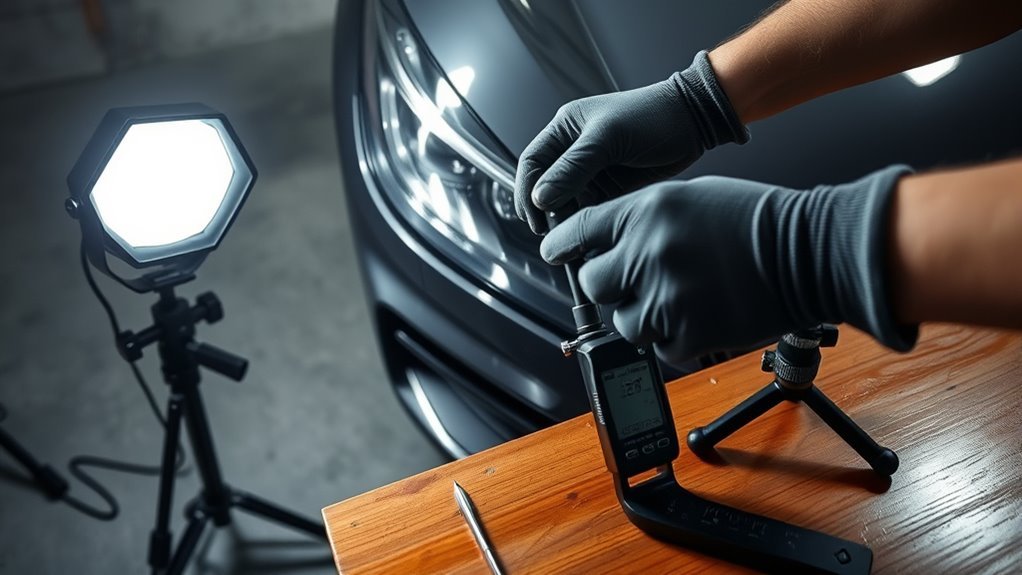
Finding the right spot is essential—you’ll need a flat, smooth area with at least 10 meters of clear space in front of a wall to properly adjust your headlights.
This location guarantees accurate beam alignment without interference.
Before you start, gather the necessary tools: printing paper, a pencil, a yardstick, and broad colored insulation tape.
These will help you mark measurements precisely on the wall.
Also, check your vehicle’s tyre pressure and shock absorbers to avoid misalignments during adjustment.
Setting the headlight beam adjuster to zero establishes a baseline, making your work easier.
If your car has a headlight levelling system, make sure it’s active to comply with regulations and optimize nighttime visibility.
Choosing the right location and tools sets the foundation for effective headlight adjustment.
Measuring Headlight Height and Marking the Wall
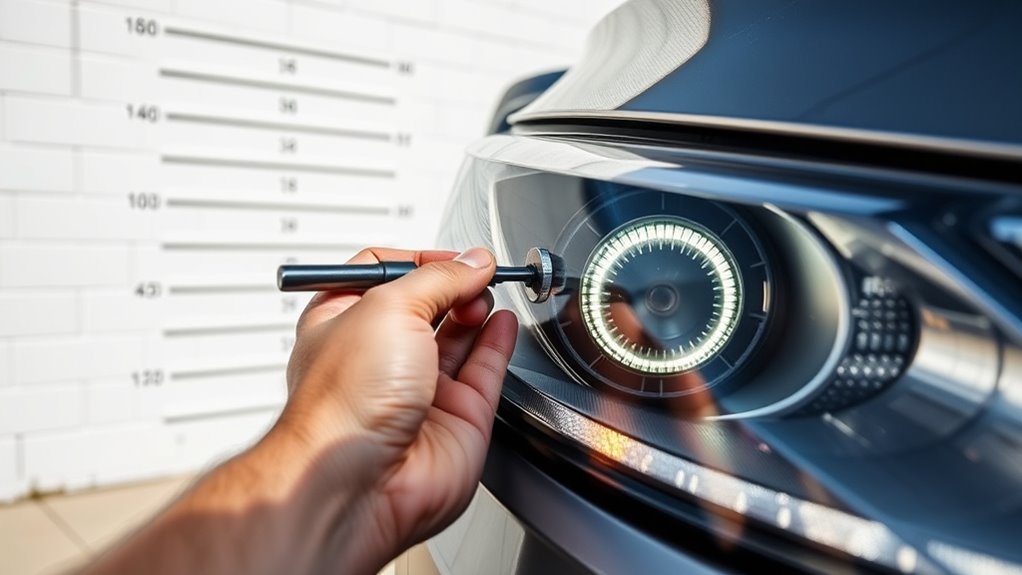
Start by parking your vehicle about 10 meters from a flat wall to get an accurate headlight height measurement.
Use a yardstick to find the center of your headlight beam and mark that height clearly on the wall.
This mark will serve as your reference point for adjusting the headlights correctly.
Measuring Headlight Height
Position your vehicle exactly 10 meters from a flat, level wall to measure the headlight height accurately.
Ensuring the ground is flat guarantees precise measuring headlight height and proper light distribution.
Use a yardstick to measure from the ground up to the center of the headlight beam. Mark that spot on the wall with a pencil.
This point represents the baseline for your headlight’s light distribution. Keep in mind, the beam should tilt downward slightly—about 1-1.5%—to avoid blinding oncoming drivers.
Before adjusting, verify the headlight adjuster is set to zero for accuracy. Once you mark the height, you’ll be ready to proceed with aligning the headlights perfectly, ensuring ideal visibility without causing glare.
Marking Adjustment Reference
Once you’ve measured the headlight height and marked that spot on the wall, you can move on to creating a clear adjustment reference.
Position your vehicle about 10 meters from the wall, then mark the horizontal cut-off line where the headlight beam should ideally align.
This line represents the target for your adjustment screws to guarantee proper beam height and angle.
Use a pencil to draw a straight line at the measured height, factoring in a 1-1.5% downward inclination for safe road illumination.
| Step | Action |
|---|---|
| Measure Height | From ground to beam top edge |
| Mark Cut-off Line | Draw horizontal line on wall |
| Adjust Beam | Align beam with line using adjustment screws |
This reference makes headlight adjustment precise and compliant with safety standards.
Wall Preparation Guidelines
To prepare the wall for headlight adjustment, place your vehicle about 10 meters away to guarantee accurate beam alignment.
Begin wall preparation by measuring the height of each headlight beam’s light emission surface with a yardstick.
Note this measurement carefully, then transfer it to the wall using a pencil, making clear, visible marks.
Next, calculate the desired beam height by applying a 1-1.5% downward inclination from the measured height.
Mark this adjusted height on the wall as well.
Make sure the wall you’re using is flat and smooth; any bumps or unevenness can throw off the alignment, leading to improper headlight beams.
Following these wall preparation guidelines will help you achieve precise adjustments for ideal visibility and safer driving.
Understanding Headlight Adjustment Screws
Although headlight adjustment screws might seem small, they play an important role in guaranteeing your headlights point in the right direction.
These screws, usually located at the back or top of your headlight assembly, let you modify both vertical and horizontal beam alignment.
Typically, you’ll find one screw for vertical adjustment, controlling beam height, and another for horizontal alignment, managing left-right positioning.
Properly adjusting these screws is vital for ideal visibility and safety, helping you see clearly without blinding other drivers.
Adjusting headlight screws ensures clear vision while preventing glare for oncoming drivers.
If the screws feel loose or slip easily, they may be worn or damaged and need attention.
Always check your vehicle’s service manual for specific instructions and recommended settings before making adjustments to guarantee precise alignment.
Adjusting the Screws for Proper Beam Alignment
Start by positioning your vehicle on a flat surface facing a wall or similar vertical surface.
Then, locate the headlight adjustment screws at the back of the assembly.
Using a screwdriver, turn the adjustment screws carefully: clockwise to raise the beam and counterclockwise to lower it.
Focus on aligning the low beam’s cut-off line so it matches the marked height on the wall, usually about 1-1.5% lower than the headlight’s center.
For vehicles with asymmetrical low beams, make sure the brightest part of the beam is positioned just right of the vertical reference line.
This helps avoid blinding oncoming drivers.
Make small, precise adjustments until the beam is properly aligned, improving visibility and safety on the road.
Verifying Correct Headlight Position and Visibility
Once you’ve adjusted the screws to align the beam properly, you need to verify the headlight’s position and visibility to confirm your work was effective.
Start by parking your vehicle on a level surface about 10 meters from a wall.
Measure the height of the headlight’s light emission surface and mark this height on the wall.
Your goal is to set the beam approximately 1-1.5% downward from this mark for better visibility without blinding other drivers.
After adjusting, check that the low beam cut-off line is horizontal and the high beam center aligns with your central mark.
Regularly verifying headlight position guarantees consistent performance, especially after changes in load or height.
This helps you maintain ideal visibility and safety on the road.
Frequently Asked Questions
What Is the Correct Adjustment for Headlights?
Imagine driving at night with perfectly aimed headlights.
The correct adjustment aligns your low beam cut-off line horizontally on the test surface.
This ensures you see clearly without blinding others, improving safety and passing inspections easily.
How Do I Adjust the Headlights on a 2018 Ram 1500?
You’ll find two adjustment screws behind each headlight.
Turn the vertical screw clockwise to raise the beam or counterclockwise to lower it.
Use the horizontal screw to align the headlights left or right.
Adjust carefully for ideal visibility.
Is It Safe to Use Your Bright Headlights Within 300 Feet?
Bright headlights within 300 feet are like a sudden flash in someone’s eyes—you shouldn’t do it.
It blinds oncoming drivers, risking accidents.
Will Autozone Adjust Headlights?
Yes, AutoZone can adjust your headlights, but availability depends on the store.
You should call ahead to confirm if they offer the service and if there are any fees.
They also provide DIY guidance if you want to try yourself.
Conclusion
So, now that you’ve mastered the art of fiddling with those tiny headlight adjustment screws, you’re basically a professional mechanic—without the fancy degree or greasy hands.
By carefully prepping your vehicle, measuring, and tweaking, you’ve guaranteed your headlights won’t blind oncoming drivers or leave you driving in the dark.
Who knew a few simple turns could make such a difference? Just remember, if it seems too easy, you’re probably doing it right.
In conclusion, adjusting your headlights properly is crucial for optimal visibility on the road. It not only enhances your driving experience but also ensures the safety of others.
With just a few adjustments, you can achieve well-aligned headlights that illuminate the road effectively. So, next time you find yourself in need of a headlight adjustment, don’t hesitate to give it a go—your vision and safety depend on it!