How to Test a Wheel Sensor
To test a wheel sensor, it’s important to follow a systematic process to ensure accurate results.
Start by visually inspecting the sensor for any signs of damage.
Once you’ve done that, disconnect the sensor’s electrical connector.
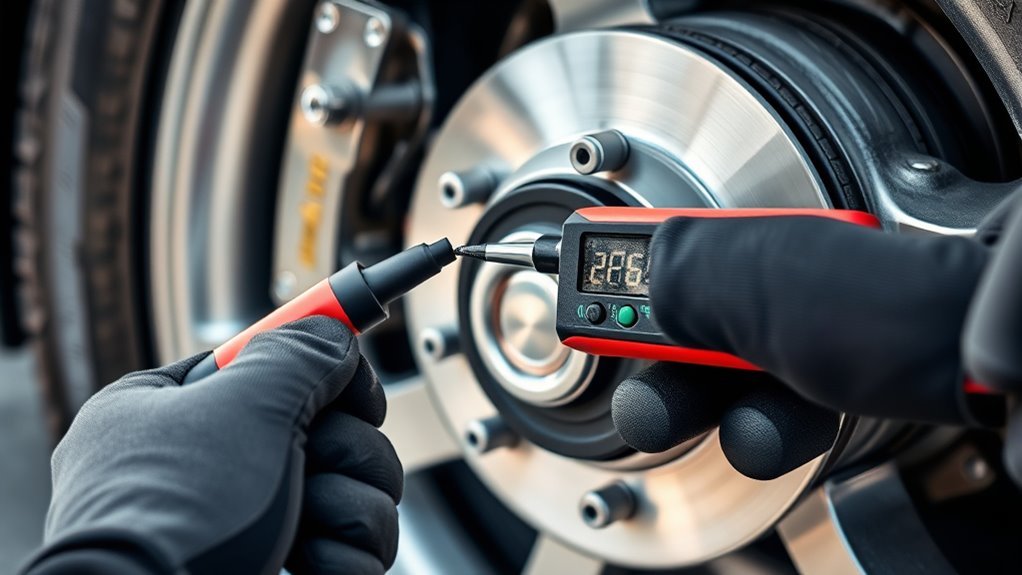
Next, grab your multimeter to check the resistance. For passive sensors, you should see readings between 1,000 to 2,500 ohms. If it’s an active sensor, expect around 3.5 million ohms.
Now, with the vehicle running, reconnect the sensor and measure its voltage output. You should observe a consistent signal during this test.
For deeper insight, using a scan tool can be quite helpful. It can assist you in identifying faults and verifying the sensor’s performance.
Keep going, and you’ll uncover the full testing process!
Key Takeaways
– Locate the wheel speed sensor near the wheel hub.
Visually inspect it for any damage and disconnect the electrical connector before testing.
– Use a multimeter to measure sensor resistance with the vehicle off.
Passive sensors typically read between 1,000-2,500 ohms, while active sensors usually measure around 3.5 million ohms.
– After that, reconnect the sensor and spin the wheel to measure voltage output.
Passive sensors will produce an AC voltage, whereas active sensors will show a square wave between 0.6 to 1.2 volts.
– It’s a good idea to employ a scan tool with graphing capability next.
This will help you monitor real-time sensor data and identify any irregularities or trouble codes.
– Lastly, check the wiring and sensor output current with an amp meter.
For active sensors, you should see a current between 7-14 milliamps to diagnose any electrical faults.
Types of Wheel Speed Sensors
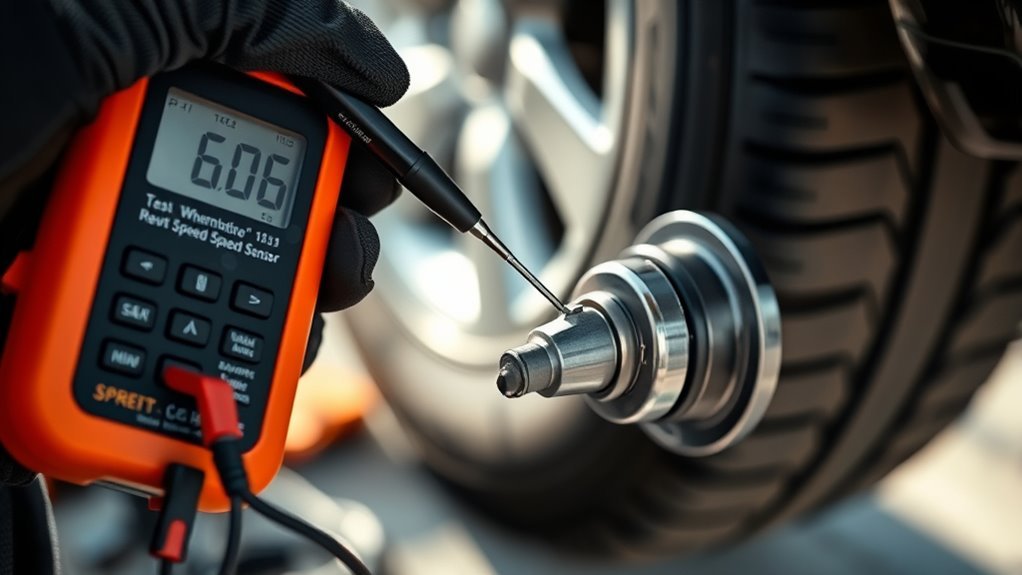
Although wheel speed sensors come in various designs, they mainly fall into two categories: passive and active.
Understanding these types of sensors helps you diagnose issues accurately.
Passive speed sensors work without an external voltage; they use a magnet and copper wire to generate an AC voltage as the wheel spins.
Passive speed sensors generate AC voltage using a magnet and coil without needing external power.
They usually have a resistance between 1,000 and 2,500 ohms and produce 0.5 to 1 volt.
On the other hand, an active sensor relies on a 12-volt supply and sends a digital signal, often a DC square wave, to the ABS controller.
Active sensors provide more precise readings, especially at low speeds, and typically show very high resistance, around 3.5 million ohms.
Since they look similar, knowing these technical differences is key for proper testing and diagnosis.
Tools Needed for Testing
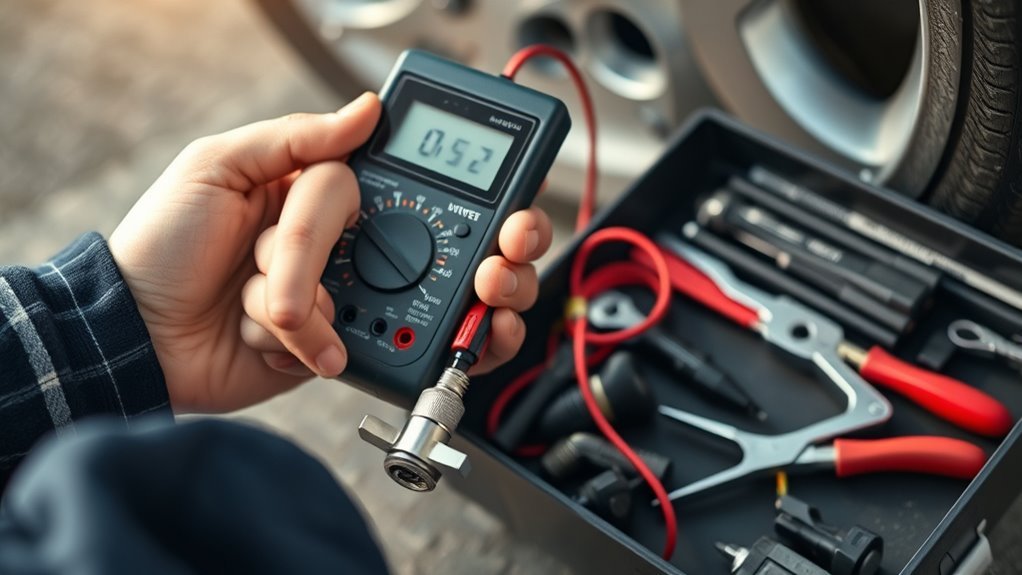
Testing a wheel speed sensor requires several key tools that help you diagnose its condition accurately.
First, a multimeter is essential for checking resistance and voltage, confirming the sensor’s electrical health.
You’ll also want a good scanner with graphing capability to analyze sensor performance in real-time.
For more detailed waveform analysis, a lab scope is the preferred tool, giving precise readings at the sensor level.
To quickly verify sensor functionality, you can build a simple LED tester using a 220-ohm resistor, LED, and a 12V battery.
This setup will blink in response to wheel speed changes.
Additionally, using an amp meter to measure current through active wheel speed sensors helps guarantee proper operation.
You should expect readings between 7 and 14 milliamps when installed correctly.
Visual Inspection and Preparation
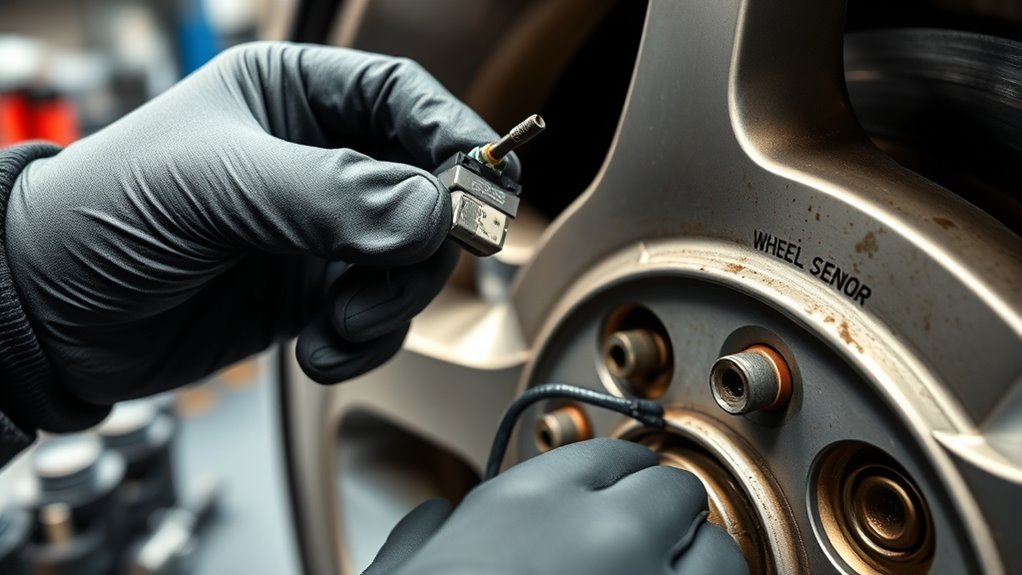
Start by locating the wheel sensor assembly, making certain you can access it safely.
Carefully inspect the sensor and wiring for any visible damage or dirt that might affect performance.
Finally, gather and prepare your testing tools to guarantee a smooth inspection process.
Locate Sensor Assembly
One of the first steps you’ll take is locating the wheel speed sensor, usually found near the wheel hub or brake assembly on each wheel.
Before you begin, make certain the vehicle is safely elevated and supported with jack stands for easy access.
Perform a visual inspection around the sensor area to spot any physical damage, rust, or debris that could affect its function.
Once you’ve identified the wheel speed sensor, carefully disconnect the sensor’s electrical connector to prevent any electrical shorts during testing.
If you’re unsure of the exact location or unique features of your sensor, consult your vehicle’s service manual for detailed guidance.
This preparation guarantees a smooth and safe process as you move forward with testing.
Inspect Sensor Condition
After locating and disconnecting the wheel speed sensor, take a close look at its condition before proceeding.
Begin your visual inspection by checking the sensor for any visible damage like cracks or corrosion on the connector.
Look closely at the wiring harness for frayed or exposed wires that could cause electrical issues.
Also, inspect the sensor’s mounting to guarantee it’s securely fastened; a loose sensor can lead to inaccurate readings.
Don’t forget to remove any dirt or debris around the sensor, as buildup can interfere with its magnetic detection capabilities.
This thorough visual inspection helps you spot potential problems early, setting the stage for accurate testing and reliable sensor performance.
Prepare Testing Tools
Gathering the right tools is essential before testing your wheel sensor.
Start by collecting a multimeter, a scanner with graphing capability, and optionally, a lab scope for detailed sensor readings.
Before diving in, perform a visual inspection of the sensor and its wiring to spot any dirt, corrosion, or physical damage that might affect performance.
Make certain the vehicle is off and safely elevated to access the sensor without hazards.
Disconnect the ABS sensor’s electrical connector, then set your multimeter to the appropriate ohm setting to measure resistance accurately.
Finally, check the service manual for expected resistance values based on your sensor type.
This will help you determine if the sensor is working correctly.
Having these tools and preparation steps ready guarantees a smooth testing process.
Measuring Sensor Resistance
Before measuring the resistance of a wheel speed sensor, make certain the vehicle is off and the sensor’s electrical connector is disconnected to give you clear access.
To accurately test the sensor’s resistance, follow these steps:
- Set your multimeter to the resistance (ohmmeter) setting.
- Connect the multimeter probes to the sensor terminals carefully.
- Compare the reading to the manufacturer’s specifications.
Passive Wheel Speed Sensors typically range from 1,000 to 2,500 ohms, while active sensors should show around 3.5 million ohms with leads reversed.
If the resistance notably deviates from these values, the sensor may be faulty.
Remember, this resistance test is distinct from a voltage test, which you’ll handle separately.
Accurately measuring resistance helps guarantee your sensor functions properly.
Voltage Testing Procedures
Before you start voltage testing, make sure the sensor is properly connected and the vehicle is running for accurate readings.
Use your multimeter correctly by setting it to the right voltage type and range.
Once you gather the data, you’ll need to interpret the voltage values to determine if the sensor is working as it should.
Preparing for Voltage Measurement
When you prepare to measure voltage on a wheel sensor, make sure the vehicle is off and the ABS sensor‘s electrical connector is disconnected to avoid damage.
This step protects both the sensor and the ABS unit.
Before you reconnect the sensor and start the vehicle, follow these steps:
- Set your multimeter to the correct DC voltage range to measure the sensor’s output accurately.
- Reconnect the ABS sensor’s electrical connector to allow voltage readings while the wheel spins.
- Spin the wheel and observe the voltage, which should typically range between 0.6 to 1.2 volts, confirming the sensor’s functionality.
Using a Multimeter Correctly
Although testing a wheel sensor may seem straightforward, using your multimeter correctly is essential to get accurate voltage readings.
First, set your multimeter to the DC voltage mode for active sensors. Connect the leads to the sensor’s signal and ground wires, then spin the wheel to test voltage output.
Active sensors typically show a square wave voltage between 0.6 to 1.2 volts. On the other hand, passive sensors produce an AC voltage of 0.5 to 1 volt.
Always check your vehicle’s service manual for exact values to ensure accuracy.
| Sensor Type | Multimeter Setting | Expected Voltage Output |
|---|---|---|
| Active Sensor | DC Voltage Mode | 0.6 to 1.2 V (square wave) |
| Passive Sensor | AC Voltage Mode | 0.5 to 1 V |
| Connection | Signal & Ground Wires | During wheel rotation |
| Preparation | Refer to Manual | For specific values |
| Testing Tip | Spin the Wheel | Observe voltage changes |
Interpreting Voltage Test Results
If you connect your multimeter’s positive lead to the sensor’s signal wire and the negative lead to ground, you’ll see the voltage fluctuate between 0.6 and 1.2 volts as the wheel spins if the active wheel speed sensor is working correctly.
When interpreting voltage test results, keep these points in mind:
- A consistent voltage near 0.03 volts at rest and fluctuating within 0.6–1.2 volts while spinning means the sensor functions properly.
- A steady high voltage or zero reading suggests a faulty sensor or wiring problem.
- Detecting a bias voltage between 1.5 and 5 volts with the key on indicates the ABS module is powering sensors through the ground wire for testing.
Understanding these voltage behaviors helps you assess the sensors’ use and diagnose wheel sensor issues effectively.
Using a Scan Tool for Diagnostics
Since accurate diagnosis hinges on real-time data, using a scan tool with graphing capability lets you monitor wheel speed sensor signals effectively.
When you connect the scan tool, watch for a square wave pattern between 0.6 to 1.2 volts—this confirms the sensor is working properly.
The scan tool also detects bias voltage in the circuit, which can trigger trouble codes right when you turn the key on.
You should compare the speed readings from all wheel speed sensors to verify they track consistently.
Any irregularities could point to sensor or wiring issues.
Additionally, reading trouble codes with the scan tool guides you toward specific problems, helping you perform targeted repairs quickly and accurately.
Frequently Asked Questions
How Can I Tell if a Wheel Sensor Is Bad?
You’ll know a wheel sensor is bad if your ABS light stays on, you feel vibrations, or experience wheel locking during braking.
Checking for physical damage, unusual noises, or multimeter resistance readings outside specifications can confirm this.
Can I Test a Wheel Speed Sensor Using a Multimeter?
Yes, you can test a wheel speed sensor with a multimeter by measuring resistance or voltage output.
Just disconnect the sensor, set your multimeter correctly, and compare readings with your vehicle’s specifications to check functionality.
How to Test a Sensor With a Multimeter?
Want to reveal your sensor’s secrets?
You’ll disconnect it, set your multimeter to resistance or voltage, then measure values while spinning the wheel.
Compare readings to specs, and you’ll know if the sensor’s healthy or not!
What Is a Good Tool to Test a Wheel Speed Sensor?
A good tool to test a wheel speed sensor is a high-quality scanner with graphing capability.
It lets you monitor sensor signals in real-time and quickly spot any issues.
This makes your diagnostics faster and more accurate.
Conclusion
Testing a wheel sensor is like tuning a finely crafted instrument—precise and essential for smooth performance.
By knowing the types of sensors and gathering the right tools, you’ll be well-equipped to tackle the task.
Following step-by-step inspections and measurements, you’ll quickly identify any issues that arise.
And don’t forget to use a scan tool for a modern diagnostic edge.
With these methods, you’ll keep your wheel sensors in harmony.
This ensures your vehicle runs safely and efficiently on every drive.
In conclusion, understanding how to test wheel sensors is crucial for maintaining vehicle safety and performance.
With the right tools and techniques, diagnosing issues becomes straightforward.
Remember, regular checks and the use of a scan tool can greatly enhance your vehicle’s reliability on the road.