How to Identify and Fix an Oil Filter Housing Leak
You can identify an oil filter housing leak by checking for oil drips, dark residue, or a burning oil smell near the filter.
Inspect the housing and surrounding gaskets for cracks or wear.
To fix it, replace worn gaskets or a cracked oil sending unit.
Make certain bolts are properly tightened.
If you’re unsure or want to avoid damaging components, learning the detailed repair steps and when to seek help is a smart move.
Key Takeaways
- Look for oil drips, dark residue, burning oil smell, or frequent low oil warnings to identify an oil filter housing leak.
- Inspect gaskets, seals, and the oil sending unit for cracks or wear as common leak sources.
- Park on level ground, cool the engine, and visually check the oil filter housing for fresh oil or wet trails.
- Remove the housing, replace worn gaskets and O-rings, and check the housing for damage before reassembling tightly.
- Address leaks promptly to prevent engine damage.
- Seek professional help if unsure or lacking proper tools.
Recognizing the Signs of an Oil Filter Housing Leak
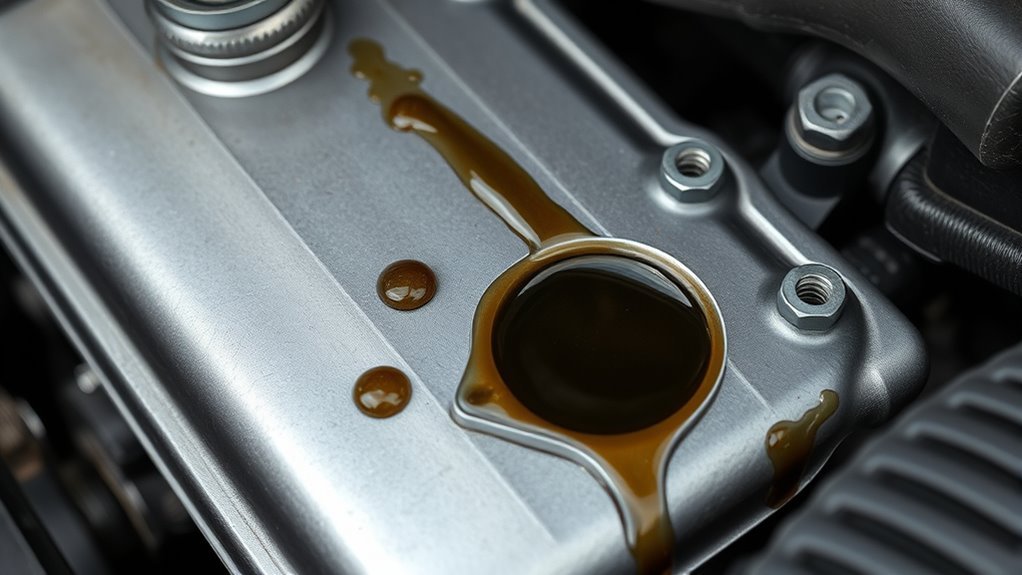
If you notice oil drips or puddles under your engine, especially near the oil filter housing, you’re likely dealing with a leak.
Oil drips or puddles beneath your engine near the filter housing usually indicate a leak.
An oil leak here often shows up as dark, crusty residue on the engine block, caused by oil seeping from the housing cover.
You might also catch a burning oil smell during or after driving, which happens when leaking oil hits hot engine parts.
Keep an eye on your oil levels, too; frequent low oil warnings or needing to top up often can signal a significant leak at the oil filter housing.
Additionally, rough idling or hesitation when accelerating may happen because the leak reduces oil pressure.
Spotting these signs early helps you address the oil filter housing issue before it worsens.
Common Causes Behind Oil Filter Housing Leaks
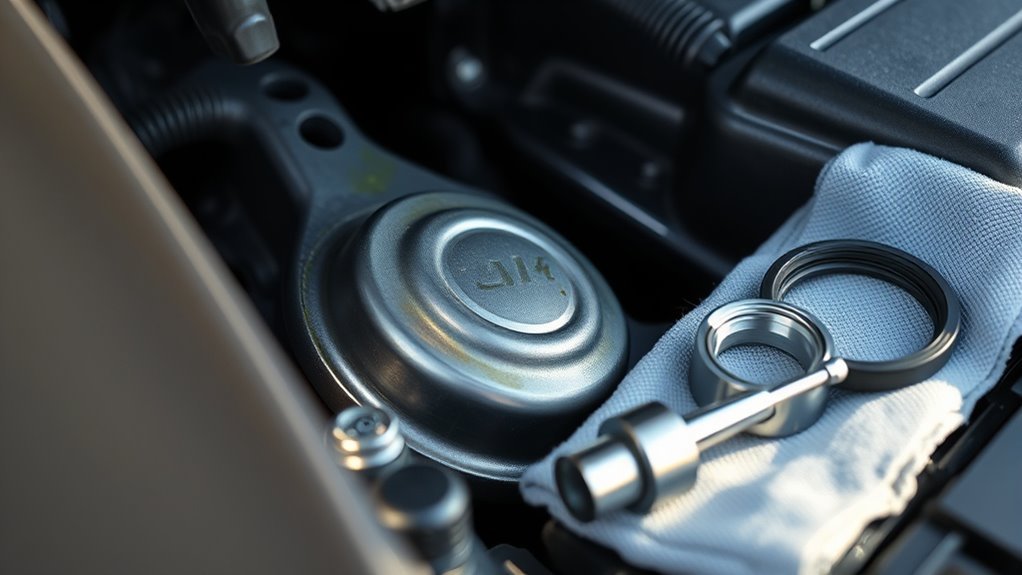
You’ll often find oil filter housing leaks caused by worn-out gaskets or seals that no longer hold tight.
The oil sending unit can also crack over time, making it a common culprit for leaks.
Understanding these issues helps you pinpoint the exact source and fix it effectively.
Sending Unit Issues
Although oil filter housing leaks can stem from various causes, one common culprit is the oil sending unit.
This component, often with a plastic core, can crack after about 15 years, causing leaks around the oil filter area.
Before jumping to gasket replacements, check the sending unit first—it’s usually an easier and more affordable fix.
Here’s what you should know:
- A faulty sending unit leads to oil leaks and significant oil loss, risking engine damage.
- Identifying the sending unit as the leak source helps avoid unnecessary repairs on the oil filter housing.
- Replacement sending units are widely available and cost-effective, making them a practical solution.
Addressing sending unit issues promptly keeps your oil filter housing leak under control.
Gasket and Seal Failure
Because gaskets and seals endure constant heat and pressure, they naturally wear out over time.
This leads to oil filter housing leaks. When a gasket degrades, it fails to seal properly, causing oil spots or buildup around the housing.
Environmental factors like road salt and improper installation, such as over-tightening, speed up this deterioration.
To avoid engine damage, you should inspect the gasket and seals regularly for signs of wear or deformation.
| Cause | Effect |
|---|---|
| Thermal cycling | Material degradation |
| Age | Loss of seal integrity |
| Road salt exposure | Accelerated gasket decay |
| Over-tightening | Gasket deformation and leaks |
| Lack of inspection | Undetected wear and oil spots |
Keep your gasket in good condition to prevent leaks and costly repairs.
Inspecting and Diagnosing the Leak Source
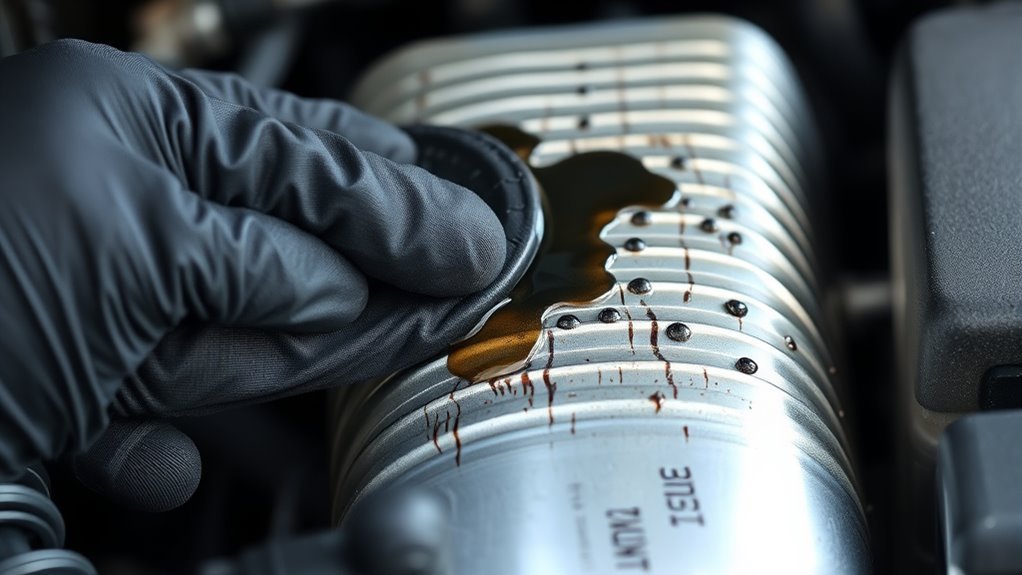
When diagnosing an oil filter housing leak, start by parking your vehicle on a level surface and letting the engine cool completely.
This prevents burns and helps you see oil drips clearly.
Next, follow these steps:
1. Check the oil level with the dipstick. A significant drop hints at a leak related to oil pressure issues.
2. Visually inspect the oil filter housing and surrounding engine block for wet trails or fresh oil.
Focus on the gasket or O-ring for cracks or wear.
3. Run the engine briefly at idle and watch the housing cover area for new oil leaks.
This confirms the source.
These steps help you pinpoint the exact leak location, ensuring you address the problem effectively.
Temporary Measures to Manage Oil Filter Housing Leaks
If you spot an oil filter housing leak, your first step is to control the leak immediately by tightening the filter or replacing the O-ring if needed.
You can also use a commercial seal product to temporarily reduce the leak, but don’t rely on it long-term.
Meanwhile, keep a close eye on your oil levels and top off as necessary to protect your engine until you get it properly fixed.
Immediate Leak Control
Several quick steps can help you control an oil filter housing leak until you arrange a permanent repair.
First, keep an eye on your oil levels and top off regularly to avoid engine damage, especially if the leak involves an old gasket.
Next, place a drip pan under the engine to catch escaping oil and keep your workspace clean.
Finally, tighten the oil filter housing bolts carefully; sometimes leaks happen because of loose fasteners.
These immediate actions won’t fix the root cause but will slow the leak and protect your engine temporarily.
Temporary Seal Options
Two practical temporary seal options can help you manage an oil filter housing leak until you arrange a permanent fix.
First, apply a temporary sealant like gasket maker. Before you do, clean the oil filter housing surface thoroughly to guarantee the sealant sticks properly and reduces seepage effectively.
Second, slightly tighten the oil filter or housing bolts to minimize leaks. But don’t overtighten as that could cause damage.
Additionally, use oil-absorbent pads or rags around the leak to catch drips and keep your workspace clean.
These measures won’t fix the problem, but they’ll help control oil loss.
Remember to check your engine oil level regularly while using these temporary options to avoid damage from low oil caused by the leak.
Monitoring Oil Levels
Keeping a close eye on your engine oil level is essential when dealing with an oil filter housing leak.
If you ignore this, you risk severe engine damage due to insufficient lubrication.
Here’s how to monitor oil levels effectively:
- Regularly check the oil with a dipstick to spot any sudden drops indicating a leak from the oil filter housing.
- Top up the oil as needed to maintain proper levels, especially if you notice leaks. This ensures your engine stays lubricated.
- Watch for visible oil drips or puddles under your vehicle, particularly beneath the oil filter housing.
Consider placing an absorbent pad to catch leaks.
Limit your driving to short trips only until you fix the leak to prevent further engine damage.
Step-by-Step Repair Options for the Oil Filter Housing
Before you start, make certain your vehicle is parked on a level surface and the engine is completely cool to prevent injury.
Begin by inspecting the oil sending unit, as replacing its cracked plastic center core is often simpler than tackling the entire oil filter housing.
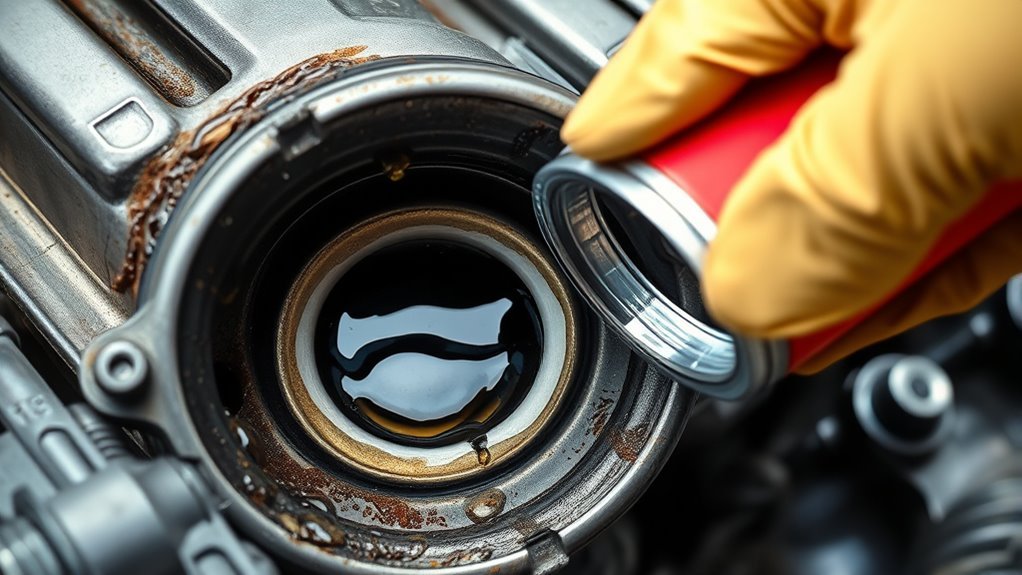
If you need to remove the housing, loosen the two bolts securing it to access the cover gasket and worn O-rings.
Carefully inspect the housing for any cracks or damage—if it’s compromised, consider sourcing a replacement from a junkyard to save costs.
When installing new gaskets and O-rings, verify they fit properly to prevent future leaks and maintain proper engine lubrication.
Reassemble everything tightly, then check for leaks once the engine is running.
Safety Precautions and When to Seek Professional Help
Although tackling an oil filter housing leak yourself can save money, you should never ignore visible oil drips or puddles under your vehicle.
Tackling an oil filter housing leak can save money, but never ignore visible oil drips beneath your vehicle.
These signs indicate a serious issue that needs immediate attention to avoid engine damage. Always follow safety precautions to protect yourself and your car.
Here are three key safety tips and when to seek professional help:
- Avoid driving with an active oil leak. This prevents engine failure and guarantees your safety.
- Check oil levels and look for fresh oil around the housing after briefly running the engine at idle.
- If you’re uncertain about repairs or your vehicle has a complex engine layout, seek professional help. This can help you avoid mistakes and ensure proper fixes.
Consult your owner’s manual and consider certified mechanics for intricate repairs.
Frequently Asked Questions
How Do I Know if My Oil Filter Is Leaking?
You’ll know your oil filter is leaking if you see oil drips under your engine.
You might also smell burning oil while driving, which is a clear warning sign.
Frequent low oil warnings can indicate a leak as well.
Lastly, check for any oily residue around the filter housing.
Make sure to check these signs promptly!
How Much Does It Cost to Fix a Cracked Oil Filter Housing?
You’ll likely spend between $230 and $650 to fix a cracked oil filter housing, including parts and labor.
Costs vary based on part quality, labor complexity, and whether you need a reseal or full replacement.
Can You Drive With a Leaking Oil Gasket?
You shouldn’t drive with a leaking oil gasket because it risks severe engine damage from lost oil.
Fix the leak quickly to avoid costly repairs.
This way, you can guarantee your vehicle stays safe and reliable on the road.
How Much Does It Cost to Replace the Oil Filter Housing on a BMW B48?
Like fixing a cracked dam, replacing your BMW B48’s oil filter housing costs $80-$250 for parts and $150-$400 for labor.
Expect extra charges if seals need replacing—always get a clear, detailed mechanic’s estimate first.
Conclusion
Now that you know how to spot and fix an oil filter housing leak, you’re well on your way to preventing a mini oil disaster under your hood.
Don’t let a small drip turn into a flood that could drain your wallet faster than a rocket launch.
Stay vigilant and follow the steps carefully.
And remember—if the leak seems too tricky, calling a pro is the smartest move.
Your engine will thank you!
In conclusion, being proactive about identifying and fixing an oil filter housing leak is essential to maintaining your vehicle.
Regular checks can save you from costly repairs and keep your engine running smoothly.
If you notice any signs of a leak, don’t hesitate to take action.
Whether you tackle it yourself or seek professional help, addressing the issue promptly is key to avoiding bigger problems down the road.