How to Lower Car Suspension – A Step-by-Step Guide
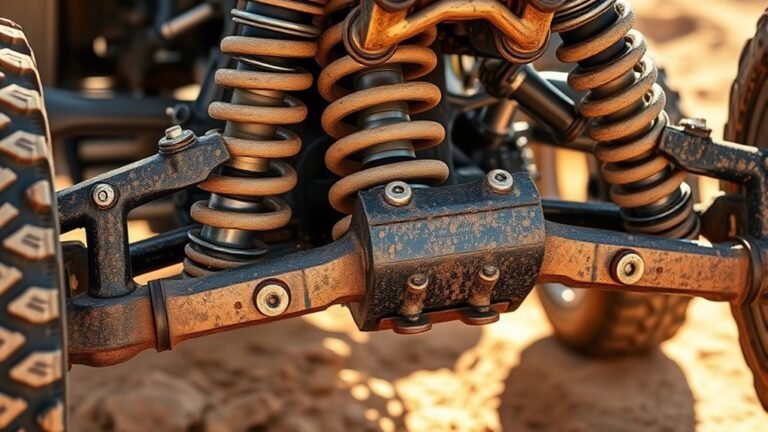
To lower your car suspension effectively, you need to choose the right method. Options include lowering springs for simplicity, coilovers for adjustability, or air ride systems for on-demand control.
Once you’ve decided on the method, gather all necessary tools and parts.
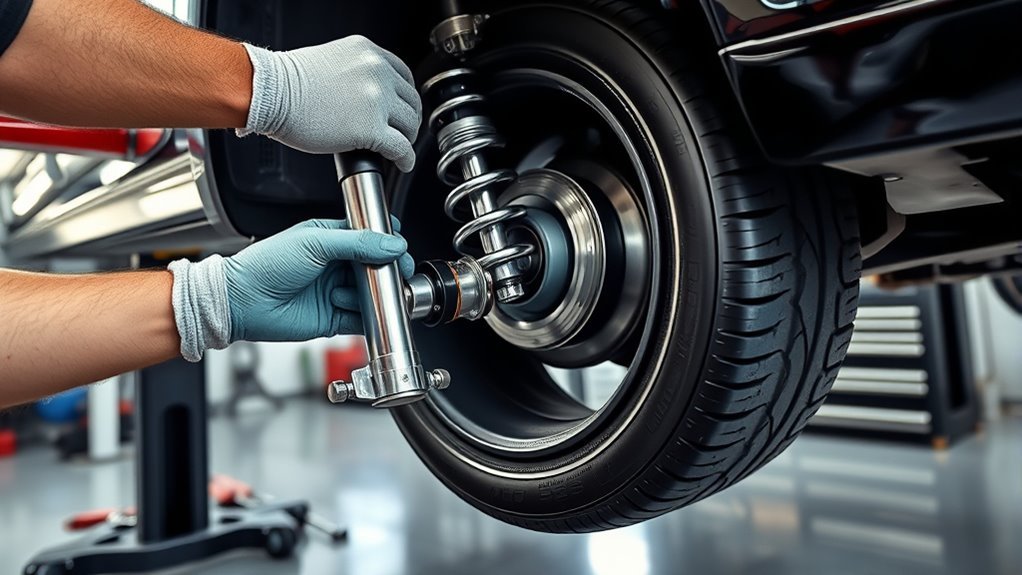
Next, safely lift your car and remove the wheels. This step is crucial for accessing the suspension components.
Now, replace or install the new suspension components. Make sure everything is properly seated and tightened for safety.
After installation, it’s important to check the ride height, wheel alignment, and clearances.
Finally, take your car for a test drive. This will help you gauge comfort and handling improvements.
Stay tuned for more tips on avoiding common pitfalls and maximizing the benefits of your new setup!
Key Takeaways
– Choose the right lowering method: springs, coilovers, or air ride based on budget, adjustability, and ride comfort preferences.
It’s important to consider what fits your needs best.
– Prepare by researching vehicle compatibility, gathering tools, and understanding manufacturer specs for safe suspension modification.
Doing your homework here can save you a lot of trouble later on!
– Lift the vehicle securely, remove wheels, and carefully disconnect shocks and springs before installing lowering components.
Safety first! Make sure everything is stable before you start working.
– Install lowering springs or coilovers, ensuring proper seating, torque, and adherence to manufacturer instructions.
Follow the instructions closely to avoid any mishaps.
– After installation, check ride height, perform wheel alignment, inspect clearances, and conduct a test drive for handling and noise.
This final step is crucial to make sure everything runs smoothly!
Understanding Suspension and Its Role
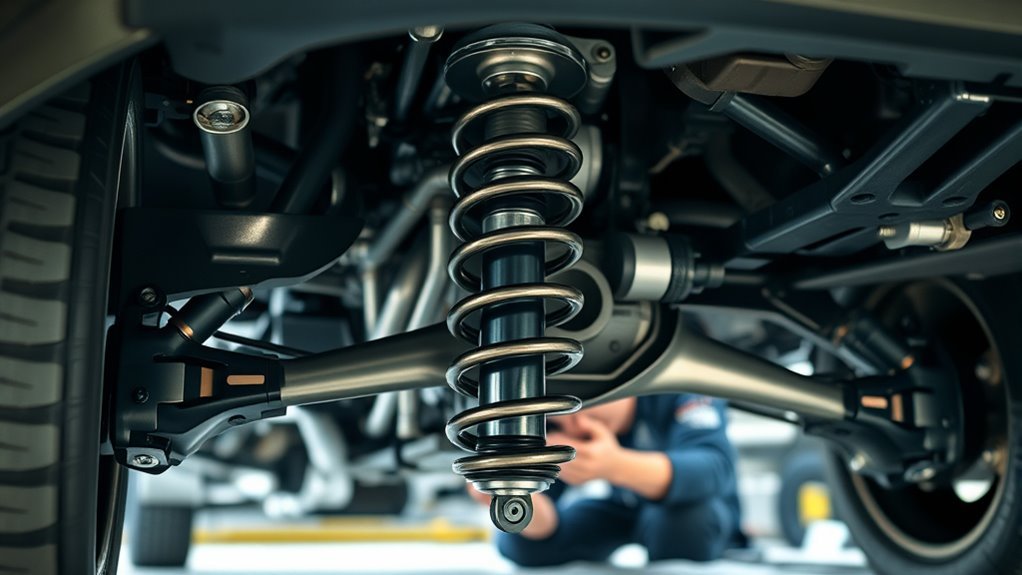
The suspension system connects your vehicle to its wheels, managing movement while keeping you stable during acceleration, braking, and cornering.
Your car’s suspension plays an essential role in absorbing shocks from uneven roads, preventing damage to the underside, and ensuring a comfortable ride.
The suspension absorbs shocks, protects your vehicle’s underside, and ensures a smooth, comfortable ride.
When you focus on the suspension setup, you’re not just improving comfort; you’re enhancing handling by increasing grip and reducing body roll.
This is important for both everyday driving and performance scenarios.
Key components like springs, shocks, and struts work together to adapt to different loads and driving conditions.
Understanding how your car’s suspension functions helps you make informed decisions when modifying it, ensuring balance between aesthetics and functionality without compromising safety or performance.
Choosing the Right Lowering Method
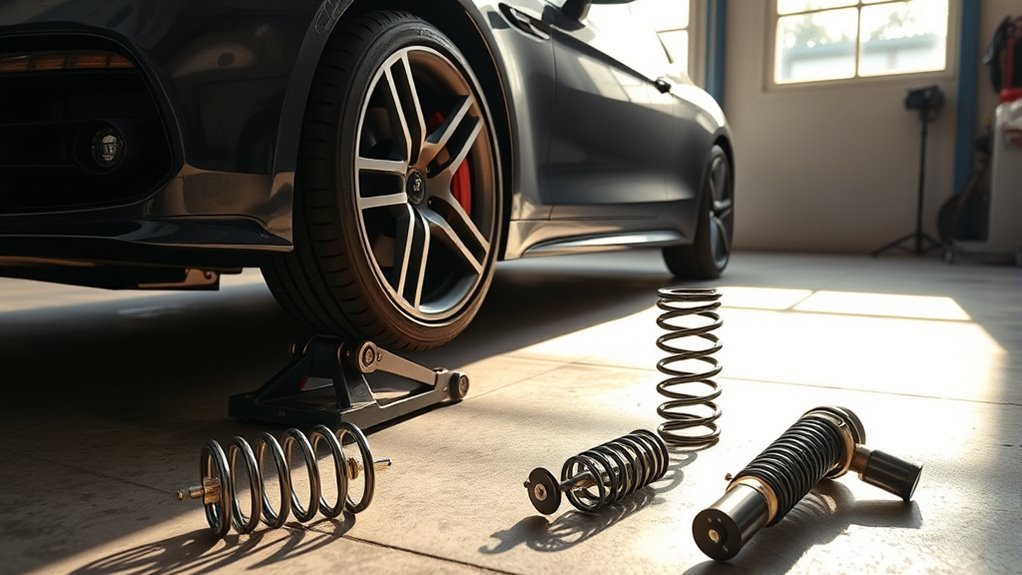
Since your goals for lowering your car can vary widely, choosing the right method depends on whether you prioritize aesthetics, handling, or ride comfort.
You want to lower your car effectively without sacrificing too much ground clearance or drivability.
Here’s a quick comparison to help decide:
| Method | Pros | Cons |
|---|---|---|
| Lowering Springs | Simple, cost-effective | Fixed height, may need shocks |
| Coilovers | Adjustable height & damping | Higher cost, complex setup |
| Air Ride Systems | On-demand height control | Expensive, maintenance-heavy |
Consider your priorities and vehicle compatibility before selecting a method.
This guarantees you maintain proper ground clearance and avoid issues like tire rubbing or poor handling.
Preparing for Suspension Modification
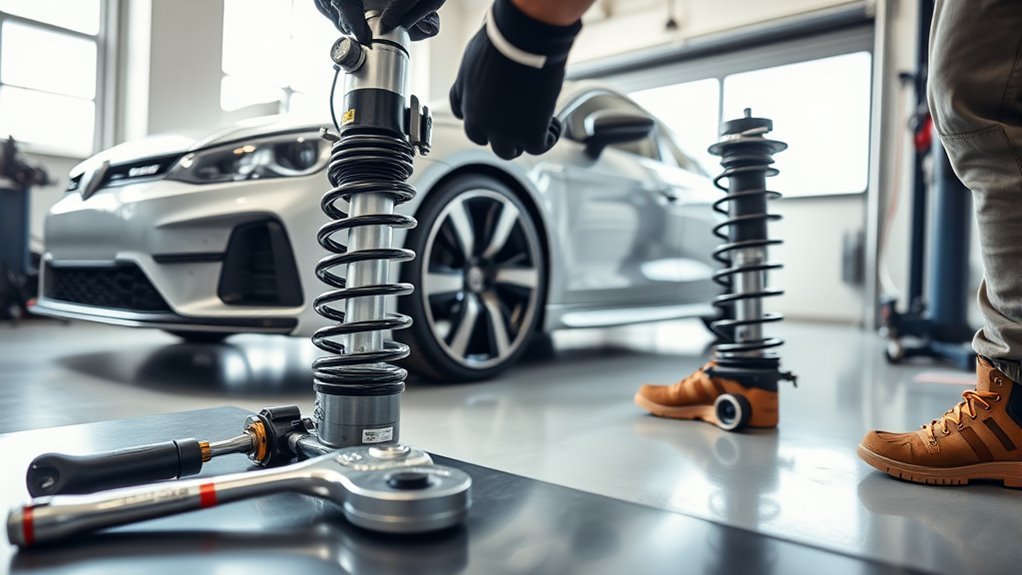
Preparing your car for suspension modification starts with thorough research on your vehicle’s specific setup and compatibility with new components.
You’ll want to check manufacturer specifications carefully, especially regarding recommended ride height adjustments and spring rates, to avoid mechanical issues.
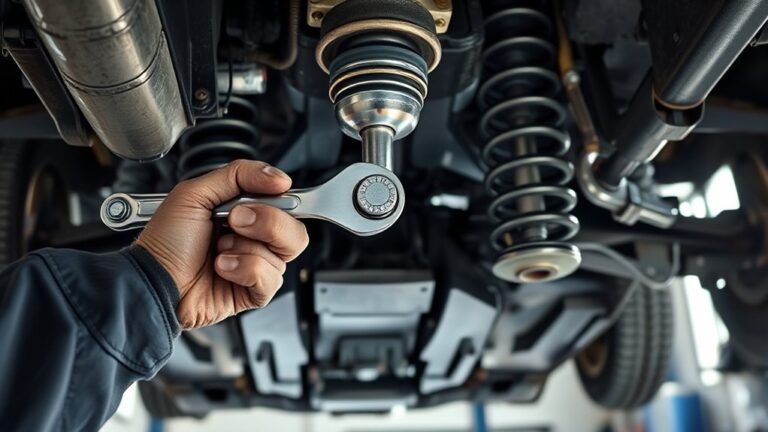
Gather all necessary tools and suspension parts before you begin, including wrenches and jack stands, to keep the process smooth.
Consider how lowering the suspension will impact your car’s performance, comfort, and adherence to local regulations.
Planning ahead means you’ll also schedule an alignment check after installation to maintain proper handling and prevent uneven tire wear.
Taking these steps guarantees your suspension modification goes smoothly and safely, setting a solid foundation before you start the actual installation.
Step-by-Step Installation Process
You’ve planned ahead and gathered your tools, so now it’s time to start the installation process.
To lower your project car’s suspension safely and effectively, follow these essential steps:
- Use a jack and jack stands to lift and support the vehicle securely.
- Remove the wheels to access suspension components.
- Carefully disconnect shocks and springs, adhering to manufacturer specs.
- Install lowering springs or coilovers, ensuring proper seating and torque.
- Tighten all fasteners and prepare for alignment.
Good luck with your installation!
Post-Installation Checks and Adjustments
Once you finish lowering your suspension, take time to perform thorough post-installation checks to confirm everything functions correctly and safely.
Begin by measuring the ride height from the ground to the wheel arch. This helps verify it matches your desired specs and stays within safe limits.
Next, check the wheel alignment. This is crucial to prevent uneven tire wear and maintain handling performance.
Inspect all suspension components for proper clearance. Make sure nothing rubs or contacts during turns or when driving over bumps.
Take the car for a test drive to detect any vibrations or unusual noises that might signal issues.
If you’re using adjustable coilovers, verify the damping settings suit your driving style and conditions.
These post-installation checks help confirm your lowered suspension performs effectively and safely.
Common Challenges and How to Avoid Them
When lowering your car, you might face vibration and premature wear if your suspension components aren’t compatible or properly aligned.
You’ll also want to avoid lowering too much, or you risk tire rubbing that can damage both tires and bodywork.
Taking care to follow guidelines and getting a professional alignment can help you steer clear of these common problems.
Vibration and Wear Issues
Although lowering your car’s suspension can enhance its look and handling, it often introduces vibration and wear problems if not done correctly.
You might notice vibration issues when stopping at lights or driving on uneven road surfaces. This is often caused by axle length changes or driveline misalignment.
To avoid these problems, keep in mind:
- Verify axle lengths match the new ride height.
- Use custom axles if necessary.
- Align your wheels properly after lowering.
- Choose suspension components compatible with your car.
- Monitor shocks and suspension parts for early wear.
Failing to address these can lead to uneven tire wear, premature suspension damage, and persistent vibrations.
Taking these precautions will help maintain smooth performance and extend your suspension’s lifespan.
Preventing Tire Rubbing
Addressing vibration and wear issues sets the stage for another common challenge you’ll face after lowering your car’s suspension: preventing tire rubbing.
To avoid this, keep your drop under 35mm for road cars, as excessive lowering often causes tires to rub against wheel arches.
Pay close attention to your suspension setup and wheel size—incorrect alignment or limited clearance leads to rubbing.
If you use wider tires in a staggered setup, especially on the rear, double-check fitment before lowering.
Rolling the fender edges can create extra clearance, helping prevent rubbing on significant drops.
After lowering, regularly inspect your suspension components and wheel alignment to catch and fix any uneven wear or rubbing issues early.
This careful approach keeps your ride smooth and damage-free.
Frequently Asked Questions
Can You Lower a Car at Home?
Yes, you can lower a car at home if you have basic mechanical skills and the right tools.
Just research your vehicle’s suspension, use proper equipment, and guarantee safety.
Don’t forget to get a wheel alignment afterward to maintain handling!
What Makes a Car Raise and Lower?
Like a clockwork automaton, your car raises and lowers through suspension systems—coilovers, air bags, or adjustable shocks—that let you tweak spring tension and damping.
You control ride height by adjusting these components for comfort or style.
How Much Does It Cost to Drop a Car Suspension?
Dropping your car suspension typically costs between $200 and $2,000.
It really depends on the method you choose—like lowering springs, coilovers, or air ride.
And don’t forget those alignment fees, which can add around $75 to $150 to your total.
How to Increase Car Suspension Height?
To increase your car’s suspension height, you can install a suspension lift kit.
Another option is to use adjustable coilovers or an air ride system.
Additionally, fitting larger tires can also give you that extra height boost.
Don’t forget to get an alignment afterward to ensure safe handling!
Conclusion
Now that you’ve lowered your car’s suspension, picture it hugging the road tighter.
Every curve feels sharper and more thrilling.
With each step carefully followed, you’ve transformed your ride into a sleek, confident machine.
Remember to check your work and adjust as needed.
This ensures smooth handling and safety.
By taking your time and avoiding common pitfalls, you’ll enjoy a smoother, sportier drive.
Not only will your car look great, but it will also turn heads wherever you go.
In conclusion, lowering your car’s suspension can greatly enhance both its aesthetics and performance.
Just make sure to check your adjustments for optimal handling and safety.
With patience and attention to detail, you can achieve that perfect sporty ride, making your driving experience even more enjoyable.
So hit the road with confidence and relish in the upgrades you’ve made!